How to Beat Abyss Floor 12: Genshin Impact Strategy Guide
Clearing the Spiral Abyss Floor 12 remains the ultimate test of a traveler’s roster strength and mechanical execution. Achieving a full 36-star clear requires more than just high-level characters; it demands a deep understanding of enemy resistances, shield-breaking mechanics, and precise rotation timing.
Boss Stats
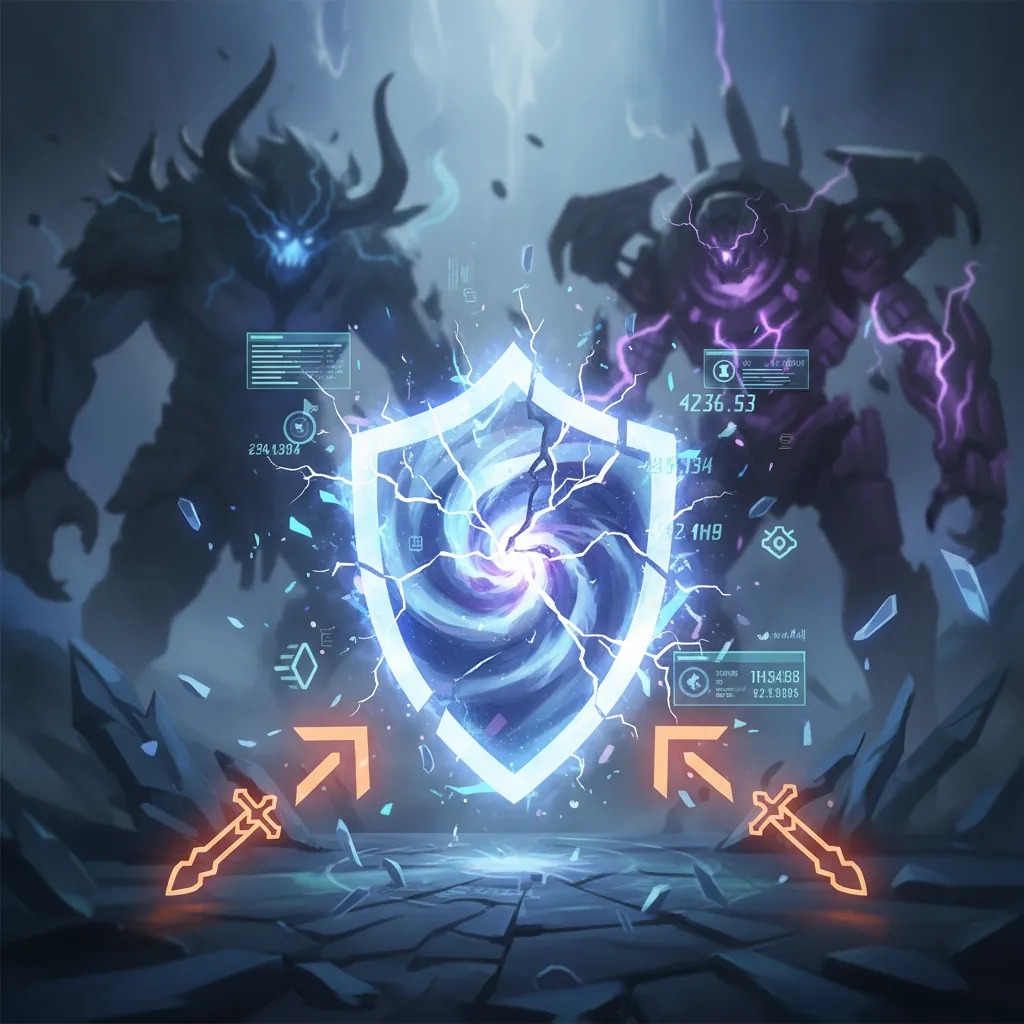
Floor 12 represents the peak of Genshin Impact’s difficulty curve, primarily due to the level scaling of the enemies. In this floor, enemies range from Level 95 in the first chamber to Level 100 in the final chamber. This level gap is significant because damage calculations in the game include a level defense multiplier. If your active character is Level 90, attacking a Level 100 enemy results in an automatic damage reduction of approximately 50% before elemental resistances are even calculated.
Level 100 Scaling and Defense Mechanics
At Level 100, enemies possess a Defense stat of 1000. The formula for damage reduction based on defense is Defense / (Defense + Character_Level + 100). For a Level 90 character, this means the enemy will mitigate roughly half of all incoming damage. This makes Resistance Shred (such as the 4-piece Viridescent Venerer set effect) and Defense Shred (such as Raiden Shogun’s C2 or Nahida’s C2) exceptionally valuable on this floor.
Elemental Resistance Thresholds
Most elite enemies on Floor 12 start with a baseline 10% resistance to all elements, but specific bosses have much higher ceilings. For example, the Algorithm of Semi-Intransient Matrix of Overseer Network (ASIMON) maintains standard resistances while visible but becomes significantly harder to damage if you do not interact with its invisibility mechanic. Consecrated Beasts are notorious for having 40% resistance to all elements, which increases to 70% for their own corresponding element (e.g., the Red Vulture has 70% Pyro resistance).
| Enemy Name | HP (Level 100) | Notable Resistances |
|---|---|---|
| ASIMON | ~2,218,400 | 10% All (Standard) |
| Maguu Kenki | ~1,530,000 | 10% All (Standard) |
| Consecrated Beast | ~970,550 | 40% All / 70% Matching Element |
| Icewind Suite (Coppelius) | ~2,030,000 | 70% Cryo & Anemo |
| Abyss Lector (Pyro) | ~612,000 | 10% All (Shield Phase starts at 20% HP) |
HP Pools for 3-Star Clear Requirements
To earn 3 stars on a Floor 12 chamber, you must complete both halves within 180 seconds (leaving 7:00 on the clock). With boss HP pools reaching over 2 million, your teams must maintain a combined average DPS of approximately 25,000 to 35,000 damage per second, accounting for invulnerability windows and transition phases. This requirement necessitates tight rotations and efficient energy funneling to ensure Bursts are available on cooldown.
Attack Patterns
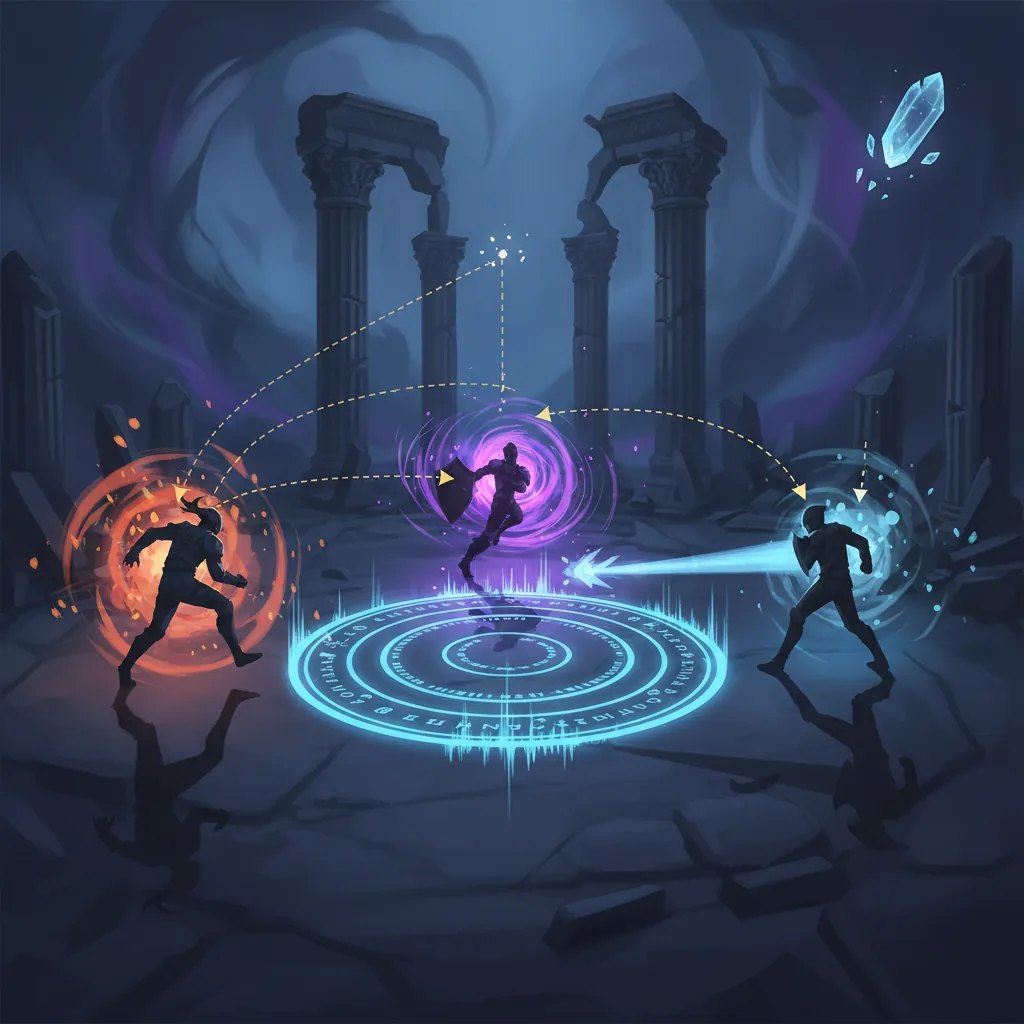
Understanding boss behavior is the difference between a successful run and a team wipe. Floor 12 bosses often have “one-shot” potential, especially when dealing with the aggressive AI of Consecrated Beasts or the high-frequency strikes of the Icewind Suite.
ASIMON Invisibility and Component Phase
The Algorithm of Semi-Intransient Matrix of Overseer Network (ASIMON) begins the fight by firing its components and entering an invisible state. While invisible, ASIMON gains massive resistance to all damage.
To force it out of this state, you have two options:
- Catalyze Reaction: Hit the invisible core directly with a Quicken, Aggravate, or Spread reaction (Dendro + Electro). This immediately stuns the boss and ends the invisibility phase.
- Component Destruction: Destroy the white-bar components it leaves behind. Once destroyed, the boss will attempt to repair them with green energy. Hitting these repairing parts with Electro will also force the boss out of invisibility and into a paralyzed state.
Consecrated Beast Phagocytic Mechanics
The Consecrated Red Vulture and Consecrated Scorpion are among the most dangerous non-boss enemies. They possess high poise, making them difficult to stagger. Their most critical mechanic is the “Phagocytic Block.” After a period of combat, the beast will spawn an elemental energy block (Pyro for the Vulture, Electro for the Scorpion).
You must hit this block with the corresponding element (or use high-frequency neutral damage) to destroy it. Destroying the block grants your character an energy buff; hitting the beast with an attack while holding this buff will deplete 15% of its Max HP and paralyze it for several seconds. Failing to destroy the block allows the beast to perform a massive AoE ultimate attack that can easily kill a character through a weak shield.
Maguu Kenki and Icewind Suite Boss Patterns
Maguu Kenki is a “stat-check” boss with predictable but high-damage windows. At 70% HP, he will perform a stationary AoE blast and enter his second phase, where he gains a “Phantom” that mirrors his attacks. The most dangerous move is the “Flowing Water” slash, where the Kenki and his phantom perform a wide-range Cryo and Anemo strike. You must dash into the attack or use a Burst’s i-frames (invincibility frames) to avoid the damage.
The Icewind Suite (Dirge of Coppelius) utilizes the Pneuma/Ousia mechanic. In the Abyss version, Coppelius typically features a Cryo shield that can be instantly broken by hitting him with a Pneuma-aligned attack (such as those from Hydro Traveler, Freminet, or Lyney). Without Pneuma, you must rely on heavy Pyro or Electro application to melt the shield, which is significantly slower.
| Mechanic | Counter Element / Action | Result |
|---|---|---|
| ASIMON Invisibility | Dendro + Electro | Forced Paralysis |
| Red Vulture Block | Pyro (preferred) | 15% HP Damage + Stun |
| Scorpion Block | Electro (preferred) | 15% HP Damage + Stun |
| Coppelius Shield | Pneuma | Instant Shield Break |
| Abyss Lector (Pyro) | Hydro | Rapid Shield Depletion |
Step-by-Step Strategy
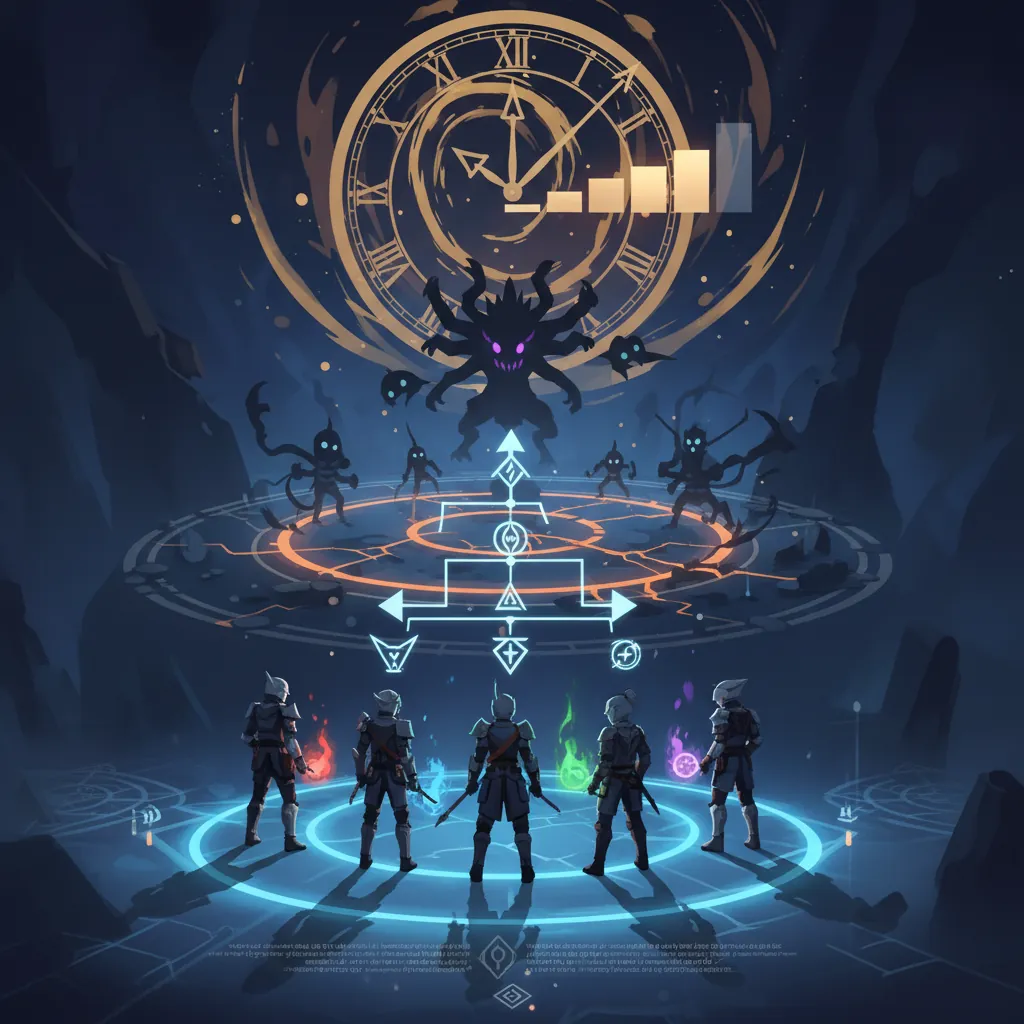
Approaching Floor 12 requires a chamber-by-chamber plan. You cannot simply use the same brute-force method for every wave, as the enemy positioning and shield types change.
Chamber 1: Shield Breaking and Crowd Control
The first chamber often features groups of Abyss Lectors or Mages. The key here is “Swirl” and grouping. If you are facing multiple Lectors of different elements (e.g., Pyro and Electro), standing in a position that causes them to cluster allows Anemo characters like Kazuha or Sucrose to Swirl their shields against each other. This causes “elemental absorption” and breaks the shields significantly faster than attacking them individually.
For Pyro Lectors specifically, Hydro application is the most efficient counter. Characters like Xingqiu, Yelan, or Neuvillette can deplete a Pyro Lector’s shield in seconds. Always focus on positioning yourself at the edge of the arena so that ranged enemies naturally move toward you, grouping themselves for your AoE attacks.
Chamber 2: Surviving the Consecrated Beast Gauntlet
Chamber 2 is frequently the “survival floor.” When fighting Consecrated Beasts, do not stay in the center of the arena where you can be flanked. Instead, try to keep both beasts in your field of vision. Focus your damage on one beast until the Phagocytic Block appears.
Prioritize the block immediately. The damage dealt by the block explosion is a fixed percentage of the beast’s health, making it the most efficient way to lower their massive HP pools. If you are struggling with survivability, using a “Freeze” team (Cryo + Hydro) can keep the beasts locked in place, though their high resistance to CC means this is less effective than on smaller mobs.
Chamber 3: Maximizing DPS Windows for Bosses
The final chamber usually hosts the 2-million-HP bosses like ASIMON or the Icewind Suite. For ASIMON, the strategy is simple: do not waste your Bursts while it is invisible unless you are about to trigger a Catalyze reaction. The moment it becomes paralyzed, unleash your full rotation.
For Maguu Kenki, keep him near the wall. His AI tends to dash backward; if his back is already against the arena boundary, he will remain stationary, allowing you to maintain maximum uptime on your stationary AoE fields (like Bennett’s Burst or Xiangling’s Pyronado).
Recommended Team
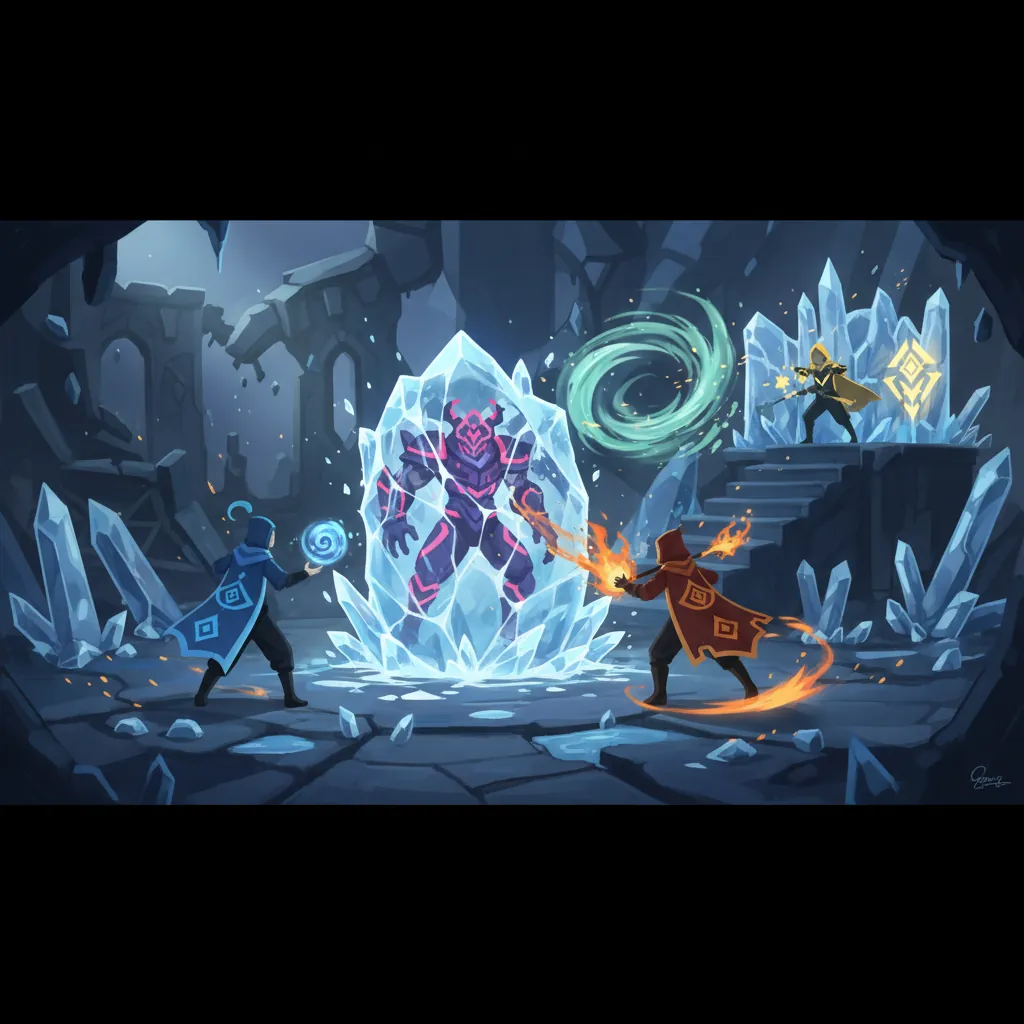
The current meta for Floor 12 favors high-sustain teams with specific elemental utility. Because the Abyss rotation often demands both heavy shield-breaking and massive single-target DPS, your two teams must be specialized.
Top Meta Teams: Neuvillette and Alhaitham
Neuvillette hypercarry teams are currently the most dominant force for the second half of Floor 12. His massive Hydro application makes him the perfect counter for Pyro-shielded enemies like Abyss Lectors or the Iniquitous Baptist. Pairing him with Furina and a healer like Baizhu or Jean provides both the damage and the sustainability needed to survive the aggressive attacks of Floor 12 bosses.
On the first half, Dendro teams remain supreme. An Alhaitham Quickbloom team (Alhaitham, Nahida, Xingqiu/Yelan, Kuki Shinobu) is ideal for dealing with ASIMON. The constant application of Dendro and Electro ensures the boss never stays invisible for more than a few seconds, and the high single-target damage of Hyperbloom projectiles helps clear the high HP pools of elite enemies.
F2P-Friendly Compositions
For players without a wide array of 5-star characters, the “Rational” team (Raiden Shogun, Xiangling, Bennett, Xingqiu) is still a premier choice. This team provides high-frequency elemental application (Overload, Vaporize, and Electro-Charged) which is excellent for brute-forcing through various shield types.
Another strong F2P option is the “National” variant using Sucrose instead of Raiden. Sucrose provides the necessary crowd control for Chamber 1 and increases the team’s Elemental Mastery, which is crucial for maximizing Vaporize damage against high-defense enemies.
Elemental Requirements for Current Rotation
When selecting your teams, check the “Elemental Nodes” in the Abyss menu. For the current rotation:
- First Half: Requires Dendro and Electro to handle ASIMON.
- Second Half: Requires heavy Hydro to break Pyro shields and Pneuma/Ousia units to manage the Icewind Suite’s mechanics.
If you lack a specific element, look for characters with high “Elemental Gauge Units” (GU). For example, Barbara’s Normal Attacks have a standard Hydro application, but her Skill’s initial hit and certain Bursts can apply “Strong” elements that deplete shields faster. Learning how to build Neuvillette or other high-application carries is vital for these checks.
Loot
The rewards for Floor 12 are the highest in the game, though they require the most effort to obtain. As of Version 4.7+, the distribution of Primogems has been adjusted to provide more incentive for reaching the final stars.
Primogem and Mora Breakdown
Floor 12 provides a total of 200 Primogems if you achieve all 9 stars. Unlike earlier floors where rewards are evenly distributed, Floor 12 rewards are weighted toward the final completion.
| Stars Earned | Primogems | Mora |
|---|---|---|
| 3 Stars | 50 | 20,000 |
| 6 Stars | 50 | 20,000 |
| 9 Stars | 100 | 20,000 |
In addition to these, players receive Mystic Enhancement Ore and Character EXP materials (Hero’s Wit). While the Mora amount may seem small, the primary draw is the Primogem count, which resets on the 1st and 16th of every month. This allows consistent players to earn up to 400 Primogems per month from Floor 12 alone.
Domain Reliquary Artifact Drops
Completing Floor 12 chambers also rewards “Domain Reliquary - Tier I” boxes. These boxes contain a random 5-star artifact from a specific pool (usually Gladiator’s Finale or Wanderer’s Troupe, though this can vary by version). These are excellent sources of “artifact fodder” or potentially high-tier pieces for characters who rely on 2-piece set bonuses.
Maximizing your clear efficiency often depends on having the best artifacts for Arlecchino or your primary DPS, so these extra drops are a welcome supplement to your daily resin spending. Always ensure you have enough inventory space before claiming these rewards to avoid them being sent to your mailbox.
Sources
- Genshin Impact Official Site — https://genshin.hoyoverse.com/en/news
- Genshin Impact Wiki (Fandom) — https://genshin-impact.fandom.com/wiki/Spiral_Abyss/Floor_12
- Game8 Genshin Impact Guide — https://game8.co/games/Genshin-Impact/archives/304724
- Prydwen Institute Genshin Hub
- KeqingMains (KQM) Theorycrafting Library — https://keqingmains.com/
- Sportskeeda Gaming — https://www.sportskeeda.com/esports/genshin-impact-spiral-abyss-floor-12-guide-v4-6-enemies-tips-teams
- Lootbar Genshin Guides
Related Guides
How to Beat Early Bosses in Neverness to Everness: Full Guide
How to Beat Early Bosses in Neverness to Everness (NTE)
How to Beat Early Bosses in Neverness to Everness: A Complete Guide
Sam HSR: How to Beat the Boss & Best Teams (June 2026)
NTE Abyss Guide: How to Beat Mammon in Beyond the Rails
NTE Boss Fight Mechanics Explained: Master Every Anomaly
NTE Boss Strategy for Beginners: How to Beat Never-Ending Arachne
Loading comments…