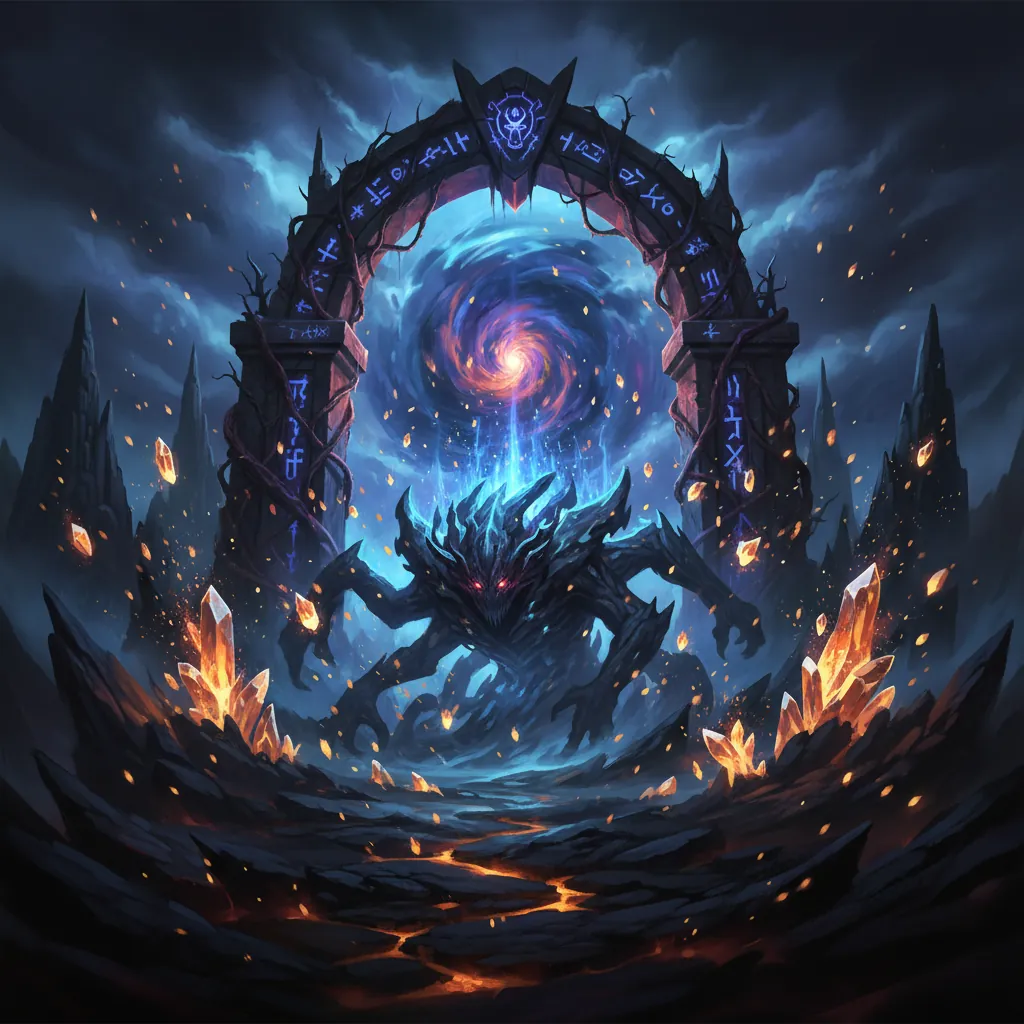
How to Beat Early Bosses in Neverness to Everness: A Complete Guide
Mastering the urban anomalies of Hethereau requires more than just high-level gear; it demands a precise understanding of the Break Meter and character synergy. Since the release of Neverness to Everness on April 29, 2026, players have found that the difficulty spikes significantly once they leave the initial tutorial zones.
Navigating the supernatural streets of Hethereau City involves encountering Anomalies that range from minor nuisances to district-threatening entities. The early game focuses on teaching you the fundamental rhythm of combat: dodging, parrying, and cycling through your Espers to trigger the Discord reaction. This guide provides the tactical breakdown necessary to overcome the first three major hurdles in your journey.
Boss Stats
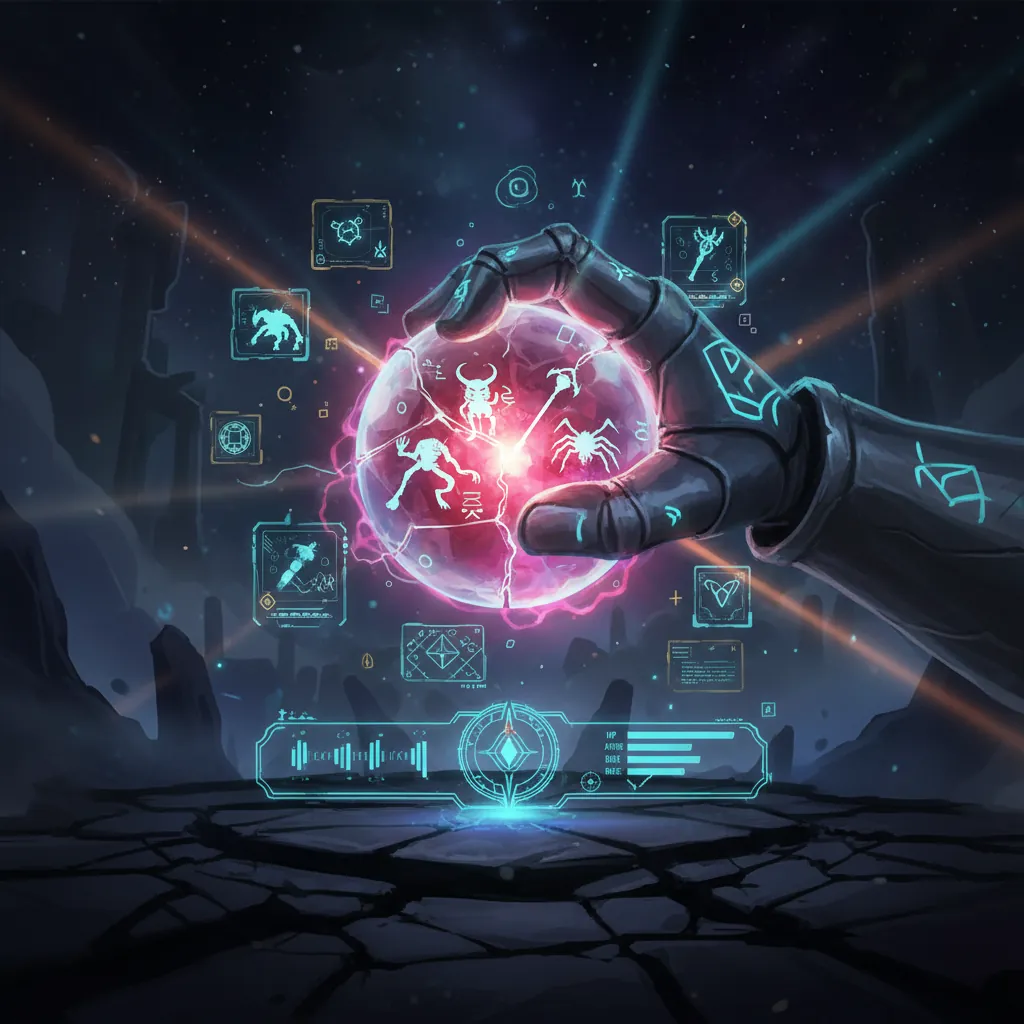
Early game bosses in NTE serve as skill checks for the Break Meter and Esper Cycle mechanics. Understanding where these bosses are located and what elements they are susceptible to is the first step toward a successful Commission.
| Boss Name | Level Range | Elemental Weakness | Primary Location |
|---|---|---|---|
| Picture Frame | 1 - 5 | Physical / Neutral | Bridge Crossings |
| Bopp | 10 - 15 | — | Anomaly Commission (Industrial) |
| Black Tome | 20 - 25 | Chaos | New Herland District |
Picture Frame (Tutorial Boss)
Encountered during the opening sequences in Bridge Crossings, Picture Frame is a spatial anomaly that introduces the concept of the “Nexus.” While its health pool is relatively small, it cannot be damaged through standard attacks alone. Players must interact with the surrounding environment to expose its core.
Bopp (Anomaly Commission)
Bopp represents the first true test of a player’s ability to manage AoE (Area of Effect) damage. Located within the early Anomaly Commissions, this boss uses high-impact physical slams. Unlike Picture Frame, Bopp has a massive Break Meter that requires consistent pressure to deplete.
Black Tome (New Herland District)
The Black Tome is widely considered the first significant “wall” for new players. Found in the New Herland District, this boss punishes stationary playstyles. It utilizes a variety of ranged bindings and high-damage spells that can easily wipe a team if the player fails to utilize the Esper Cycle effectively.
[Image Placeholder: Map showing the locations of Picture Frame, Bopp, and Black Tome in Hethereau City. Aspect Ratio 16:9]
Attack Patterns
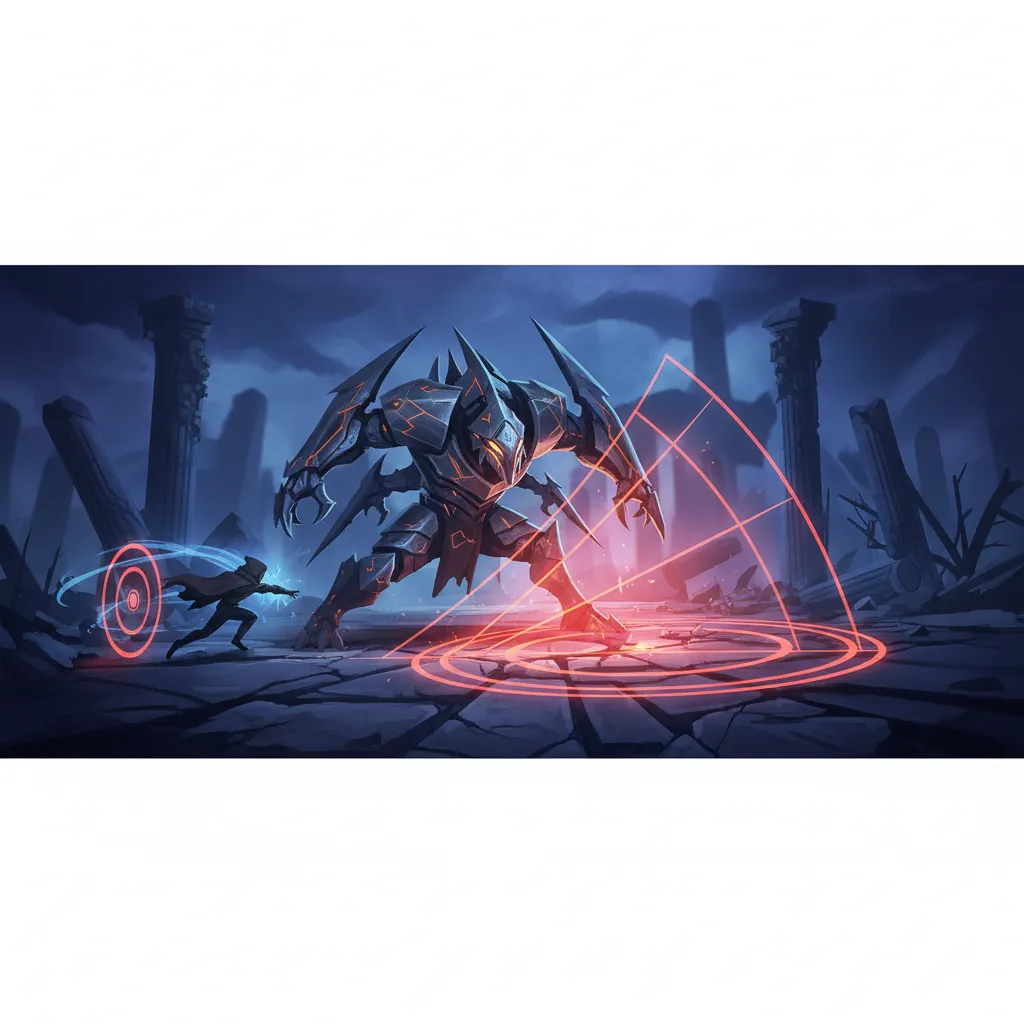
Success in NTE combat relies on your reaction to visual cues. The game uses a specific color-coded system to tell you whether you should evade or stand your ground.
Identifying Critical Dodge and Parry Cues
Every major boss attack is preceded by a visual indicator. Learning the difference between these two is vital for survival:
- Red Flash (Critical Dodge): When a boss’s weapon or limb flashes with a sharp, bright red light, an unblockable attack is coming. You must time your dodge perfectly to trigger a “Critical Riposte.”
- Red Enclosing Circles (Parry): When multiple red circles begin to shrink toward a central point on the boss, this indicates a heavy attack that can be parried. Successfully parrying these attacks deals massive “Break” damage to the boss’s white stagger bar.
Black Tome’s Chain Binding Mechanics
The Black Tome’s most dangerous move is the Chain Binding. It will summon purple ground indicators beneath your active character.
- Telegraph: Purple runes appear on the floor in a circular pattern.
- Effect: If you are standing within the circle when the runes glow brightly, chains will erupt from the ground, immobilizing your character for 3 seconds.
- Counter: Use a dash immediately when the purple runes appear. If caught, you must swap to another Esper immediately, though the immobilized character will remain vulnerable until the effect expires.
Bopp’s Heavy Slams and AoE
Bopp is a slow but heavy hitter. Its primary threat is a wide-reaching AoE shockwave.
- The Slam: Bopp raises both arms. A red circle expands outward from its feet.
- The Shockwave: Upon impact, a golden ring of energy travels across the floor.
- Counter: This shockwave cannot be dodged through standard horizontal movement easily. You must jump over the ring or time a perfect dodge to phase through the energy.
[Image Placeholder: Comparison screenshot of the Red Flash (Dodge) vs. Red Circle (Parry) indicators in NTE combat. Aspect Ratio 16:9]
Step-by-Step Strategy
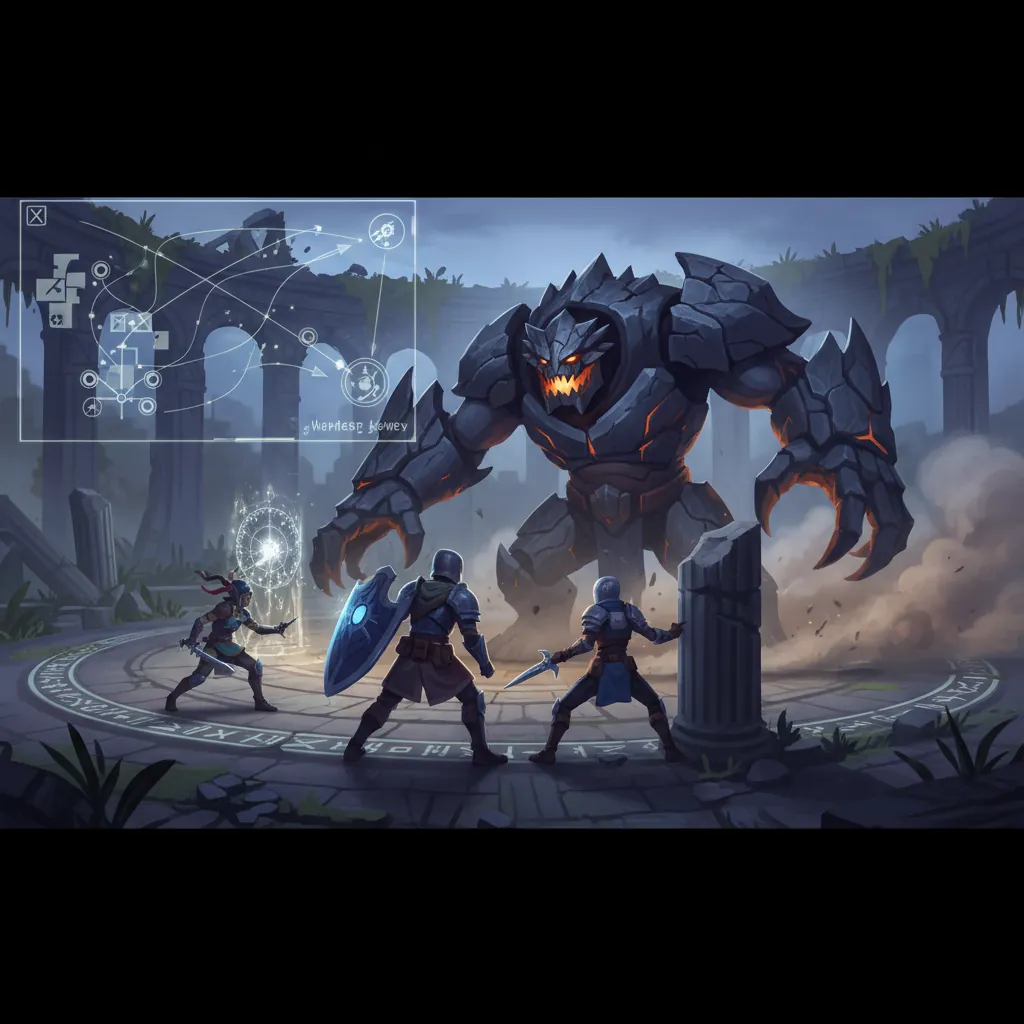
The combat loop in Neverness to Everness follows a specific “Break -> Stagger -> Ultimate” progression. Ignoring this loop will result in “bullet sponge” encounters that last much longer than necessary.
Managing the Break Meter
Below the boss’s red health bar is a white “Break Meter.” As long as this bar is active, the boss takes significantly reduced damage and possesses high stagger resistance.
- Reduce the Meter: Use heavy attacks and Parries to chip away at the white bar.
- The Stagger State: Once the meter reaches zero, the boss enters a “Break” state. They will become immobile and take [information unavailable]% increased damage for approximately 8 to 10 seconds.
- Burst Window: This is when you should unload your Esper Ultimates and high-damage skills.
Executing the Perfect Esper Cycle
Neverness to Everness rewards players for constant character swapping. When an off-field character’s portrait begins to glow, it signifies they are ready for a “Switch Attack.”
- Triggering Discord: By swapping a Chaos-element character like Daffodil in immediately after an Anima-element character has used a skill, you trigger the Discord reaction. This reaction deals a burst of elemental damage and prevents the boss’s Break Meter from regenerating for a short period.
- Critical Riposte: After performing a perfect dodge (Red Flash), your next attack within 1.5 seconds deals double Break damage. Always prioritize a heavy attack immediately after a successful dodge.
Positioning and Terrain Usage
For the Picture Frame fight, positioning is everything. You must target specific spatial anomalies—small, floating rifts—that appear around the arena. Destroying these “Nexus” points is the only way to lower Picture Frame’s defenses. If you stay too close to the boss without clearing the Nexuses, you will take constant chip damage from spatial distortion.
[Image Placeholder: Infographic showing an optimal Esper Cycle rotation for early game bosses. Aspect Ratio 16:9]
Recommended Team
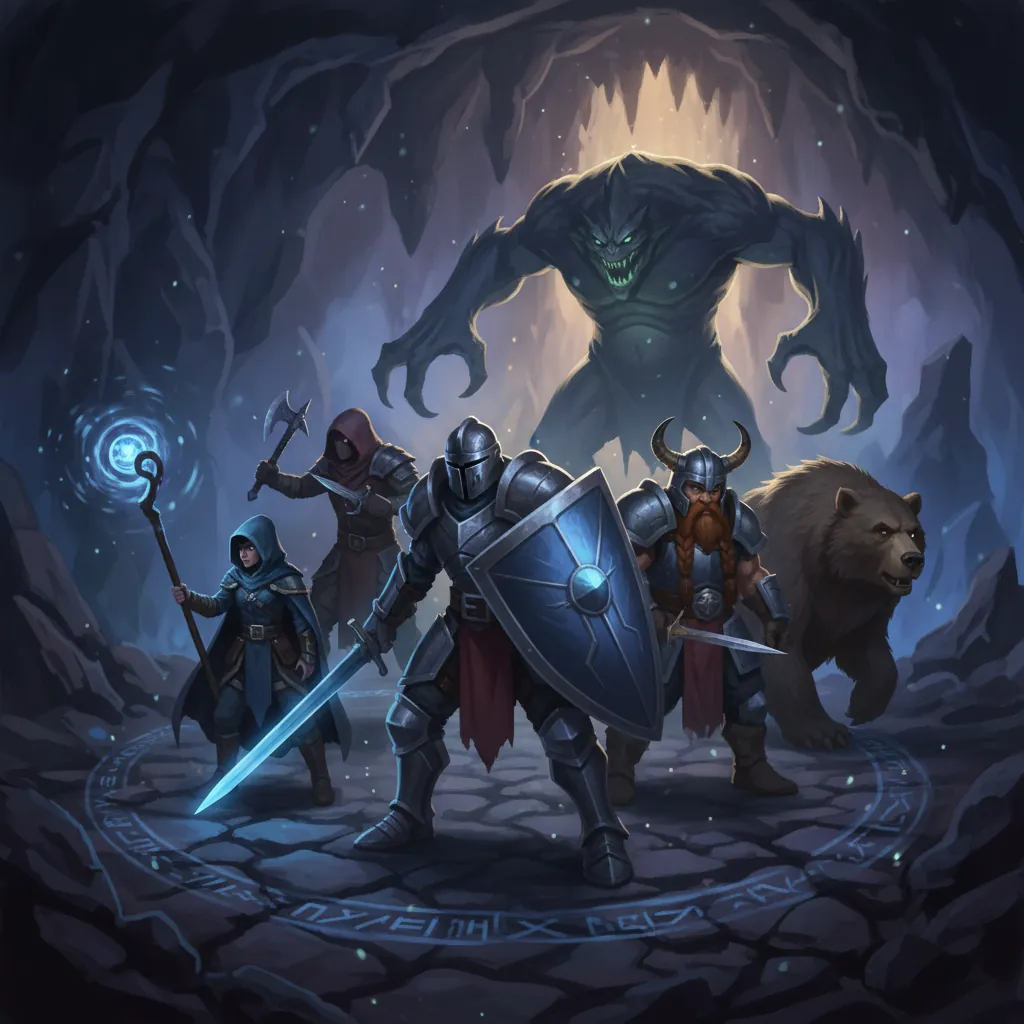
Building a balanced team is essential for the New Herland District content. You need a mix of “Breakers” (characters who deplete the white bar) and “Finishers” (characters who deal high HP damage).
| Team Type | Main DPS | Support / Sub-DPS | Sustain / Utility |
|---|---|---|---|
| Best F2P Starter | Mint | Sakiri | Chiz |
| Chaos-Focus (Anti-Tome) | Daffodil | Sakiri | [Information unavailable] |
| Premium / Nanally Focus | Nanally | Daffodil | Chiz |
The Best F2P Starter Team
This team focuses on high utility and sustainability. Chiz is essential for early game progress because her abilities help generate Fons, the primary currency used for upgrades and certain in-combat mechanics. Sakiri provides essential grouping, pulling smaller adds toward the boss so your AoE attacks hit multiple targets.
Chaos-Focus Team for Black Tome
Because the Black Tome is weak to the Chaos attribute, Daffodil is the star of this encounter. Her ability to apply Chaos-taint allows the rest of the team to trigger Discord reactions more frequently. When fighting the Black Tome, ensure Daffodil is the one on the field when the boss enters the Stagger state.
High-DPS Team with Nanally
If you were lucky enough to pull Nanally from “The Ichi-daime” banner, she should be your primary focus. Nanally’s raw damage output is currently unmatched in the early game. Pair her with Sakiri to keep enemies grouped and Chiz to ensure you have enough Fons to keep your gear at the maximum level allowed for your current District.
Loot
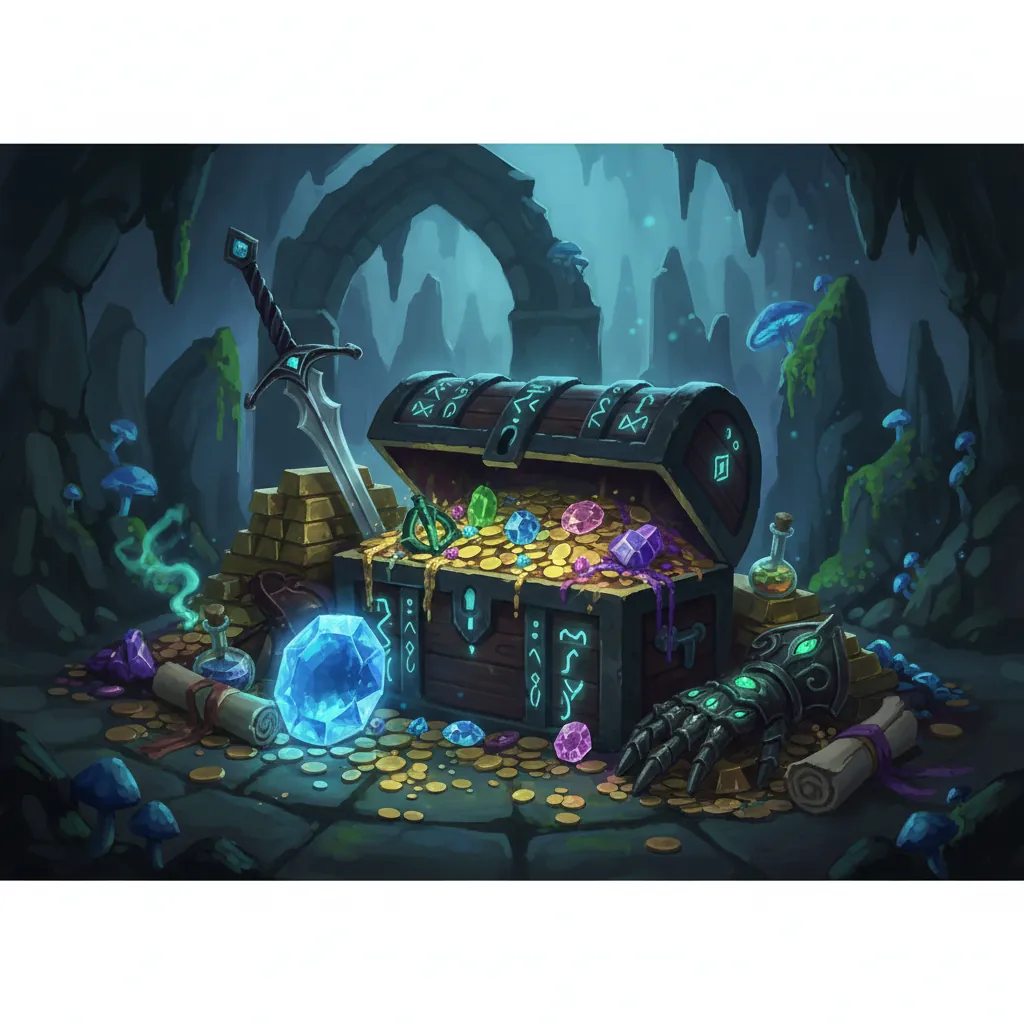
Defeating these bosses is the primary way to progress your characters and weapons. Each boss has a specific loot table that targets different aspects of your “Esper” development.
Essential Ascension Materials
To raise your character’s level cap, you will need materials specifically dropped by Anomaly Commission bosses.
- Bopp Drops: Drops basic Character Pixels and universal ascension materials. These are required for the first level cap break (Level 20).
- Black Tome Drops: Rewards players with Coal Lump’s Gift and A Page from Delusion’s Shore. These are specialized materials used for high-level character development and talent leveling.
Farming for S-Rank Arcs and Weapons
While the main story bosses provide progression materials, you should also look for World Bosses like The Wanderer in the Commercial District.
- The Wanderer: This boss has a chance to drop S-Rank weapon bases and rare Arcs. Arcs are equippable items that provide massive stat boosts and unique passive effects to your Espers.
- Weekly Limits: Note that major boss rewards, specifically Esper Skill upgrade materials, are limited to three claims per week. Prioritize the Black Tome if you are looking to maximize your Chaos-attribute characters.
| Boss Name | Key Drop 1 | Key Drop 2 | Primary Use |
|---|---|---|---|
| Bopp | Character Pixels | [Information unavailable] | Basic Ascension |
| Black Tome | Coal Lump’s Gift | A Page from Delusion’s Shore | Talent Upgrades |
| The Wanderer | S-Rank Weapon Base | Rare Arcs | Equipment Crafting |
Understanding these mechanics and preparation steps will turn the early “walls” of Neverness to Everness into manageable encounters. Focus on the Break Meter, time your dodges for the Critical Riposte, and keep your Esper Cycle moving to maintain elemental pressure.
Sources
- Neverness to Everness Official Site — https://nte.perfectworld.com/
- Neverness to Everness Wiki (Fandom) — https://nevernesstoeverness.fandom.com/wiki/Neverness_to_Everness_Wiki
- Game8 NTE Combat Guide — https://game8.co/games/Neverness-to-Everness
- Prydwen Institute NTE Database
- Nanally Character Profile (The Ichi-daime Banner) — https://kaiden.gg/nte/characters/nanally/
- NTE Boss Mechanics Overview
Related Guides
How to Beat Abyss Floor 12: Genshin Impact Strategy Guide
How to Beat Early Bosses in Neverness to Everness: Full Guide
How to Beat Early Bosses in Neverness to Everness (NTE)
Sam HSR: How to Beat the Boss & Best Teams (June 2026)
NTE Abyss Guide: How to Beat Mammon in Beyond the Rails
NTE Boss Fight Mechanics Explained: Master Every Anomaly
NTE Boss Strategy for Beginners: How to Beat Never-Ending Arachne
Loading comments…