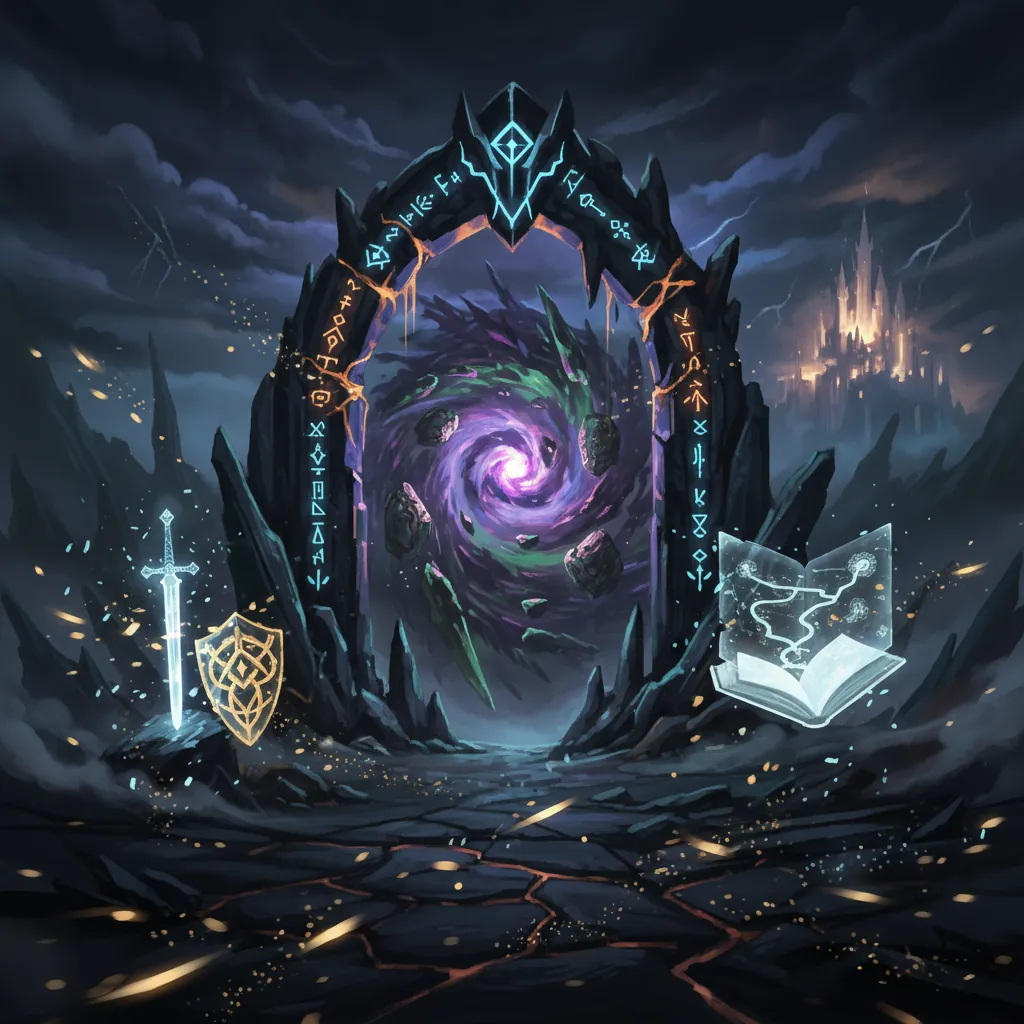
How to Beat Early Bosses in Neverness to Everness: Full Guide
Mastering the urban anomalies of Hethereau requires more than just high-level gear; it demands a deep understanding of the telegraphs and elemental weaknesses of the city’s most dangerous residents. This guide provides the tactical breakdown necessary to overcome the initial difficulty spikes in Neverness to Everness, ensuring your team survives the transition from the tutorial to the complex multi-phase encounters of Episode 3.
📝 Editorial Note: This guide is AI-assisted and game data evolves rapidly. Please cross-reference with in-game information. Updated: 2026-05-20.
Boss Stats
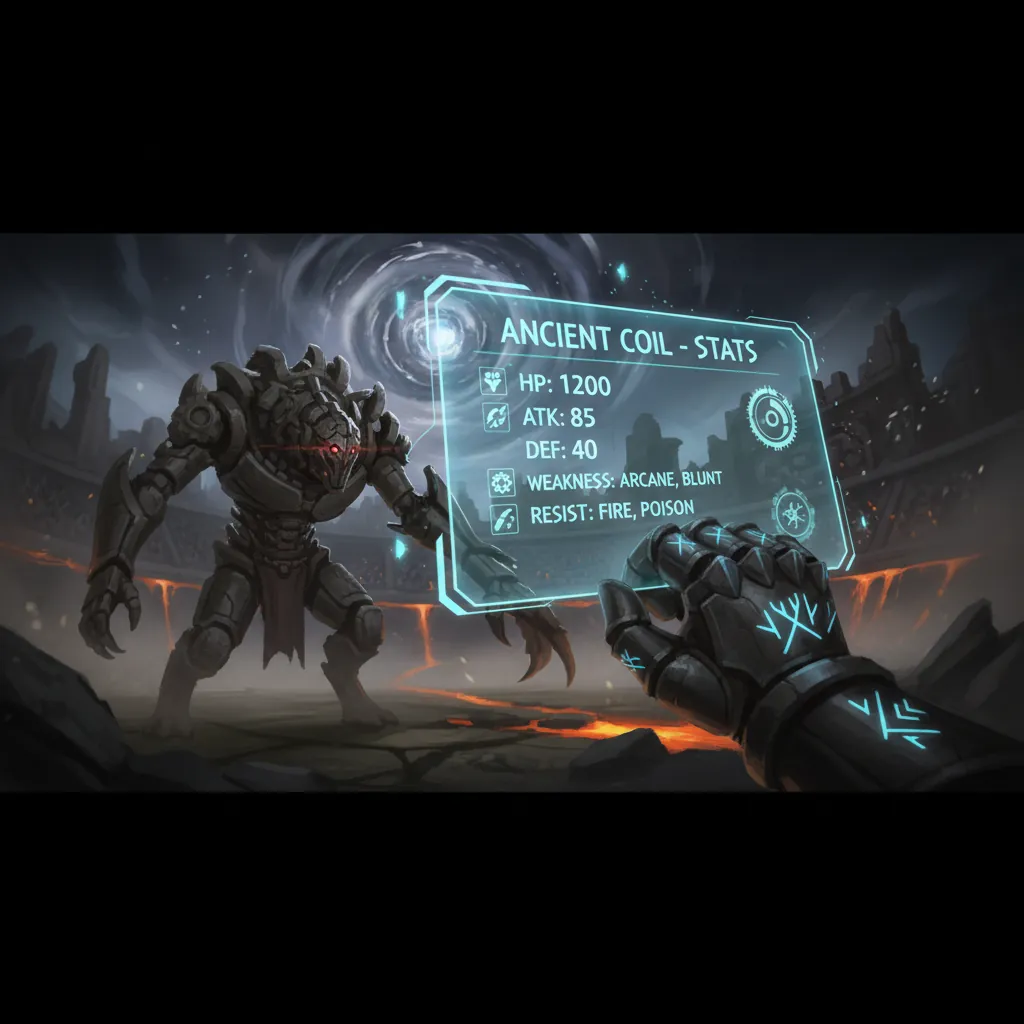
The progression in Neverness to Everness (NTE) scales sharply once players reach the Ebisu District. While the initial tutorial encounters serve to introduce the basic controls, the difficulty shifts significantly once the “Break Gauge” becomes a factor in boss survivability. The Break Gauge is a secondary health bar that, when depleted through specific elemental attacks or parries, leaves the boss in a “Stunned” state, allowing your team to deal massive damage without retaliation.
A critical milestone for any player is reaching Hunter Level 14. This level unlocks the ability to challenge major anomalies in the open world and progress through the main story episodes where the first “true” bosses reside. Below is the data for the primary early-game encounters you will face.
| Boss Name | Recommended Level | Element | Weakness | Location |
|---|---|---|---|---|
| Picture Frame | Level 1-5 | Neutral | Tutorial Mechanics | Tutorial / Prologue |
| Bopp | Level 10-12 | Anima | Scorch | Hethereau Backstreets |
| The Never-Ending Arachne | Level 15-18 | Chaos | Lakshana / Nova | Ebisu Auction House |
Picture Frame (Tutorial Encounter)
This encounter serves as the introduction to the NTE combat system. It has no specific elemental resistance, making it the perfect target for learning your chosen starter’s basic combos. The primary goal here is not raw damage but learning how to manage the camera and dodge timing.
Bopp (A Legendary(?) Band’s First Page)
Bopp is the first boss that punishes players for “button mashing.” As an Anima-elemental boss, Bopp uses high-mobility charges that can quickly corner a player. You will encounter this boss as part of the “Legendary Band” questline. Using Scorch-aligned characters here is highly recommended to melt through its defense.
The Never-Ending Arachne (Episode 3)
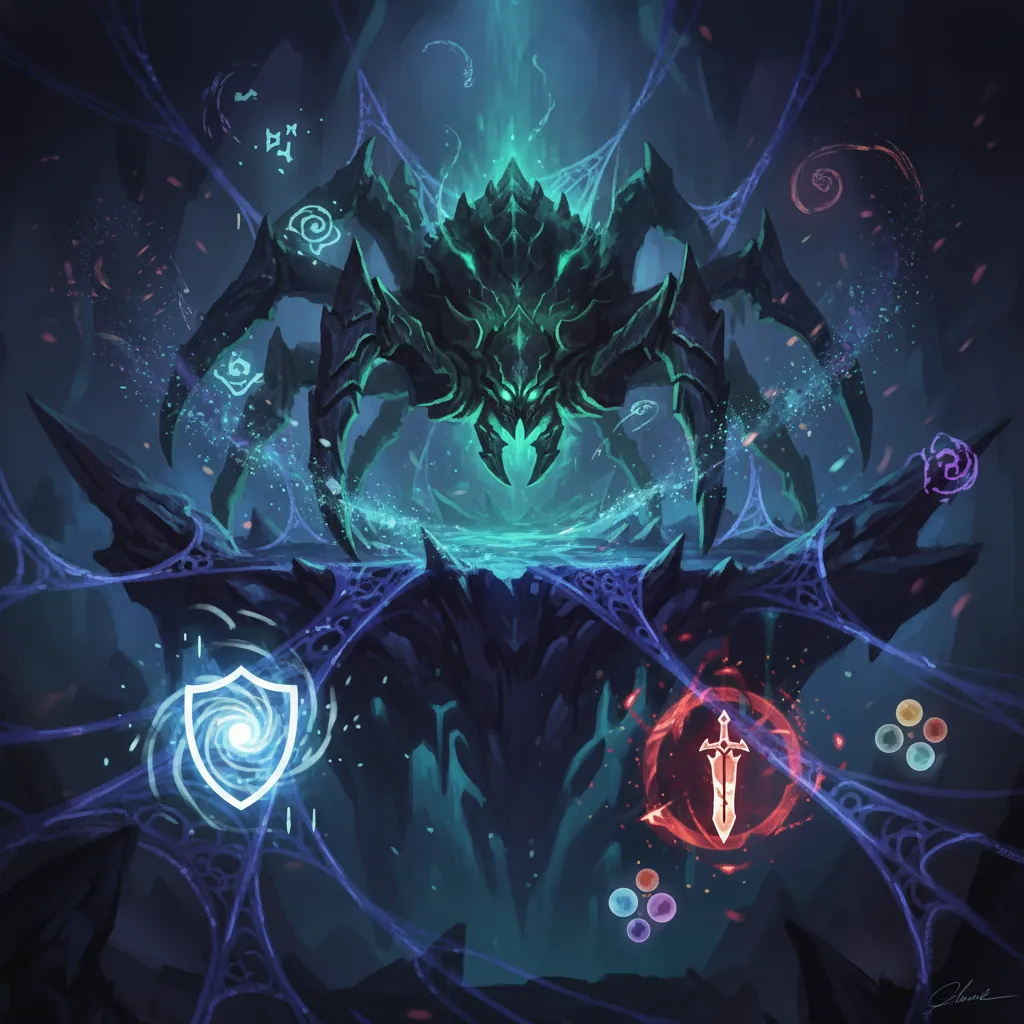
Located within the Ebisu Auction House, Arachne is the first major wall for many players. She utilizes a Chaos-elemental affinity, meaning she is highly resistant to standard physical strikes but extremely vulnerable to Lakshana-based attacks. This fight introduces the concept of environmental hazards and puppet-summoning phases.
Attack Patterns
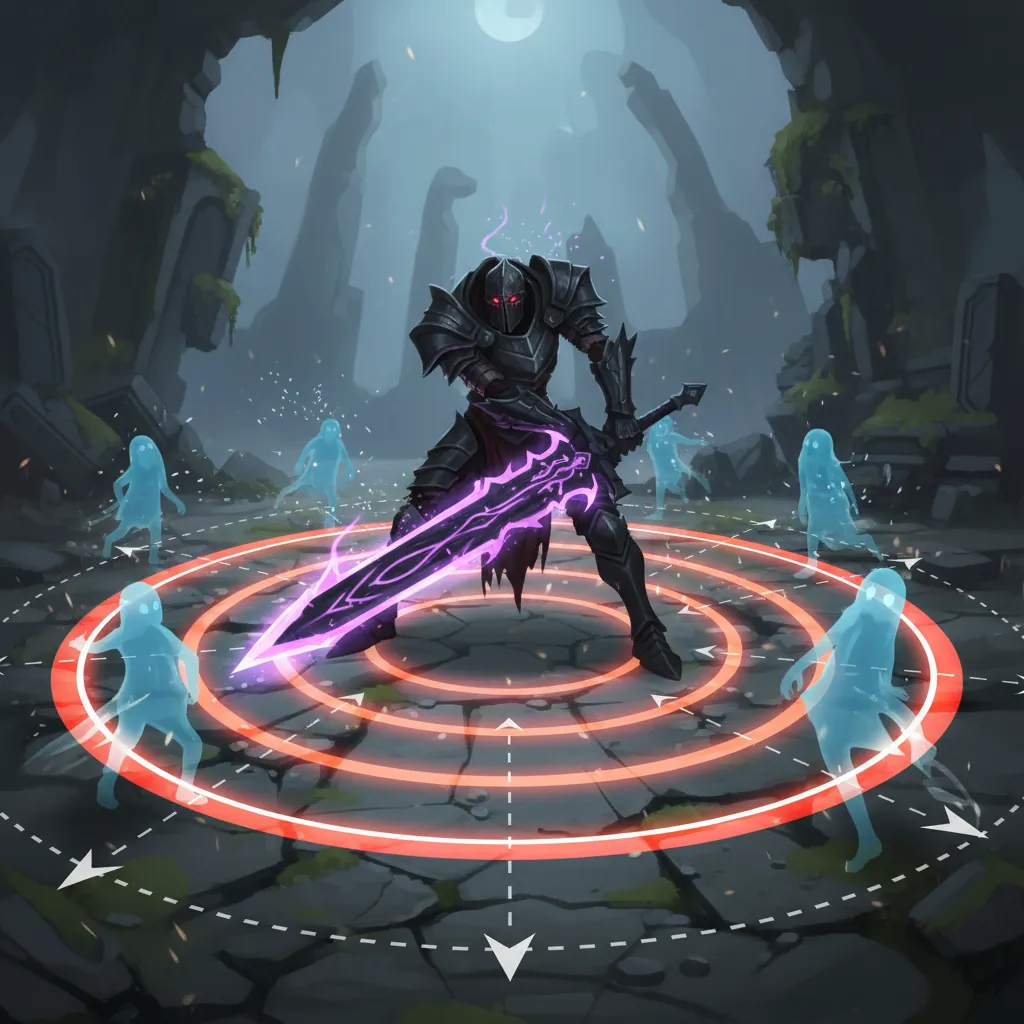
Understanding visual cues is the difference between a successful clear and a team wipe. NTE uses a specific “Red Shine” system to communicate move lethality. When a boss’s eyes or weapon flash with a bright red light, the upcoming attack is unblockable and must be dodged.
Telegraphing the Anomaly: Visual Cues
Every boss in NTE has a “tell” before their most devastating moves.
- Picture Frame: Watch for the “Super Duper Ultra 360” telegraph. The frame will begin to vibrate violently before spinning in a wide radius. This move is story-scripted to be nullified by the protagonist’s initial Esper activation, but dodging it manually provides a “Perfect Dodge” bonus.
- Bopp: This boss crouches low and scrapes the ground before a high-speed charge. If you see the Anima energy pooling at its feet, prepare to dash sideways.
- The Never-Ending Arachne: Her most dangerous cue is the “Puppet Spin.” She raises her hands, and purple strings become visible across the arena.
Arachne’s Multi-Phase Attack Cycle
The Arachne fight is divided into two distinct phases that require different mindsets.
- Phase 1: She stays relatively stationary while sending waves of puppets toward the player. These waves move in a circular pattern. You must identify the gap in the puppet line to avoid being staggered.
- Phase 2: At 50% HP, Arachne enters a berserk state. She becomes a melee powerhouse, utilizing a 4-hit combo that covers half the arena. Her mobility increases, and she will frequently teleport behind the player.
Parry Windows and Critical Riposte Timing
The “Critical Riposte” is a mechanic triggered by parrying a specific hit in a boss’s sequence. For The Never-Ending Arachne, the window is extremely tight.
- The 3rd-Hit Parry: During her 4-hit melee combo in Phase 2, the third strike has a slightly longer wind-up. Timing your block exactly as her arm reaches its peak height will trigger a Critical Riposte.
- Shockwave Jump: When Arachne slams the ground, a purple shockwave expands. This cannot be parried, but jumping over it allows for a plunging attack that deals massive Break Gauge damage.
Step-by-Step Strategy
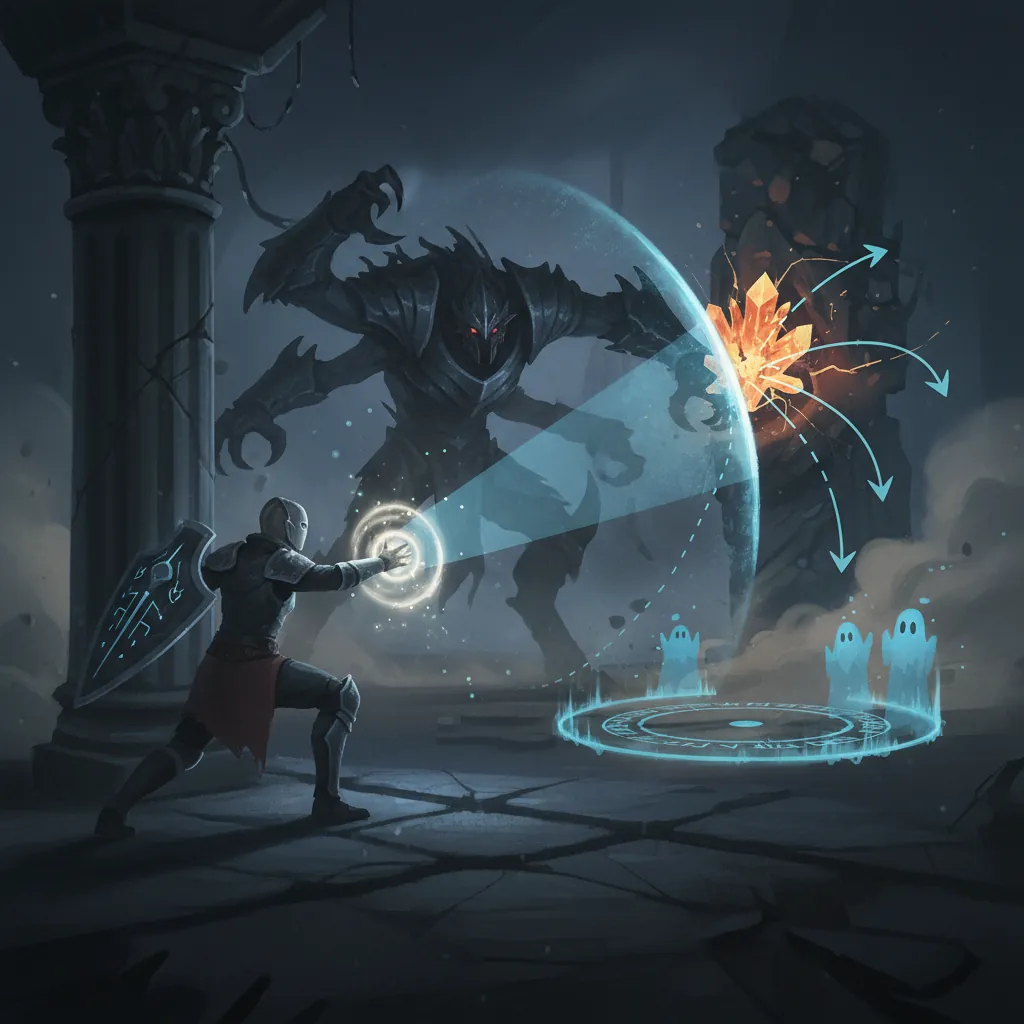
Winning these fights requires a combination of elemental reactions and positioning. The “Esper Cycle” meter is your most powerful tool; it fills as you deal damage and use skills, eventually allowing for a devastating team-wide ultimate.
Phase 1: Puppet Management
During the first half of the Arachne fight, do not focus solely on the boss. The puppets she summons can “Stain” your characters, a status effect that increases the damage you take from Chaos attacks.
- Clear the Perimeter: Use Sakiri or another character with wide AOE (Area of Effect) to clear the smaller puppets.
- Build Meter: Use Zero’s basic attacks to build the Esper Cycle meter while staying on the move.
- Avoid the Center: Arachne occasionally drops a heavy weight in the center of the room. Stay near the edges of the Auction House floor to maintain visibility.
Phase 2: The Parry and Break Window
Once Phase 2 begins, the goal shifts to breaking her guard as quickly as possible.
- Bait the Combo: Stay close enough to Arachne to trigger her melee sequence.
- Execute the 3rd-Hit Parry: As mentioned previously, parrying the 3rd hit of her combo will instantly deplete a large portion of her Break Gauge.
- The Break Window: Once the Break Gauge is empty, Arachne will collapse. This is your window to switch to your highest DPS character (like Chiz or Zero) and unleash all stored skills.
Maximizing Damage with Elemental Reactions
The most effective way to end early boss fights is by triggering the “Discord” reaction. This occurs when you combine Scorch and Nova elements.
- Step 1: Apply Scorch using a character like Nanally or a Scorch-aligned weapon.
- Step 2: Immediately switch to a Nova-aligned character to trigger Discord.
- Effect: Discord creates a localized explosion that ignores a portion of the boss’s defense and deals massive “Stain” damage, increasing their Lakshana vulnerability.
Recommended Team
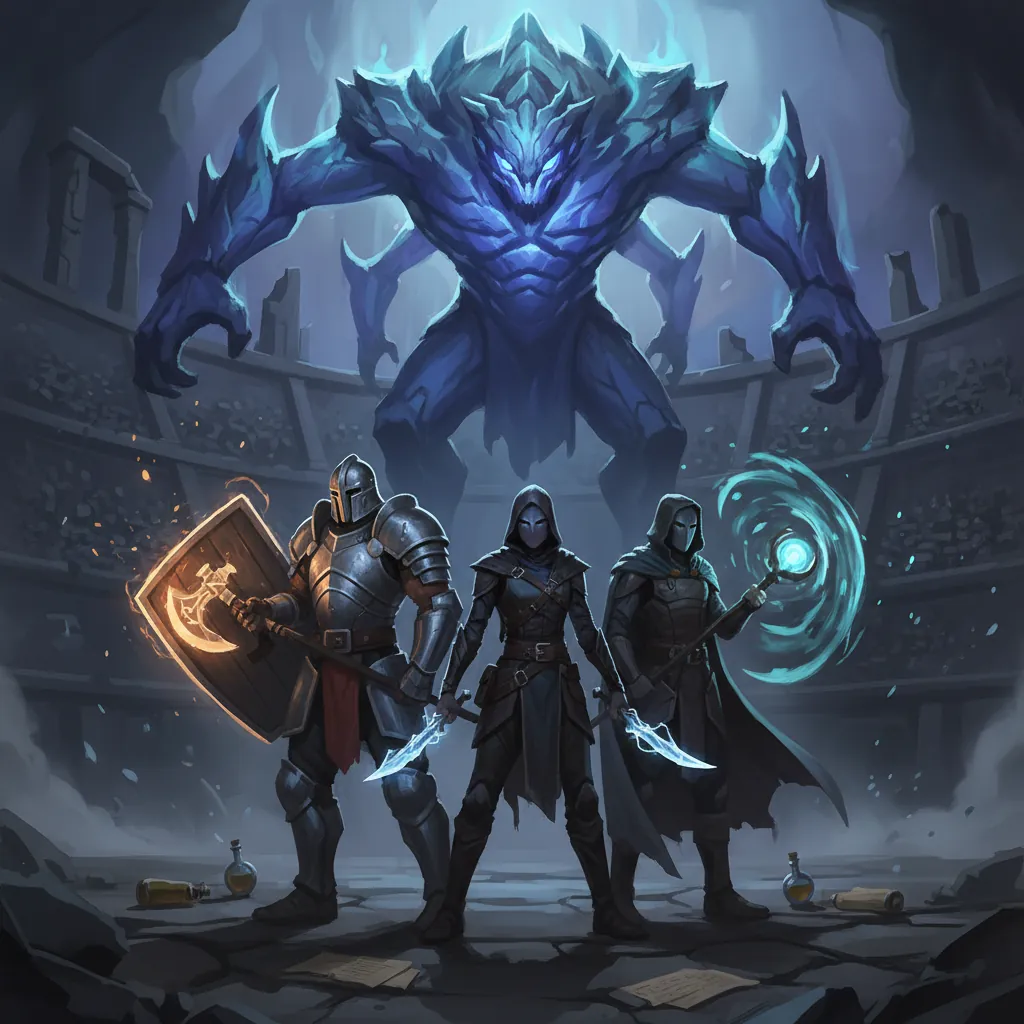
Building a balanced team is essential. You need a dedicated DPS, a healer to manage chip damage, and a support character capable of triggering elemental reactions.
Top F2P Team for Early Progression
For players who haven’t spent currency on limited banners, the starting roster is surprisingly capable of clearing all content through Episode 3.
- Zero (DPS): High sustained physical damage and easy-to-use combos.
- Edgar (Healer): Essential for surviving Bopp’s AOE slams. His burst heal can save a run if you miss a dodge.
- Haniel (Support): Provides the necessary elemental application to trigger reactions with Zero.
Best Meta Team for Fast Clears
If you have participated in the “City Tycoon” events or pulled on the “The Ichi-daime” banner, this team will shred early bosses.
- Chiz (DPS): Unlocked via City Tycoon progression, Chiz offers the highest F2P burst damage in the game as of May 2026.
- Nanally (Mobility/Sub-DPS): Her ability to move vertically is a hard counter to Arachne’s ground-based shockwaves.
- Sakiri (Utility): Her ATK buffs and crowd control (CC) make the puppet phases in the Arachne fight trivial.
Elemental Lane Synergy: Chaos and Lakshana
When fighting The Never-Ending Arachne, the synergy between Chaos and Lakshana is vital.
| Character | Role | Synergy |
|---|---|---|
| Hathor | Main DPS | Exploits Chaos weaknesses with high Lakshana output. |
| Daffodil | Support | Triggers Nova reactions to facilitate Discord. |
| Adler | Tank/Shield | Uses shields to ignore Bopp’s Anima strikes and chip damage. |
Loot
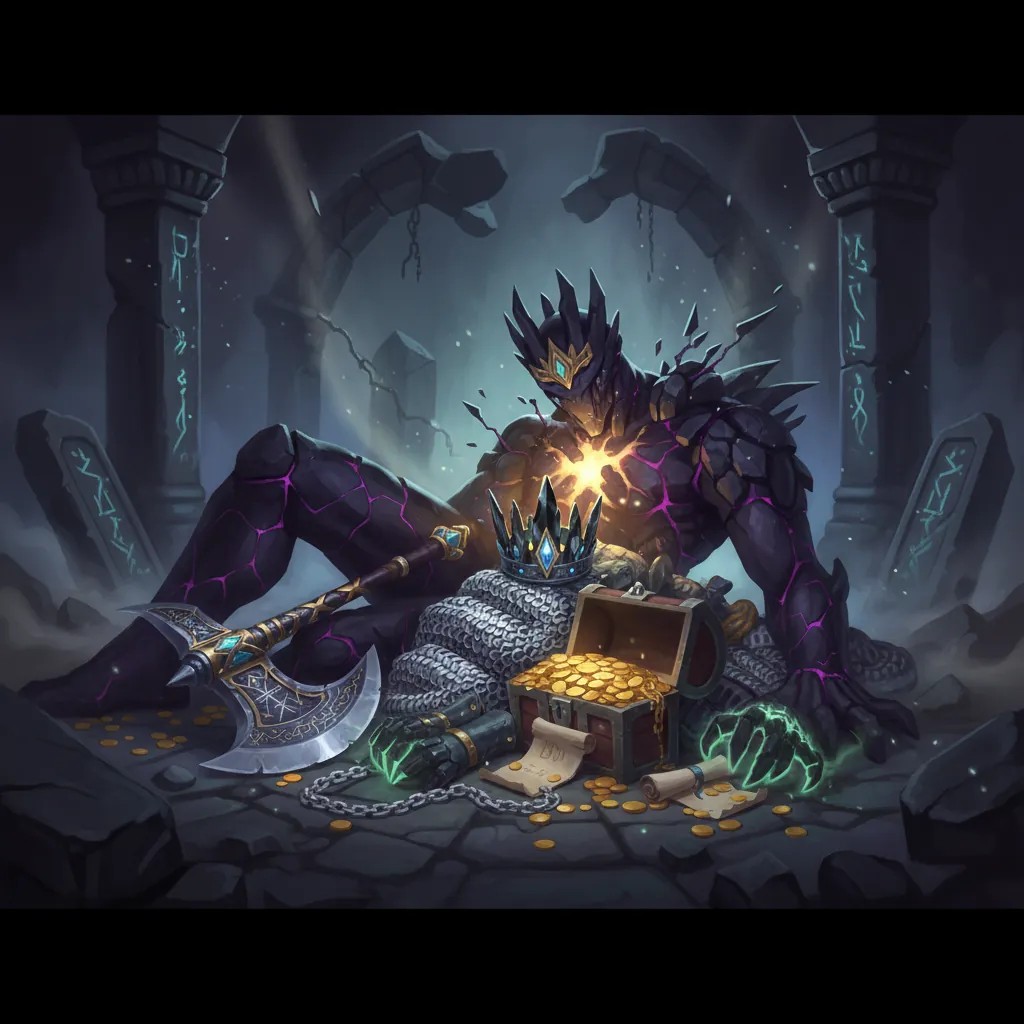
Defeating these bosses is the primary way to progress your characters and your city. Each boss drops specific “Character Pixels” and upgrade materials required to level up skills.
Essential Upgrade Materials
The Never-Ending Arachne is the most important boss to farm early on. Her primary drop, “Dress Sleeves of Vanity,” is a required material for upgrading the active skills of Lakshana-aligned characters.
- Dress Sleeves of Vanity: Used for Level 4+ skill upgrades. undisclosed drop rate per run.
- Anima Shards: Dropped by Bopp; used for weapon Ascension.
Weekly Boss Reward Priority
NTE limits how many times you can claim “Major Rewards” from bosses each week. You are granted 3 “Character Pixel” spends per week.
- Priority 1: The Never-Ending Arachne (for high-tier skill materials).
- Priority 2: Mammon (if unlocked) or Bopp (for weapon materials). Don’t waste your weekly claims on the Picture Frame or minor street anomalies, as their rewards can be obtained through standard exploration.
Unlocking S-Rank Arcs
First-time clears of major bosses often reward S-Rank Arcs, which function as powerful equipment modifiers for your characters.
- Reality Refuge: An S-Rank Arc rewarded for defeating Arachne with an A-Rank or higher combat score. It provides a significant boost to defense when your health drops below 30%.
- Raging Flames: An S-Rank Arc that enhances Scorch damage, often obtained after clearing the Bopp encounter within a specific time limit.
- Hethereau’s Keeper: A rare Arc that can be found by triggering the “Justice Executioner” event during the Bopp fight. To trigger this, you must defeat Bopp without taking more than undisclosed damage.
| Item Name | Rarity | Use Case | Frequency |
|---|---|---|---|
| Dress Sleeves of Vanity | Epic | Skill Upgrades (Lvl 4+) | Once per kill |
| Character Pixels | Legendary | Character Constellation-style upgrades | 3 per week (Shared) |
| Fons | Common | General Currency | Unlimited |
| Tycoon XP | Rare | City Tycoon Leveling | Once per kill |
By focusing on the Break Gauge and mastering the Discord reaction, you can overcome the early difficulty spikes of Neverness to Everness. Keep your Hunter Level high, manage your weekly boss claims wisely, and utilize Nanally’s mobility to stay out of the red zones.
Sources
- Neverness to Everness Official Site — https://nte.perfectworld.com/
- IGN: Neverness to Everness Combat Guide — https://www.ign.com/guides/neverness-to-everness
- Game8: NTE Boss Weakness Table — https://game8.co/games/Neverness-to-Everness/archives/boss-guide
- Reddit: r/NTE - Arachne Phase 2 Parry Windows — https://www.reddit.com/r/NTE/comments/1cd456/arachne_guide/
- Prydwen.gg: Neverness to Everness Character Database
Related Guides
How to Beat Abyss Floor 12: Genshin Impact Strategy Guide
How to Beat Early Bosses in Neverness to Everness (NTE)
How to Beat Early Bosses in Neverness to Everness: A Complete Guide
Sam HSR: How to Beat the Boss & Best Teams (June 2026)
NTE Abyss Guide: How to Beat Mammon in Beyond the Rails
NTE Boss Fight Mechanics Explained: Master Every Anomaly
NTE Boss Strategy for Beginners: How to Beat Never-Ending Arachne
Loading comments…