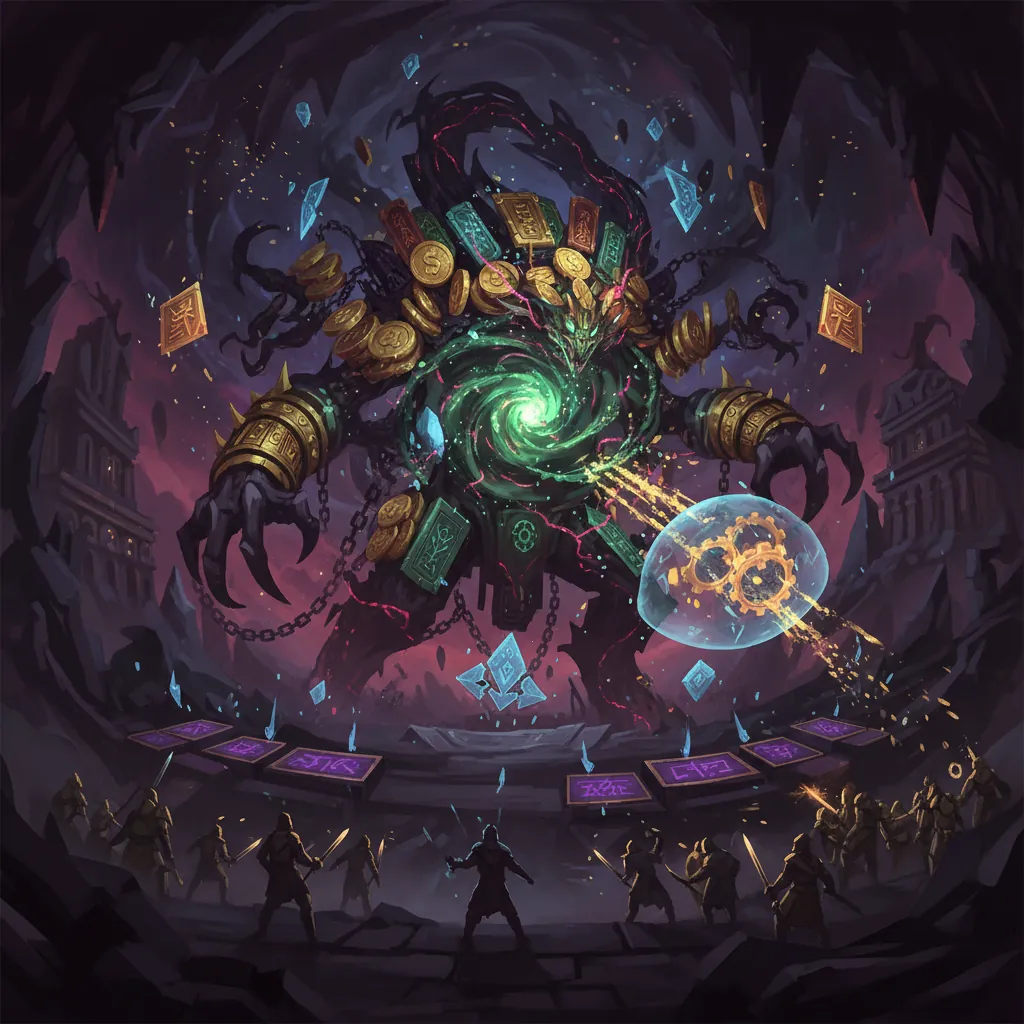
NTE Boss Guide: Mammon Mechanics and Strategies
Defeating the massive Anomaly known as Mammon is the most consistent way to secure your weekly Fons income in Neverness to Everness. This guide breaks down the essential mechanics, team compositions, and strategies needed to master the Realm of Greed and the Pink Paws Bank Heist.
📝 Editorial Note: This guide is AI-assisted and game data evolves rapidly. Please cross-reference with in-game information. Updated: 2026-05-23.
Boss Stats

Mammon serves as the primary weekly boss within the Realm of Greed, a specialized combat arena accessed directly from your player housing. Unlike standard world bosses, Mammon’s difficulty and rewards are tied to your progression within the Anomaly Furniture system.
Mammon is characterized by a “Greed Meter,” a unique gauge that fills as the battle progresses. The higher this meter climbs, the more aggressive Mammon becomes, gaining increased attack speed and damage output. If the fight drags on too long, the Overload mechanic triggers at the 3-minute mark, increasing Mammon’s ATK by 10% every 10 seconds, making survival nearly impossible for unprepared teams.
| Difficulty Tier | Level Requirement | Weekly Fons Payout (Estimated) |
|---|---|---|
| Difficulty I | Level 43 | 20,000 - 30,000 Fons |
| Difficulty II | Level 55 | 30,000 - 38,000 Fons |
| Difficulty III | Level 70 | 40,000 - 42,000 Fons |
| Difficulty IV | Level 80 | 44,500+ Fons |
| Difficulty V | Level 90+ | [Information unavailable] |
How to Unlock the Mammon Boss Fight
Unlocking Mammon requires completing a specific sequence of story and side content:
- Clear Chapter 3: You must finish the “Deal? Deal!” main story mission.
- Yarn Ball or Fons: Complete the Anomaly Commission of the same name. You can find the NPC “Date” at the Gold Apple Collection Hall in the New Herland District to initiate this.
- Ebisu Auction House: Bid on and win the Gluttonous Eye item. This is required to activate the boss.
- Anomaly Furniture: Install the Blind Mammon plushie in your apartment. Once active, you can enter the Realm of Greed via the furniture interaction menu.
Difficulty Tiers and Scaling
The boss’s HP and damage scale based on the level of your Blind Mammon plushie. To increase the difficulty (and the rewards), you must spend Covetous Coins—earned from previous successful runs—to upgrade the furniture. While Mammon features a massive health pool with multiple HP bars, the real challenge is the stagger meter located directly beneath his health. Breaking this meter is the only way to bypass his high natural damage reduction.
Attack Patterns
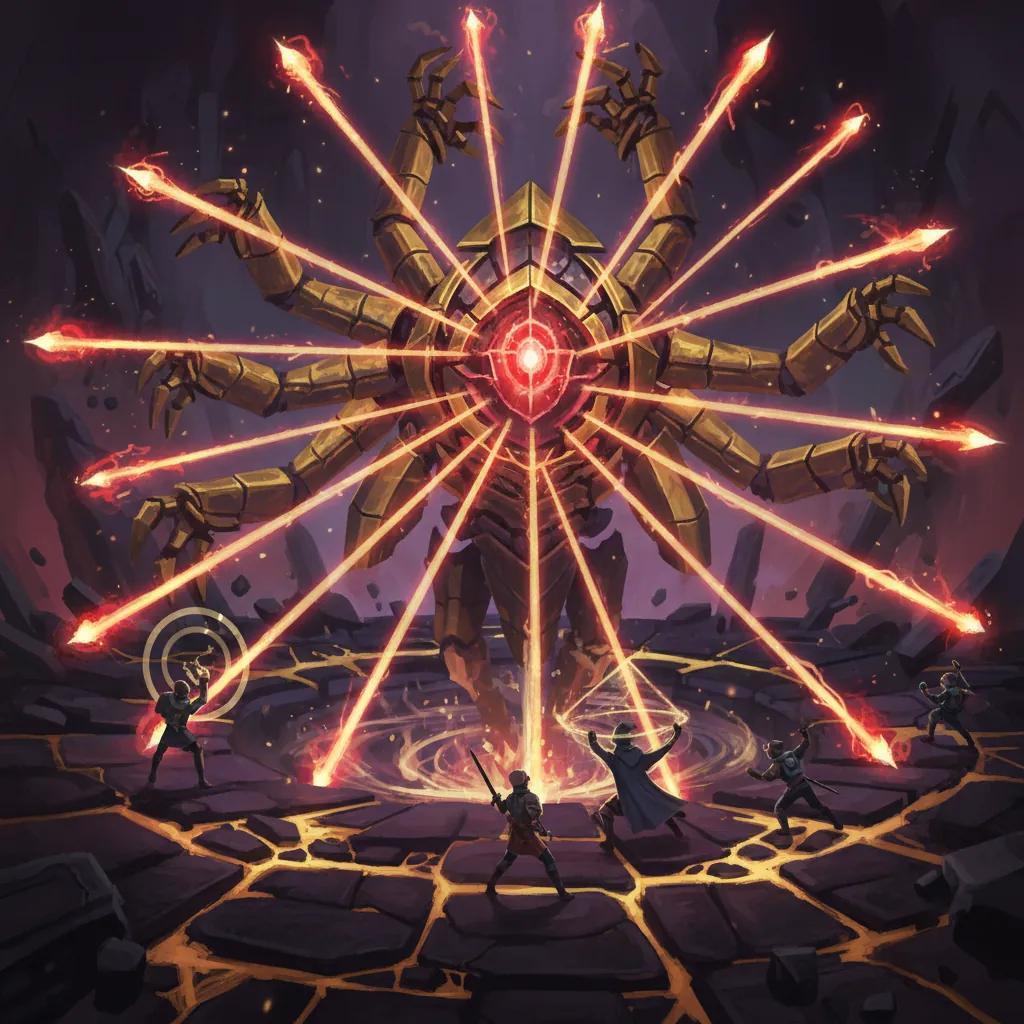
Mammon’s animations are deceptive; despite his large, gold-encrusted frame, he can close gaps instantly with dash-based attacks. Recognizing the visual cues for parrying versus dodging is the difference between a successful clear and a team wipe.
Phase 1: The Lumbering Giant
In the initial phase, Mammon focuses on heavy, telegraphed melee strikes.
- Ground Slam: Mammon raises both arms and strikes the floor. This creates a shockwave with a significant AoE range. You must jump or dodge the moment his hands hit the ground to avoid the lingering tremor damage.
- Swipe: A standard horizontal claw attack. Look for the white flash on his hand; this is your window for a standard dodge or a parry.
- Gold Flash Strikes: These are Mammon’s most vulnerable moments. When you see a bright gold flash, a successful Parry will instantly fill a large portion of your team’s Esper Meter and deal massive Break damage.
Phase 2: Enraged Greed (Below 50% HP)
Once Mammon drops below 50% health, his Greed Meter accelerates, and he introduces unparryable “Red Aura” attacks.
- Deceptive Dash: Mammon crouches and lunges across the arena. A red circle appears on the boss during the wind-up. You must perform a Critical Dodge (dodging just before impact) to trigger a “Flash Moment,” which boosts your ATK by 20% for 10 seconds.
- Greed’s Grasp: Mammon creates a vacuum effect that pulls all characters toward his center. This is followed by a point-blank explosion. Do not try to outrun the pull; instead, time a dodge to move through the explosion’s active frames.
- Red Aura Attacks: Indicated by a deep red glow around Mammon’s body. These strikes cannot be parried. If you attempt to parry a Red Aura attack, your character will be staggered, leaving them open to a follow-up combo.
Step-by-Step Strategy

The most effective way to defeat Mammon is to prioritize the Stagger Bar over raw HP damage. A “downed” Mammon takes significantly increased damage from all sources and stops the Greed Meter from rising temporarily.
Breaking the Stagger Meter
To break Mammon quickly, you must exploit his Lakshana weakness. Characters like Hathor or any unit utilizing Lakshana-attribute Arcs deal increased Break damage.
- Parry the Gold Flashes: Each successful parry reduces the Stagger Bar by roughly 15-20%.
- Use Chaos/Psyche Reactions: Triggering the Discord reaction (Incantation + Chaos + Psyche) deals the highest amount of Stagger damage in the game.
- Daffodil’s Role: Switch to Daffodil when Mammon is at 30% Stagger remaining. Her burst abilities are specifically tuned to “shatter” the final portion of the meter.
Maximizing Damage During Downed States
Once Mammon is staggered, he will fall to one knee for approximately 8 to 10 seconds. This is your “Burst Window.”
- Apply Stain: Use a Lakshana character and a Psyche character to trigger the Stain Esper Cycle. This increases the Psyche and Lakshana damage Mammon takes by 20% for 12 seconds.
- Nanally Burst: Swap to Nanally and unleash her Ultimate. Since Nanally’s ultimate freezes the combat timer, you can maximize your damage without worrying about the 3-minute Overload clock.
- Remora Extension: If Mammon begins to recover, use a Lakshana/Cosmos swap to apply Remora. This slows down Mammon’s recovery animation, extending the window where he is stationary.
Defensive Positioning and Dodging
Never stand directly in front of Mammon for more than three consecutive hits. His “Slam” combo can be triggered instantly if the player is in his frontal cone. Stay to the side or behind his legs. When you see the red indicator for the Deceptive Dash, dodge toward the boss rather than away; this ensures you stay within melee range to capitalize on the “Flash Moment” ATK buff.
Recommended Team

The current meta for Mammon revolves around the Stain and Charge reactions to maintain high Ultimate uptime and exploit elemental vulnerabilities.
The ‘Stain’ Meta Team
This composition is designed to shred Mammon’s defenses and keep him in a perpetual state of debuff.
- Main DPS: Nanally: Her Anima/Plasma kit provides the highest burst damage during stagger windows.
- Stagger Specialist: Daffodil: Essential for her Chaos-attribute Break intensity.
- Support/Healer: Sakiri: Her Incantation buffs increase team-wide damage and provide the “Perfect Rhythm” sustain needed to survive Phase 2.
- Reaction Enabler: Hathor: As a Lakshana S-Class, she is the primary tool for triggering Stain (with a Psyche sub-DPS) or Remora (with a Cosmos unit).
F2P-Friendly Composition
If you lack S-Class units, this team utilizes free or A-Class characters to achieve similar results.
- Main DPS: Esper Zero: The protagonist’s Cosmos damage is reliable and benefits from high energy regeneration.
- Sub-DPS: Jiuyuan: Provides consistent ranged pressure when Mammon is moving too fast for melee.
- Support: Adler: His Incantation skills can help trigger Scorch (DoT) and provide defensive utility.
- Breaker: Edgar: A solid Cosmos alternative for breaking meters if you lack Daffodil.
Best Arcs for Boss Slaying
Equipping the right Arcs (weapons) is vital for meeting the DPS check before the Overload mechanic kicks in.
- Blow up the Crowd (S-Rank): Excellent for quick-swap teams, providing stacking ATK bonuses.
- Shiny Days (A-Rank): A top-tier F2P choice that boosts Break Intensity and damage against broken enemies.
- Hethereau’s Keeper (S-Rank): A farmable S-rank Arc that provides strong sustain and summons an Officer Whisker to deal extra damage.
Loot

Farming Mammon is a non-negotiable part of the weekly loop for any player looking to upgrade their vehicles or characters.
Weekly Reward Caps
Rewards in the Realm of Greed reset every Monday at 4:00 AM server time. While you can challenge Mammon an unlimited number of times, you can only collect the Fons payout up to your weekly cap. However, hitting a new “Personal Record” (defeating Mammon faster or at a higher level) grants bonus stacks of Fons that can exceed your standard cap for that week.
Farming Fons Efficiently
To maximize your Fons income:
- Pink Paws Bank Heist: Defeating Mammon as the final boss of the Bank Heist (3rd Floor Vault) rewards between 70,000 and 170,000 Fons per run. This requires a Gold Permission Card and a Chaotic Cube, which are RNG drops within the heist.
- Covetous Coins: These are used exclusively to level up your Blind Mammon plushie. Always prioritize spending these to unlock the next Difficulty Tier, as the Fons payout increases exponentially at Difficulty IV and V.
- Anomaly Fragments: Mammon has a low chance to drop rare fragments used to craft high-tier Arcs. These are essential for endgame character builds.
By mastering the parry timing of the Gold Flash and maintaining the Stain reaction, Mammon transforms from a daunting wall into your most reliable source of income in Hethereau.
Sources
- lootbar.gg
- games.gg
- gamewith.net
- indiatimes.com
- gmtreks.com
- icy-veins.com — https://www.icy-veins.com/nte/lakshana-esper-element-characters-and-esper-cycles
- enjoygm.com — https://enjoygm.com/neverness-to-everness/nte-all-arcs-weapons-stats-and-effects-guide/
- pcgamer.com
Related Guides

How to Beat Abyss Floor 12: Genshin Impact Strategy Guide

How to Beat Early Bosses in Neverness to Everness: Full Guide

How to Beat Early Bosses in Neverness to Everness (NTE)

How to Beat Early Bosses in Neverness to Everness: A Complete Guide

Sam HSR: How to Beat the Boss & Best Teams (June 2026)

NTE Abyss Guide: How to Beat Mammon in Beyond the Rails

NTE Boss Fight Mechanics Explained: Master Every Anomaly

NTE Boss Strategy for Beginners: How to Beat Never-Ending Arachne
Sources (11)
- vertexaisearch.cloud.google.comvertexaisearch.cloud.google.com
- vertexaisearch.cloud.google.comvertexaisearch.cloud.google.com
- vertexaisearch.cloud.google.comvertexaisearch.cloud.google.com
- vertexaisearch.cloud.google.comvertexaisearch.cloud.google.com
- vertexaisearch.cloud.google.comvertexaisearch.cloud.google.com
- vertexaisearch.cloud.google.comvertexaisearch.cloud.google.com
- vertexaisearch.cloud.google.comvertexaisearch.cloud.google.com
- vertexaisearch.cloud.google.comvertexaisearch.cloud.google.com
- vertexaisearch.cloud.google.comvertexaisearch.cloud.google.com
- vertexaisearch.cloud.google.comvertexaisearch.cloud.google.com
- vertexaisearch.cloud.google.comvertexaisearch.cloud.google.com
Loading comments…