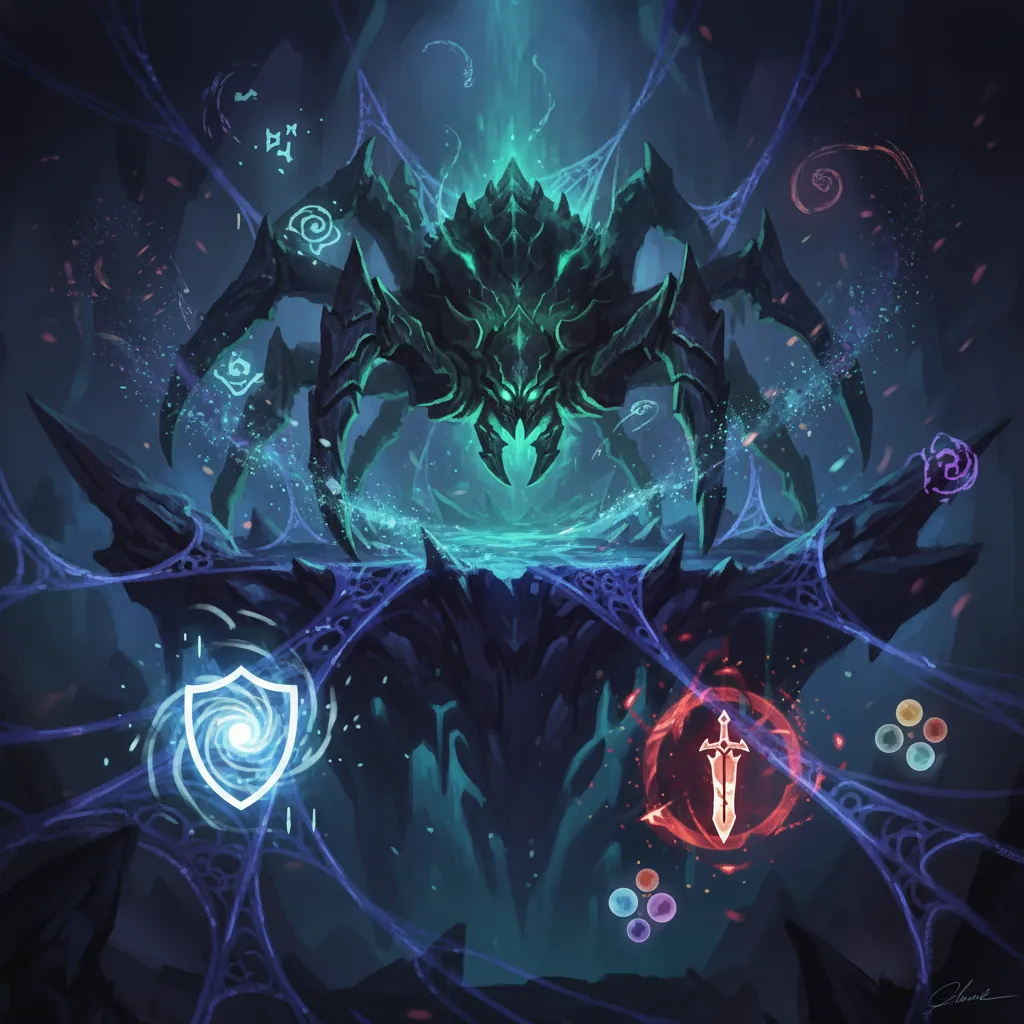
NTE Boss Strategy for Beginners: How to Beat Never-Ending Arachne
Defeating your first major weekly boss in Hethereau marks a significant turning point in your progression as an Anomaly Hunter.
📝 Editorial Note: This guide is AI-assisted and game data evolves rapidly. Please cross-reference with in-game information. Updated: 2026-05-20.
The Never-Ending Arachne serves as the first major hurdle for players reaching the mid-game of Neverness to Everness (NTE). Encountered during the climax of Episode 3: “Deal? Deal!”, this boss transitions from a story-driven spectacle into a weekly “Anomaly Pilgrimage” challenge that you must master to upgrade your characters’ high-level abilities. Unlike the standard street-level anomalies found in the New Herland District, Arachne requires a firm grasp of the game’s “Break” system and parry mechanics.
Boss Stats
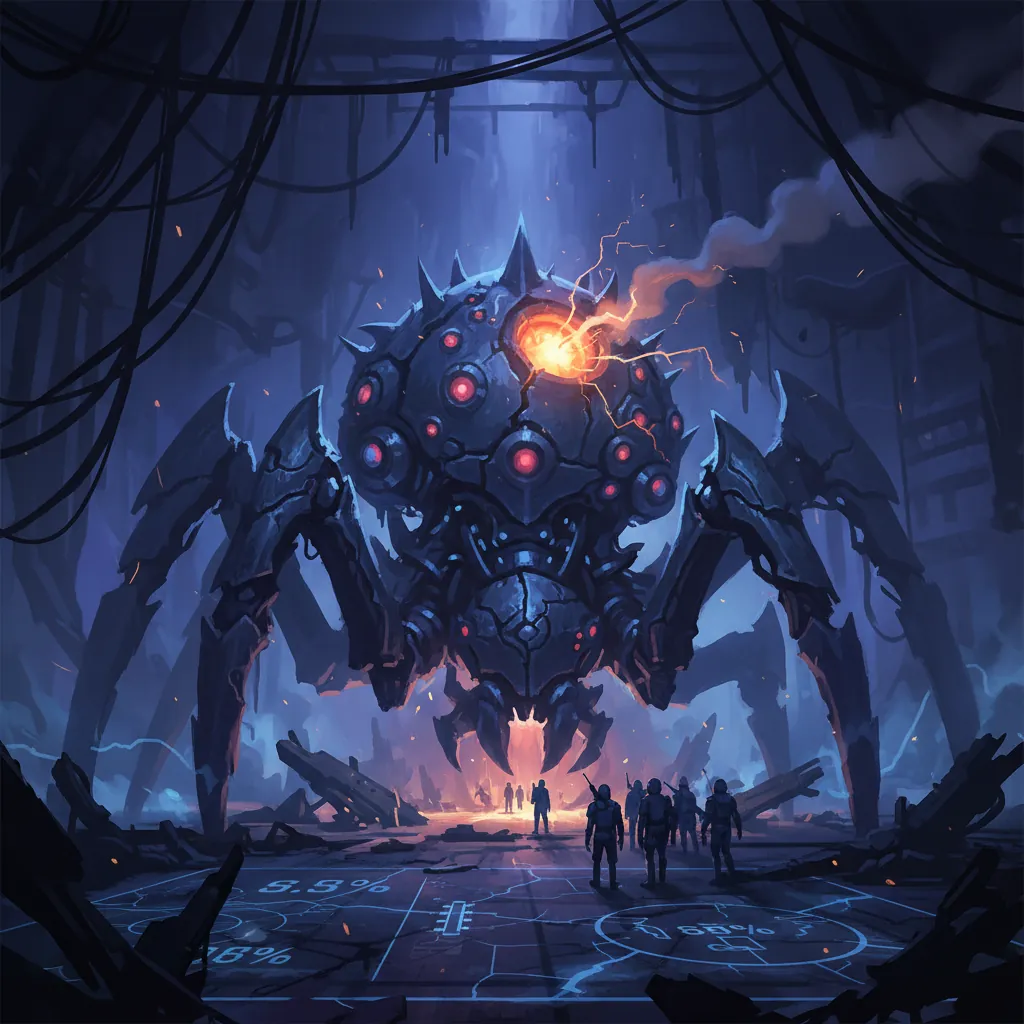
Never-Ending Arachne is a Class 5 Anomaly that emphasizes agility and area-of-effect (AoE) denial. While she initially appears during a high-stakes auction gone wrong, her permanent challenge location is found in the Ebisu Auction House. To find her, head to the bottom right of the New Herland District. Once you have cleared the story version of the encounter, a fast travel node unlocks directly outside the arena doors, allowing for quick farming runs.
The fight is structured around a dual-phase health bar. Unlike common enemies, Arachne possesses a dense “Break Bar” (located just beneath her primary HP). Depleting this bar is the only way to reliably deal massive damage, as she gains a significant damage reduction buff while her posture is intact.
Never-Ending Arachne Base Stats
| Stat | Value / Attribute |
|---|---|
| Primary Element | — |
| Weakness | Chaos |
| Resistances | Plasma, Physical |
| Recommended Level | 25+ (Hunter Level) |
| Base HP (Lvl 25) | [Exact value pending official confirmation] |
| Break Threshold | High |
Location and Unlock Requirements
To challenge the Never-Ending Arachne, you must complete the main story quest Episode 3: “Deal? Deal!”. This questline takes you through the Old Town and Unheard Shores districts before culminating in the Ebisu Auction House. After the scripted story victory, the boss becomes a weekly challenge. You can participate in this “Anomaly Pilgrimage” as many times as you like, but you can only claim the high-tier rewards three times per week.
Understanding the Break Bar Mechanic
The Break Bar is the white meter under the boss’s health. In NTE, attacking a boss with their elemental weakness (Chaos, in this case) depletes this bar much faster than neutral damage. Once the bar reaches zero, the boss enters a “Broken” state. During this window, the Never-Ending Arachne is completely incapacitated, and all incoming damage from your Hunters is increased by a substantial margin. Saving your Ultimates for this specific window is the most efficient way to end the fight quickly.
Attack Patterns
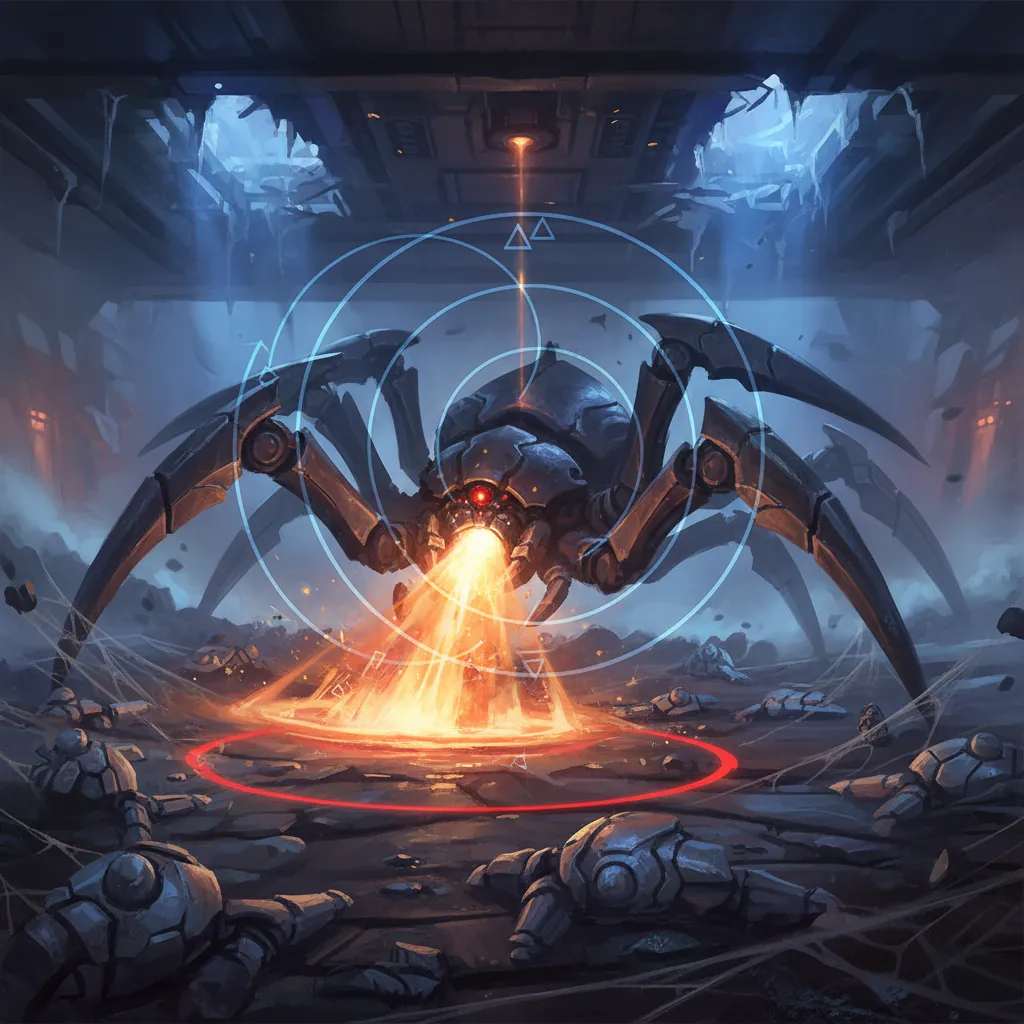
The Never-Ending Arachne fight is a theatrical experience divided into two distinct phases. The first phase focuses on platforming and dodging, while the second phase is a traditional high-speed duel.
Phase 1: Puppet Stage Mechanics
During Phase 1, Arachne remains on the elevated opera stage, making her untargetable by most melee Hunters. Instead of fighting you directly, she manipulates life-sized puppets that flood the arena floor.
- Circular Shockwaves: The puppets will periodically slam the ground, emitting glowing rings of energy. These rings expand outward at high speeds. You must jump or dash through them to avoid taking chip damage and losing your Esper Meter momentum.
- Puppet Spin: One or more puppets will occasionally detach from their strings and spin toward your position like a top. This attack causes a stagger lock if it hits, leaving you vulnerable to the next shockwave.
- Spotlight Laser: A red spotlight will track your character on the ground. After three seconds, a laser beam fires from the stage. You must dash at the last moment to avoid the burn effect.
Phase 2: Melee Slashes and Ranged Threads
Once the boss’s first health bar is depleted (or after a scripted transition at 70% HP in the story version), she descends to the arena floor.
- Triple Thread Combo: Arachne performs three consecutive slashes with her silk-coated fans. The first two are standard attacks, but the third often features a Red Shine Indicator.
- Silk-Spray Cone: The boss leaps backward and sprays a cone of sticky silk in front of her. If caught, your movement speed is reduced by 50% for five seconds.
- High-Speed Teleport: Arachne frequently teleports behind the player to initiate a surprise slash. Watching the camera-lock indicator is vital here to ensure you aren’t hit from your blind spot.
Visual Chart: Phase 1 vs Phase 2 Attack Frequency
- Phase 1: High AoE density, Low direct targeting, High environmental hazard.
- Phase 2: High direct targeting, Moderate mobility requirement, High parry opportunity.
Step-by-Step Strategy
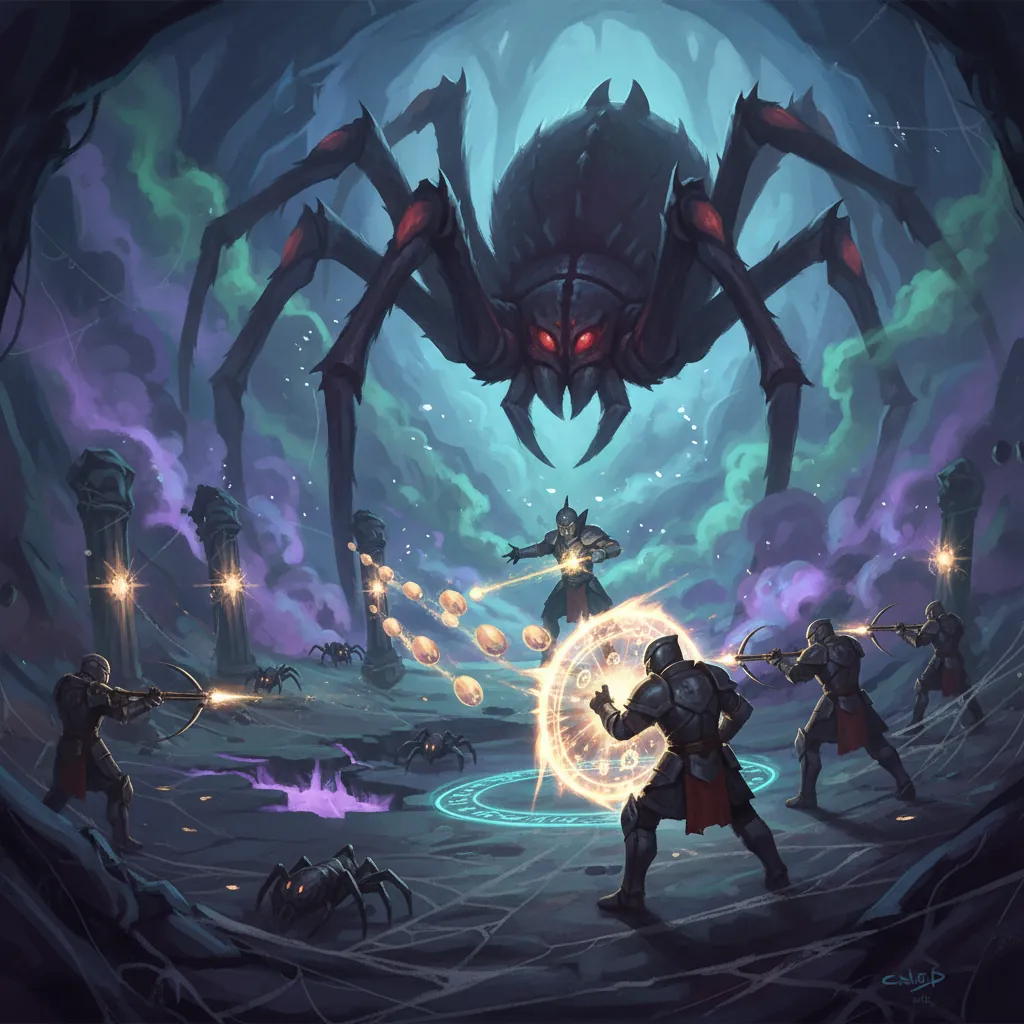
Mastering this fight is less about raw power and more about rhythmic execution. If you are struggling with the damage output, focus on the following rotation to maximize your “Break” efficiency.
Mastering the Critical Riposte
The “Red Shine” is your best friend in this encounter. When Arachne prepares a heavy attack, a distinct red flash will appear on her weapon. If you dodge at the exact moment this flash occurs, you trigger a Critical Riposte. This isn’t just a dodge; it’s a counter-system that deals massive Break damage and often grants your character a temporary ATK buff or energy refund.
For beginners, the easiest way to land a Critical Riposte is during her “Triple Thread” combo. Don’t spam the dash button during the first two hits. Wait for the third hit—the one with the flash—and dash toward the boss. This puts you in a perfect position to retaliate while her animations are recovering.
Optimal Ultimate Timing
A common mistake is using your Hunters’ Ultimates as soon as they are off cooldown. Against the Never-Ending Arachne, this is highly inefficient. Because she moves so frequently in Phase 2, many Ultimates (like Nanally’s electromagnetic storm) might miss their full hit-count.
The ‘Break and Burst’ Rotation Checklist:
- Use your ‘Break’ specialist (like Daffodill) to chip away at the white bar using Chaos-aligned skills.
- Build your main DPS stacks (e.g., Hathor’s Express Delivery Power) using basic attacks and parries.
- Once the Break Bar is at 10%, switch to your support to apply any buffs or “Remora” marks.
- Trigger the final Break.
- Unleash all Ultimates simultaneously while the boss is slumped on the ground.
Phase 2 Positioning
In Phase 2, try to stay behind the boss whenever possible. Her Silk-Spray and most of her fan-slashes have a frontal cone hit-box. By constantly dashing behind her, you negate roughly 60% of her potential damage output. If she teleports away, do not chase her immediately; wait for her to commit to her next move, as she often follows a teleport with a parryable lunge.
Recommended Team
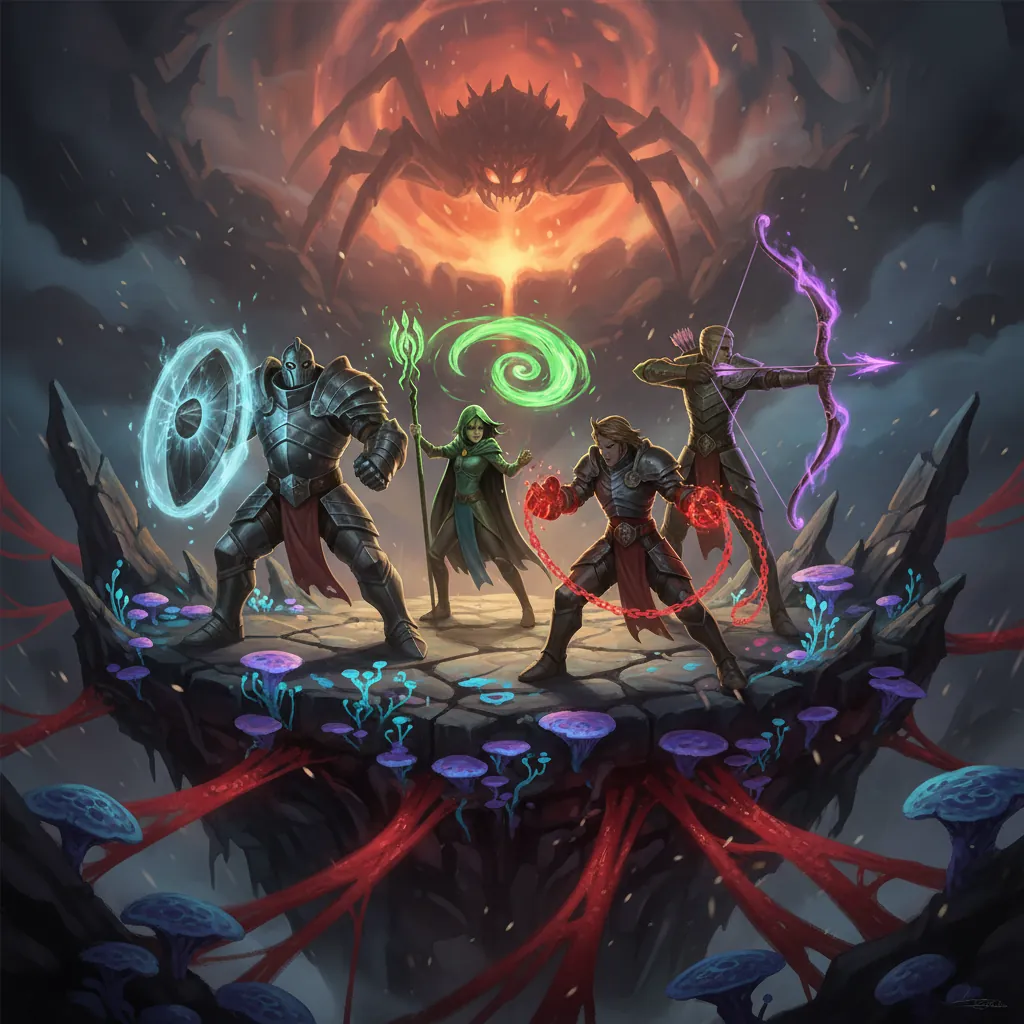
Building a balanced team is essential for overcoming the Arachne’s high defense. You need a mix of elemental coverage and role specialization.
Best Beginner Teams
| Character | Element | Role | Synergy |
|---|---|---|---|
| Hathor | Lakshana | Main DPS | Stacks damage via “Express Delivery Power” during parries. |
| Nanally | Plasma | Sub-DPS/Utility | Vertical mobility to avoid Phase 1 waves; high AoE control. |
| Daffodill | Chaos | Break Specialist | Specifically targets the boss’s elemental weakness. |
| Mint | Blossom | Support/Healer | Provides sustain and “Blossom” reactions for energy. |
The ‘Hathor Carry’ Strategy
Hathor is widely considered the MVP for the Never-Ending Arachne fight. Her kit revolves around gaining “Express Delivery Power” stacks. Since Arachne attacks frequently in Phase 2, Hathor can reach maximum stacks almost instantly through successful dodges and her “Five-Star Tracking” passive. Once she enters her “Emergency Delivery” state via her Ultimate, her damage against the boss’s Broken state is unrivaled among the standard S-Rank roster.
Best F2P Team Composition
If you haven’t pulled any S-Rank characters yet, you can still clear this boss using the starter units:
- Zero (Cosmos): Use Zero to mark the boss with “Remora,” which increases the reaction damage from your other units.
- Mint (Blossom): Provides the necessary healing to survive the puppet shockwaves in Phase 1.
- Adler (Incantation): Acts as your primary damage dealer, utilizing the reactions triggered between Cosmos and Blossom to reset skill cooldowns.
While this team lacks the raw Break power of a Chaos unit like Daffodill, the constant reaction procs provide enough energy to keep Mint’s healing active throughout the fight.
Loot
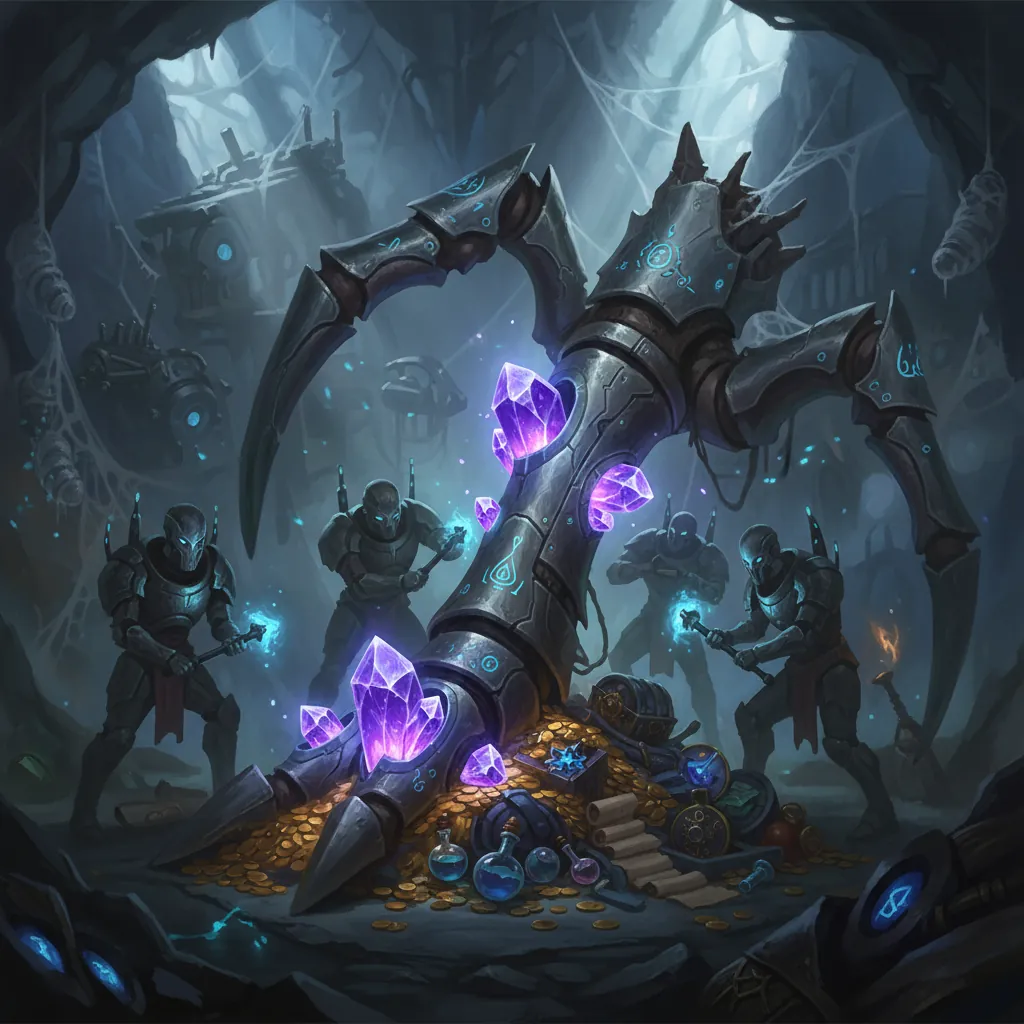
Farming the Never-Ending Arachne is mandatory for any player looking to maximize their character’s potential. The rewards are some of the most valuable in the game’s current version.
Primary Drop: Dress Sleeves of Vanity
The most sought-after item from this boss is the Dress Sleeves of Vanity. This S-Rank consumable is required for upgrading character “Esper Abilities” and unlocking the second tier of passive skills. Most S-Rank characters require at least 12 of these sleeves to reach their maximum potential, and since you can only get a limited amount per week, it is recommended to start farming this boss as soon as you hit Hunter Level 25.
Never-Ending Arachne Drop Table
- Dress Sleeves of Vanity: (High Chance) - Essential for ability upgrades.
- Fons: (Guaranteed) - The primary currency for upgrades, scaling with your Appraisal Level.
- Character Pixels: (Cost) - Requires 60 Pixels to claim rewards.
- Mid-Tier Arcs: (Random Drop) - Arcs that provide flat ATK and Crit Rate bonuses.
- Colorless Dye: (Common) - Used for basic gear modifications.
How to Spend Character Pixels Efficiently
You only have a finite amount of Character Pixels (the NTE version of “stamina” or “resin”) each day. Since the Arachne rewards are limited to three claims per week, you should prioritize these runs every Monday or Tuesday. Spending 180 Pixels a week on this boss is the most efficient use of your resources until your main team has their passive abilities fully unlocked.
Farming Dress Sleeves of Vanity
If you are short on Pixels but still need to practice the fight, you can enter the Anomaly Pilgrimage without claiming the rewards. This allows you to learn the parry timings for the “Triple Thread” combo without wasting your weekly loot chances. Once you can consistently trigger the “Broken” state within the first three minutes of Phase 2, you are ready to tackle higher difficulty tiers as they unlock with your Appraisal Level.
Successfully containing the Never-Ending Arachne is a badge of honor for any new Appraiser in Hethereau. By focusing on the red parry indicators and timing your Ultimates for the Break window, you can turn this daunting opera of shadows into a consistent source of high-level upgrade materials.
Sources
- gamewith.net — https://vertexaisearch.cloud.google.com/grounding-api-redirect/AUZIYQEZOcNg6nxRdiM-_BBFPEJfxm8lKBoGr4oEWPqNeSP4IOr_sUAtlBCYhyqORCQOtlE-Va7wV_YbQocrzPkZpAT6R5dfox9i0a8pe518Uxc0hyqEyDjB1x8j2g==
- thegamer.com — https://vertexaisearch.cloud.google.com/grounding-api-redirect/AUZIYQEYopUfezA1VvEnJ3geVMDSzNO8j0JrcqIZhHVApVqkLcYlOX7_vBmAr6GATrIghhIsZ2J0zNTbMRqDgg583WgTzDez4pk_pGDEuAhDXF-MAkRDDBdkji7cgwJkA3BfKZaz4gy9ayRfS37fqtjS8rHcjjNOH7lvEspQzE5JWr6_DDEeUCGl5bmM4g2k50m-g-58C7JAvJKJNwWSfZozEpdfNPkEO08=
- nerdschalk.com — https://vertexaisearch.cloud.google.com/grounding-api-redirect/AUZIYQFJuFSYnxiMcsSbzz8Lg9zpMSpfWR1a1vw846P9Yc2SNW66GuGrSK6veW900CXA0Wxoa3v9bmAc4vbl9YMTw9FRBbkcvHmLVT7E1UfHXhgmeAx0oz3LrjsMkoUd3vMbZikor38J5NzPFtex8x6ssuvQ4f6rXb0G1jvXhlEWH7OKbV9l411otKZR4KWEpBCfche28gpuj-G3B7-hTl-kY5-_w46JHpn0Z1zWVMmfDhxwUAyyy4gP
- enjoygm.com — https://vertexaisearch.cloud.google.com/grounding-api-redirect/AUZIYQGFQm5yWX3PtWSmm_EO3TsIeNIKr1zRO1mV1M5NDnEh0-c2IXoNv3oY_IHFIjdNzJ0IuU7KuEgM6z8PreaUyCyoKenM-3IINNNFn2bC66t0CUU8lNagZlSBAkw7TuwYHs1AgbaoFvhZu16pHND41iTM7U7r_P4YiFexntXWt7KdZx4=
- ldshop.gg — https://vertexaisearch.cloud.google.com/grounding-api-redirect/AUZIYQEJ6pwN-cpGv4hhhjeuDtoLktxsSuxaBQvl9W-vMgriVLpWir85CNHQzX7ChS9x28Ttvd8TGuuoMnA2UoQLboSZmzg-o6fM047sYuqLdYLo_nL-K_9ZRrwuWbQE47CcYegvVtLLDkHtU8VEig==
- sportskeeda.com — https://vertexaisearch.cloud.google.com/grounding-api-redirect/AUZIYQGCteTLzwt0r_dFjh-3NS_WNThZElPK7ZKUNDNCScDgXVLeq5iJWUjsxWawako15jnj7GktmMRb2B9RIiqT_6y_toDRBNjo1T9gmNLcl0MGwPdX3oz6zyHIcfb7McsJoupdMqulMHD9FPFOLzBrwnqr-GoSEOQkrR8eL5ATVDP5vEQcBPqY3jV3V9SihWUihmI1rmyg16-m
- beebom.com — https://vertexaisearch.cloud.google.com/grounding-api-redirect/AUZIYQFTe0SMD46tLLIMG5TZzSL3nsmfvIB-PqBG1c0fqwWq9jdtGrGFMh4fLJyozOK1OQh1uTQ638UY12J5RgQC2ds-XhA1Lctkrch3D1DVDNpM2C2CsSNp9lLQjng=
Related Guides

How to Beat Abyss Floor 12: Genshin Impact Strategy Guide
How to Beat Early Bosses in Neverness to Everness: Full Guide

How to Beat Early Bosses in Neverness to Everness (NTE)

How to Beat Early Bosses in Neverness to Everness: A Complete Guide

Sam HSR: How to Beat the Boss & Best Teams (June 2026)

NTE Abyss Guide: How to Beat Mammon in Beyond the Rails
NTE Boss Fight Mechanics Explained: Master Every Anomaly
NTE Boss Guide: Mammon Mechanics and Strategies
Sources (11)
- vertexaisearch.cloud.google.comvertexaisearch.cloud.google.com
- vertexaisearch.cloud.google.comvertexaisearch.cloud.google.com
- vertexaisearch.cloud.google.comvertexaisearch.cloud.google.com
- vertexaisearch.cloud.google.comvertexaisearch.cloud.google.com
- vertexaisearch.cloud.google.comvertexaisearch.cloud.google.com
- vertexaisearch.cloud.google.comvertexaisearch.cloud.google.com
- vertexaisearch.cloud.google.comvertexaisearch.cloud.google.com
- vertexaisearch.cloud.google.comvertexaisearch.cloud.google.com
- vertexaisearch.cloud.google.comvertexaisearch.cloud.google.com
- vertexaisearch.cloud.google.comvertexaisearch.cloud.google.com
- vertexaisearch.cloud.google.comvertexaisearch.cloud.google.com
Loading comments…