NTE Boss Fight Mechanics Explained: Master Every Anomaly
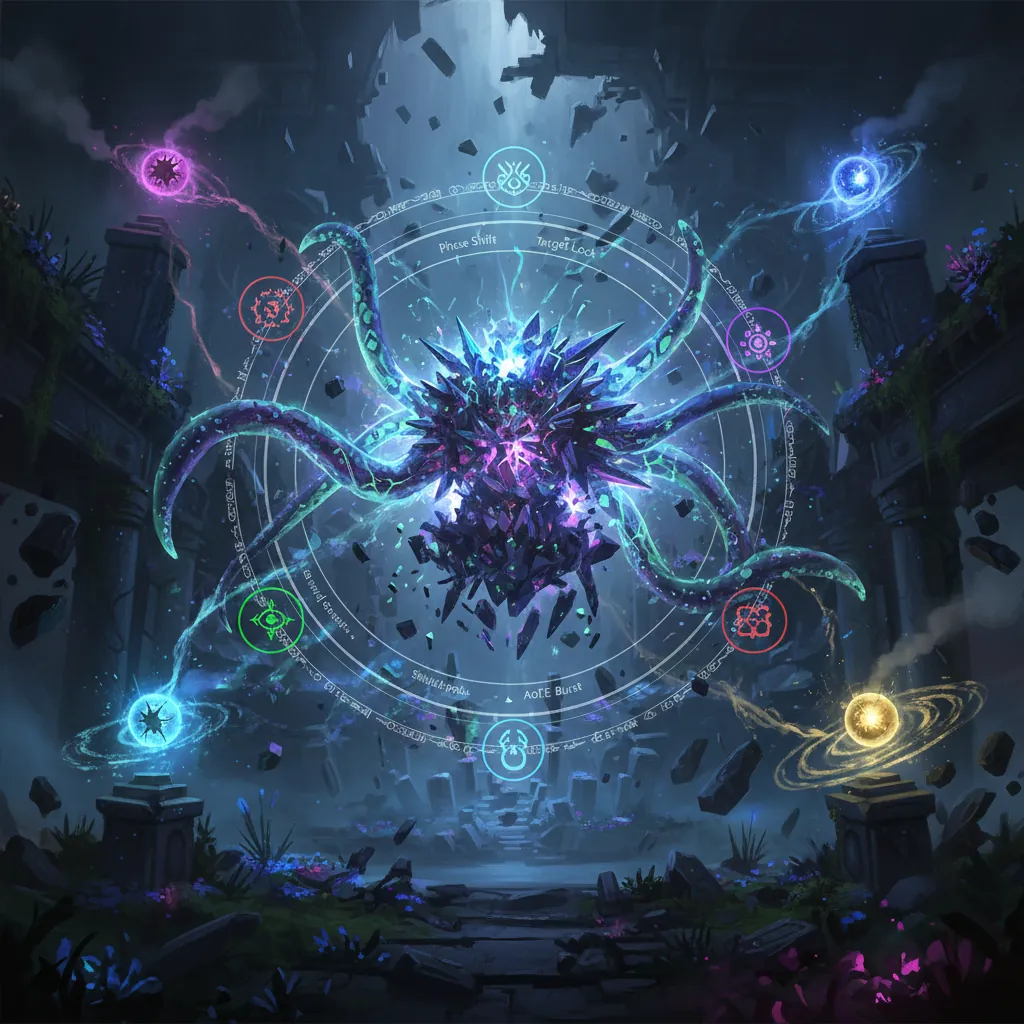
Surviving the supernatural anomalies of Hethereau requires more than just high-level gear; you need to master the rhythmic flow of parries and elemental reactions. This guide breaks down the core combat systems and boss-specific strategies you need to dominate the toughest encounters in Neverness to Everness.
Combat in Neverness to Everness (NTE) is a high-speed dance between the Appraiser and the Anomalies that haunt the city. Unlike standard urban action games, NTE emphasizes a rhythmic “Break and Burst” cycle. To succeed against high-tier threats like Mammon or the Never-Ending Arachne, you must look past the health bar and focus on the underlying mechanics governing stagger, elemental synergy, and defensive timing.
Boss Stats
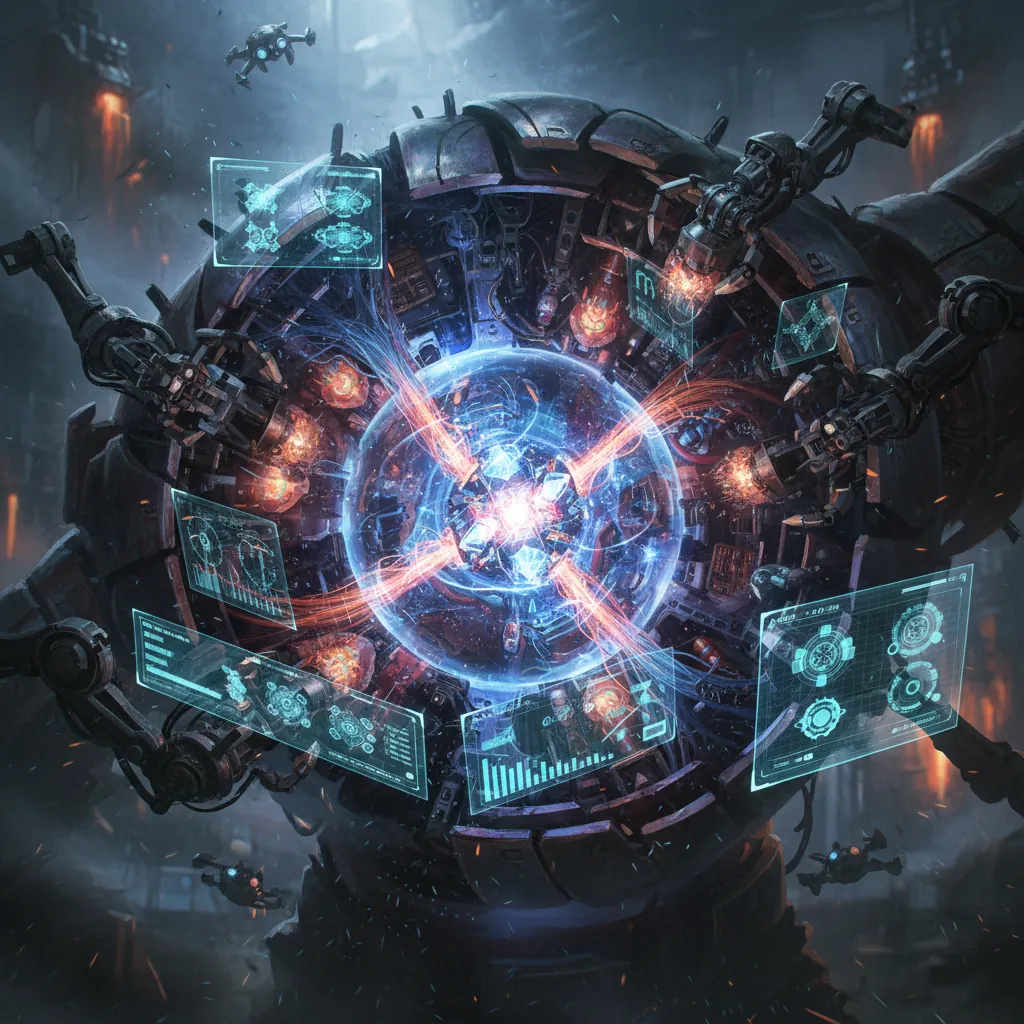
Bosses in NTE do not follow a fixed level curve. Instead, Anomalies feature dynamic level scaling tied directly to your Appraiser level. When you enter an Anomaly instance or encounter a world boss, the game calculates the boss’s level based on your current account progression. For most elite encounters, the baseline starts at Level 32, scaling upward as you unlock higher World Tiers.
The most critical stat to monitor is not the boss’s HP, but the secondary white bar located directly beneath it: the Break Meter. This meter functions as a stagger threshold. While this bar is active, bosses possess significant damage reduction and high interruption resistance. Depleting this bar is the primary goal of the first half of any encounter.
Understanding the Break Meter
The Break Meter (or Stagger Bar) dictates the flow of battle. Different types of attacks contribute varying amounts of “Break Pressure” to this bar. Heavy attacks and specific Esper skills are designed to shred this meter, while basic attack strings provide minimal impact.
| Attack Type | Break Pressure Multiplier | Effect on Boss |
|---|---|---|
| Basic Attack String | 1.0x | Minimal stagger; primarily builds Esper Meter. |
| Perfect Parry | 3.5x | Massive Break damage; slows boss movement briefly. |
| Critical Riposte | 5.0x | Triggered after perfect dodge/parry; highest Break source. |
| Elemental Skill | 2.0x - 2.5x | Varies by character; helps maintain Break decay. |
| Ultimate Ability | 4.0x | Large burst of Break damage; often ignores resistance. |
Once the Break Meter reaches zero, the boss enters a “Downed” state. During this window, all damage dealt to the boss is increased by 50%, and they are unable to perform any actions. This is your primary window for unleashing high-damage Ultimates and Esper Cycles.
Elemental Weaknesses and Esper Types
NTE utilizes six distinct Esper types: Anima, Chaos, Cosmos, Incantation, Lakshana, and Psyche. Every Anomaly has a specific elemental profile that determines how much damage they take from these sources.
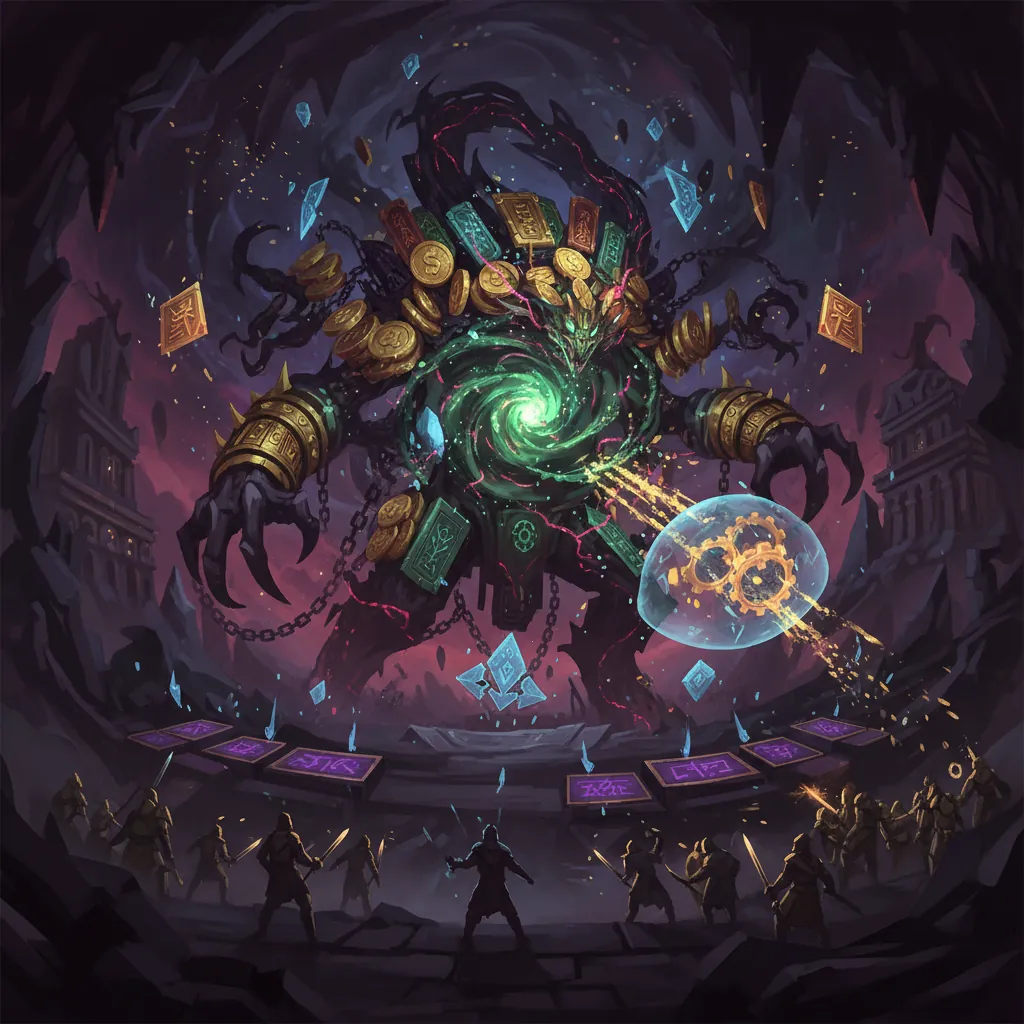
Mammon, the Hethereau Anomaly found in the industrial districts, is a prime example of stat-based resistance. It features exceptionally high physical resistance, making non-elemental weapons almost useless. However, it is highly susceptible to Lakshana-based elemental debuffs. Attacking a boss with their elemental weakness not only deals more HP damage but also accelerates the depletion of the Break Meter by approximately 15% to 20% [exact value pending official confirmation].
Attack Patterns
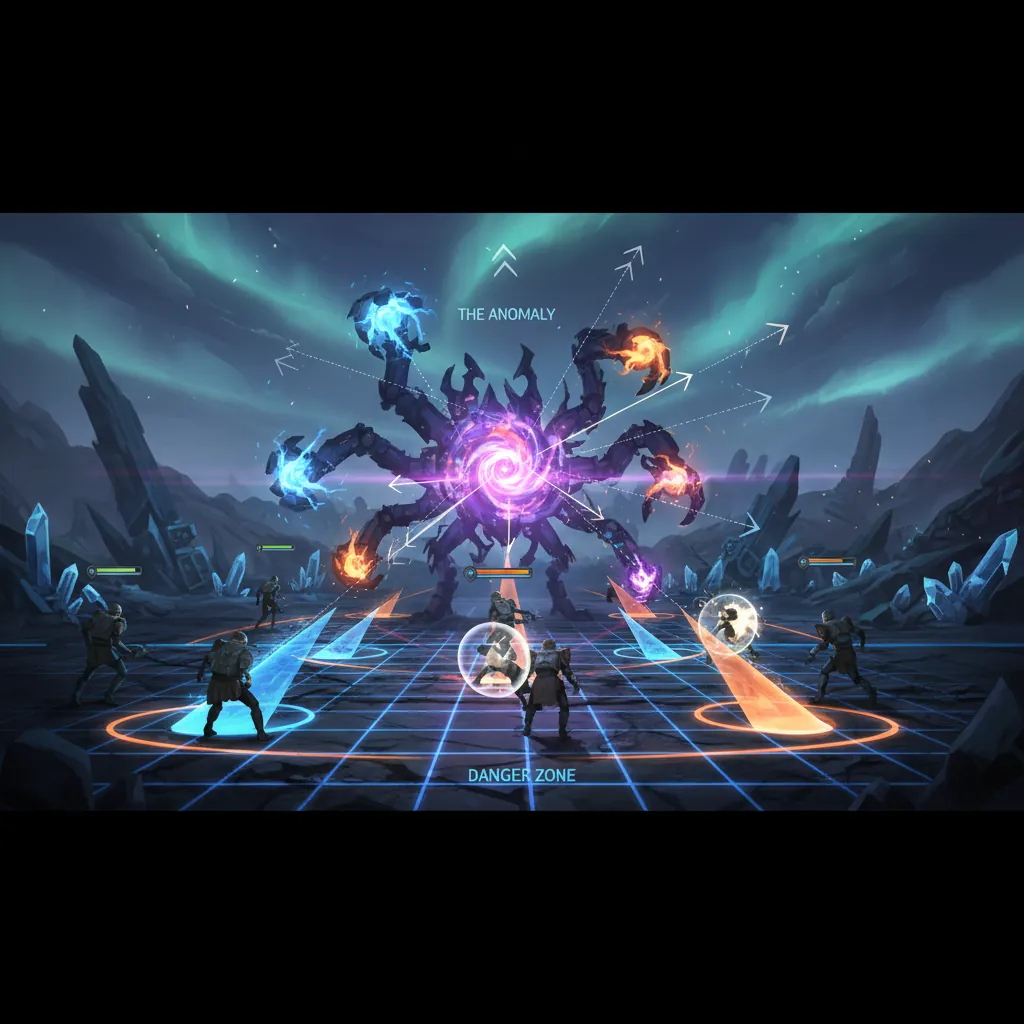
Mastering NTE boss fights requires a keen eye for visual cues. The game uses a standardized telegraphing system that informs you exactly how to react to incoming threats. Learning to distinguish between a parryable strike and a mandatory dodge is the difference between a clean clear and a team wipe.
The Parry and Dodge System
The most recognizable mechanic in NTE combat is the “Parry Circle.” When a boss prepares a parryable attack, two red concentric circles will appear on the screen, closing in toward a center point. To execute a successful Parry, you must activate your defensive skill or attack just as the circles overlap and flash golden or white.
Successful parries do more than just prevent damage; they trigger a time-slow effect and allow for a “Critical Riposte,” which deals massive Break damage. Conversely, some attacks are preceded by a deep red aura emanating from the boss’s body. These attacks are unparryable. If you see the deep red glow, you must use a dash to perform a Perfect Dodge. A successful Perfect Dodge grants a brief window of invulnerability and generates a significant amount of Esper Meter, allowing you to cycle through your team’s abilities faster.
Phase-Specific Mechanics
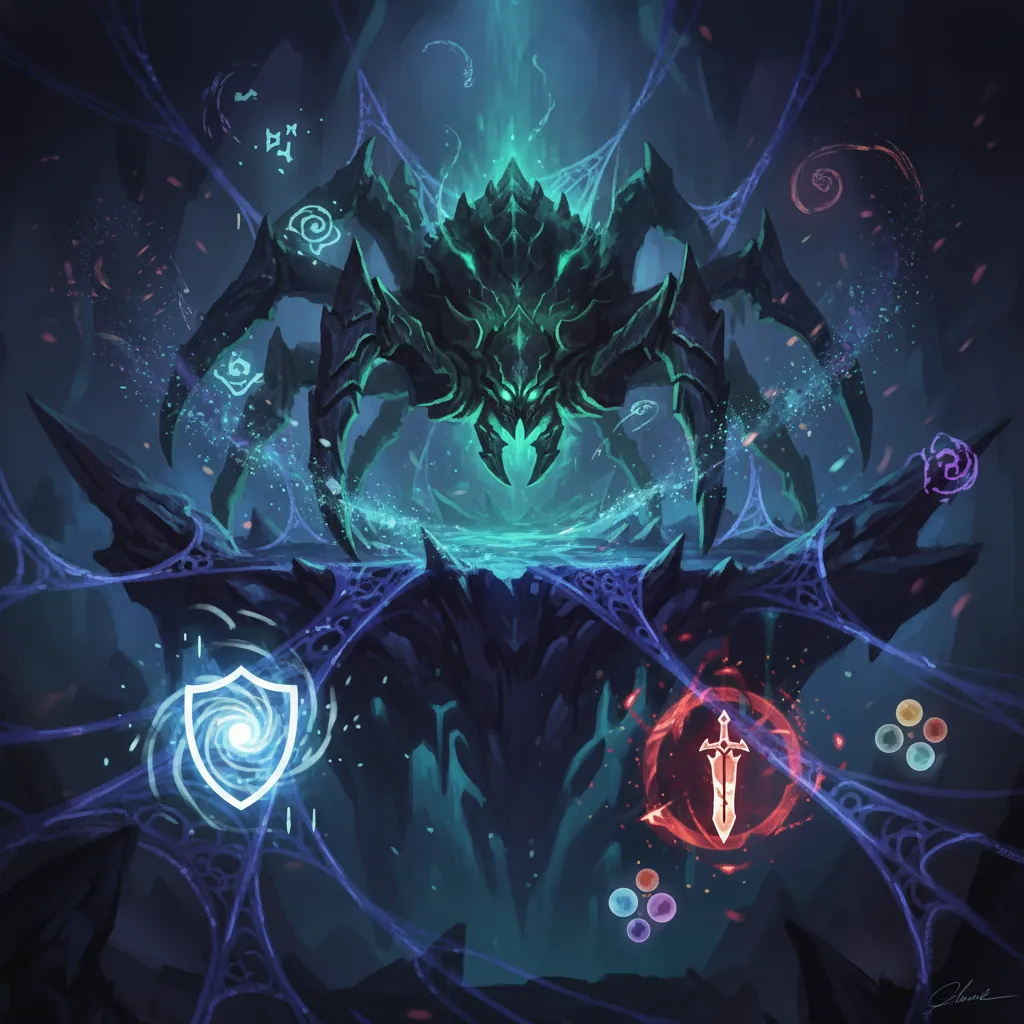
Major bosses like the Never-Ending Arachne introduce new mechanics as their health drops. Most high-tier Anomalies undergo a phase transition at the 50% HP threshold.
- Phase 1: The boss uses standard physical lunges and predictable projectile attacks. This phase is intended for learning the parry timings and chipping away at the Break Meter.
- Phase 2 (The Shift): At 50% HP, the boss will often perform an arena-wide “Transition Attack.” For Arachne, this involves the “Spotlight” mechanic, where the arena goes dark and players must stay within moving circles of light to avoid taking massive tick damage.
- Phase 3 (Enraged): Once the boss recovers from its second Break window, it enters an enraged state. Attack speed is increased, and parry windows become significantly shorter.
For Mammon, the telegraph cues are more physical than magical. Watch for its limb movements; its straight-line lunge has an incredibly fast wind-up. To avoid it, a 45-degree diagonal dodge is more effective than back-dashing, as the hitbox for the lunge is narrow but deep.
Step-by-Step Strategy
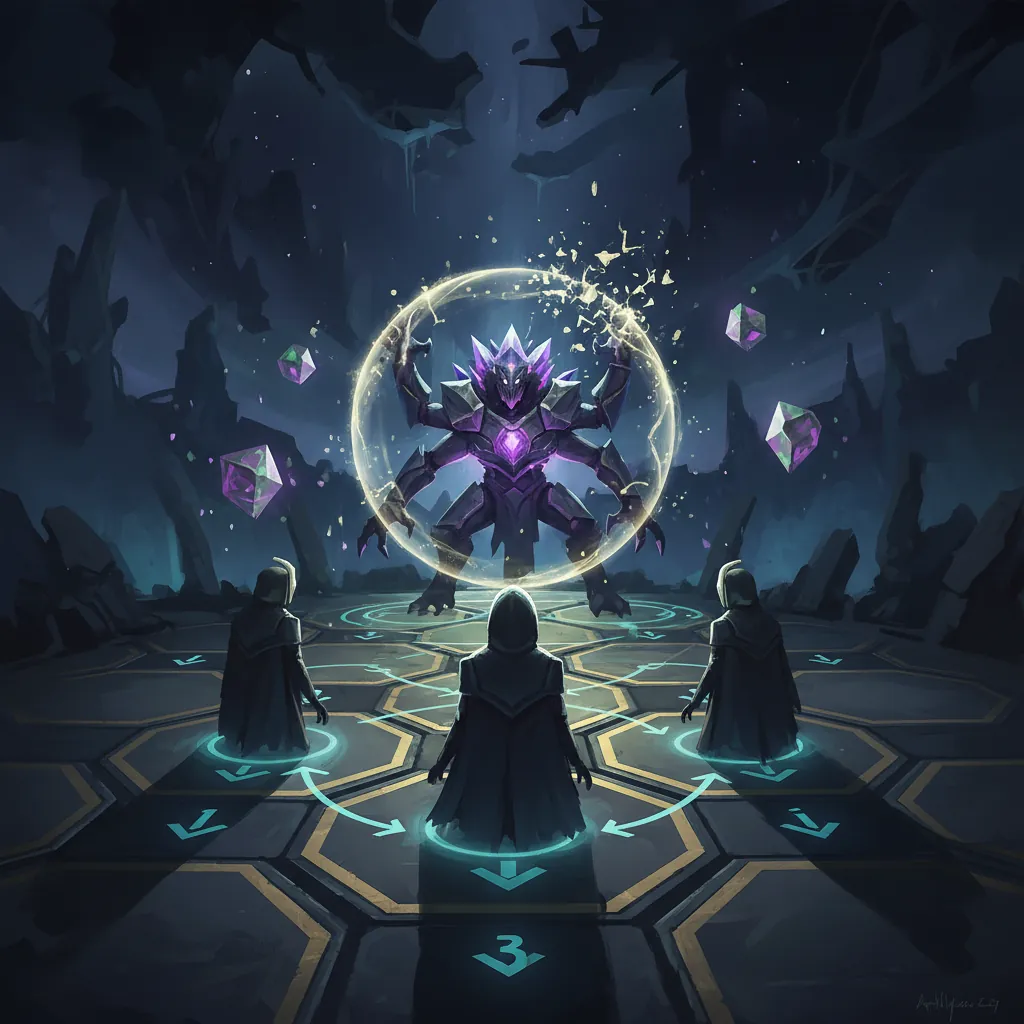
To defeat bosses efficiently, you should follow the “Setup-Break-Burst” combat loop. This strategy ensures you aren’t wasting your highest damage abilities while the boss still has its defensive Break Meter active.
Maximizing the Stagger Window
The fight begins with the Setup phase. During Phase 1, your goal is to build your Esper Meter. Do not use your Ultimates immediately. Instead, focus on landing Perfect Dodges and Parries. Every successful defensive maneuver builds your meter and chips away at the white Break bar.
Once the Break Meter is nearly depleted, switch to your “Breaker” specialist (such as Daffodil) to land the final blow. This triggers the “Downed” state. As soon as the boss hits the ground, the Burst window begins. You have approximately 8 to 12 seconds [exact duration varies by boss] of 50% increased damage.
Executing Esper Cycles
The core of NTE’s high-level DPS is the Esper Cycle. By chaining neighboring elements, you trigger powerful reactions.
- Apply Primary Element: Start with a Lakshana or Anima attack to prime the boss.
- Trigger Reaction: Switch to a Psyche or Chaos character to trigger “Stain” or “Blossom” reactions.
- Trio Esper Cycle: If your meter is full, activate all three character Ultimates in rapid succession. Chaining Lakshana into Psyche creates a “Stain” effect that amplifies all elemental damage for the duration of the Downed state.
The Setup-Break-Burst Checklist:
- Build Esper Meter using basic attacks and Perfect Dodges.
- Use “Critical Riposte” to deplete the white Break Meter.
- Wait for the “Downed” animation to fully trigger.
- Switch to your DPS Carry (e.g., Nanally).
- Execute a Trio Esper Cycle (Lakshana -> Psyche -> DPS Ultimate).
- Retreat and reset once the boss stands back up and regenerates the Break Meter.
Recommended Team
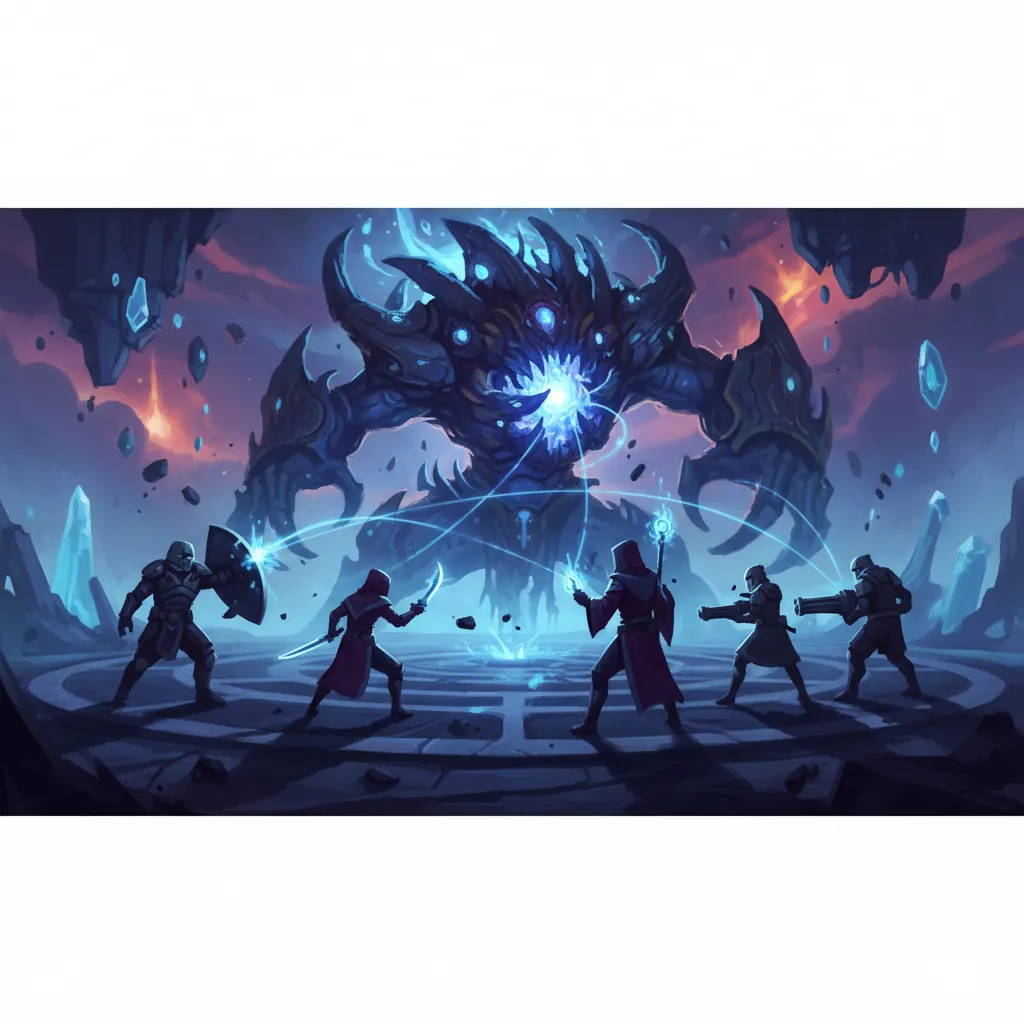
Building a team in NTE isn’t just about picking the strongest characters; it’s about balancing Break potential with Burst damage and elemental synergy.
Meta Team Synergies
The current meta revolves around the “Stain” reaction, which requires a combination of Lakshana and Psyche elements. This combination is particularly effective against the high-health pools of world bosses.
| Team Comp | Core Characters | Primary Role | Strategy |
|---|---|---|---|
| The Stain Team | Nanally, Daffodil, Sakiri | Elemental Burst | Uses Lakshana/Psyche to melt boss HP during Break windows. |
| The Charge Team | Edgar, Nanally, — | Ultimate Spam | Focuses on rapid Esper Meter regeneration. |
| The Discord Team | Chaos-type Lead, Psyche, Anima | Crowd Control/DoT | Focuses on Chaos-based debuffs to slow boss Break recovery. |
Character Role Breakdown
- The Break Specialist: Characters like Daffodil are essential. Their kits are specifically tuned to deal high Break damage. Bringing a Breaker allows you to reach the Burst window twice as fast as a team of pure DPS characters.
- The DPS Carry: Nanally remains the premier choice for boss encounters. Her high Burst damage and unique time-manipulation abilities allow her to extend the duration of the Downed state by several seconds, effectively lengthening your high-damage window.
- Support/Sustainability: Sakiri and Edgar are the backbone of survivability. Sakiri provides essential healing and shields, which are vital for surviving the chip damage from aggressive bosses like Mammon. Edgar offers crowd control that can interrupt minor Anomaly adds that often spawn during boss phase transitions.
For F2P players, focusing on a team that includes at least one dedicated Breaker and one healer is more important than chasing specific S-Rank DPS units. A well-timed Break with a B-Rank character will always out-damage a poorly timed Ultimate from an S-Rank character.
Loot
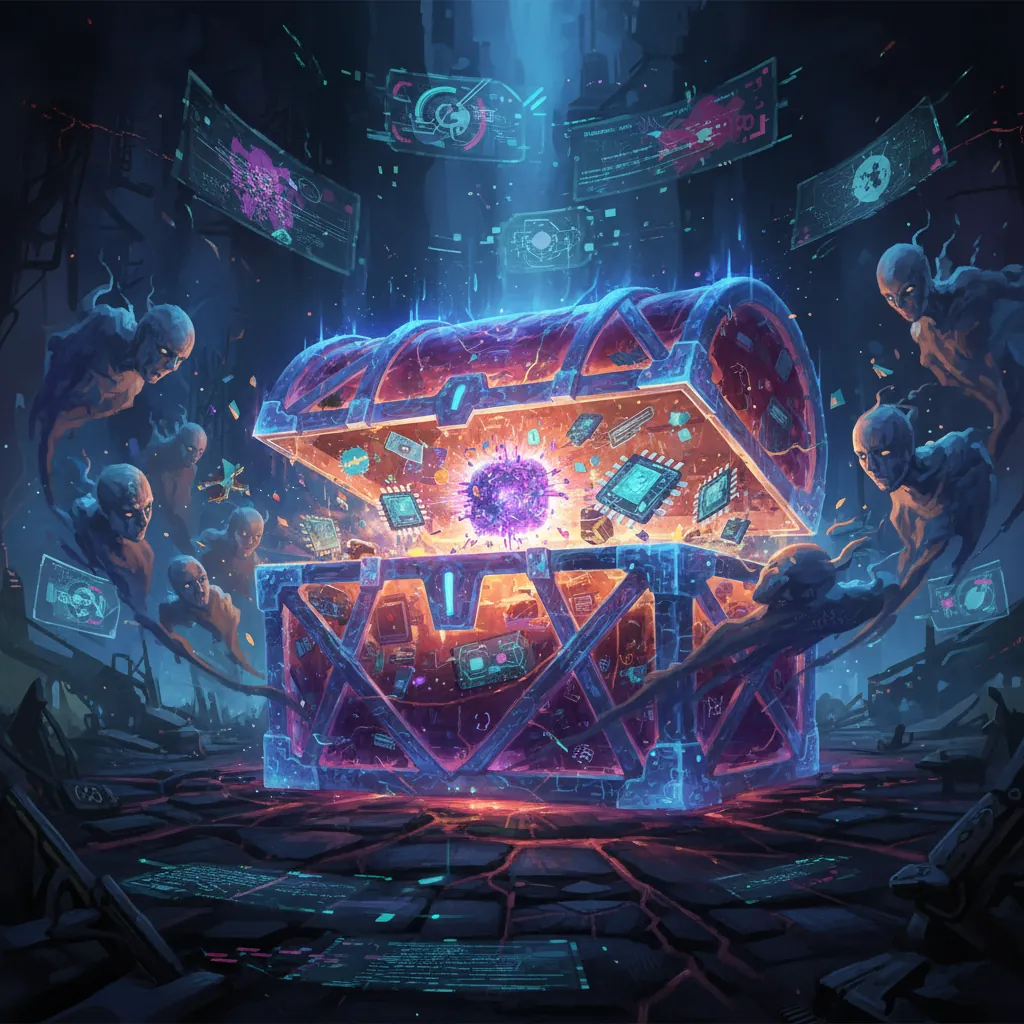
Defeating bosses in NTE is the primary method for progressing your characters and customizing your urban experience. The rewards are split between standard upgrade materials and unique, high-value drops.
Farming Weekly Anomalies
Bosses like Morphix and Mammon are classified as Weekly Anomalies. You can defeat them as many times as you like, but you can only claim their high-tier rewards a limited number of times per week. These rewards reset every Monday at 04:00 server time.
- Fons: The primary currency used for upgrading Arcs and leveling characters. High-level bosses provide the most efficient Fons-per-Stamina ratio in the game.
- Character Pixels: These are essential for unlocking a character’s “Resonance” levels (constellations). Pixels are rare drops from boss encounters and Anomaly Commissions.
- S-Rank Arcs: Clearing specific boss files for the first time or through high-level farming grants S-Rank Arcs, which function as the game’s primary weapon system.
Unique Vehicle and Weapon Rewards
NTE rewards exploration and boss mastery with more than just stats. Some bosses drop unique cosmetic and functional items.
The Headless Rider Anomaly, a world boss often found patrolling the highway outskirts of Hethereau, has a chance to drop the “Regalia” motorbike customization. This is a highly sought-after drop for vehicle enthusiasts, as it provides a unique aesthetic and a slight boost to nitro regeneration during city traversal.
To maximize your loot efficiency, always check your “City Stamina” before engaging a boss. While you can fight world bosses for free to practice mechanics, claiming the rewards requires Stamina. It is generally recommended to save your Stamina for “Anomaly Commissions,” which offer guaranteed S-Rank materials compared to the RNG-heavy drops of open-world encounters.
Sources
- Neverness to Everness Official Site — https://nte.perfectworld.com/
- IGN: Neverness to Everness Preview and Combat Mechanics — https://www.ign.com/games/neverness-to-everness
- Game8: NTE Boss Guide and Elemental Weaknesses — https://game8.co/games/Neverness-to-Everness
- Reddit: r/NTE_Official - Combat Mechanics Megathread — https://www.reddit.com/r/NTE_Official/
- Prydwen Institute: NTE Character Tier List and Team Comps
Related Guides
How to Beat Abyss Floor 12: Genshin Impact Strategy Guide
How to Beat Early Bosses in Neverness to Everness: Full Guide
How to Beat Early Bosses in Neverness to Everness (NTE)
How to Beat Early Bosses in Neverness to Everness: A Complete Guide
Sam HSR: How to Beat the Boss & Best Teams (June 2026)
NTE Abyss Guide: How to Beat Mammon in Beyond the Rails
NTE Boss Strategy for Beginners: How to Beat Never-Ending Arachne
Loading comments…