
Wuthering Waves Endgame Boss Guide: Defeating Mourning Aix VI
Facing the Tactical Hologram: Mourning Aix at Difficulty VI is widely considered the ultimate skill check for Resonators seeking to master the current endgame of Wuthering Waves.
Defeating the highest difficulty of the Mourning Aix Hologram requires more than just high-level gear; it demands a deep understanding of Spectro resistances, frame-perfect dodging, and precise stamina management. As a Calamity-class encounter, Mourning Aix VI tests your ability to maintain offensive pressure while navigating a battlefield filled with “Silence” debuffs and high-velocity aerial assaults. This guide breaks down the essential stats, attack patterns, and team compositions needed to clear this encounter before the enrage timer expires.
Boss Stats
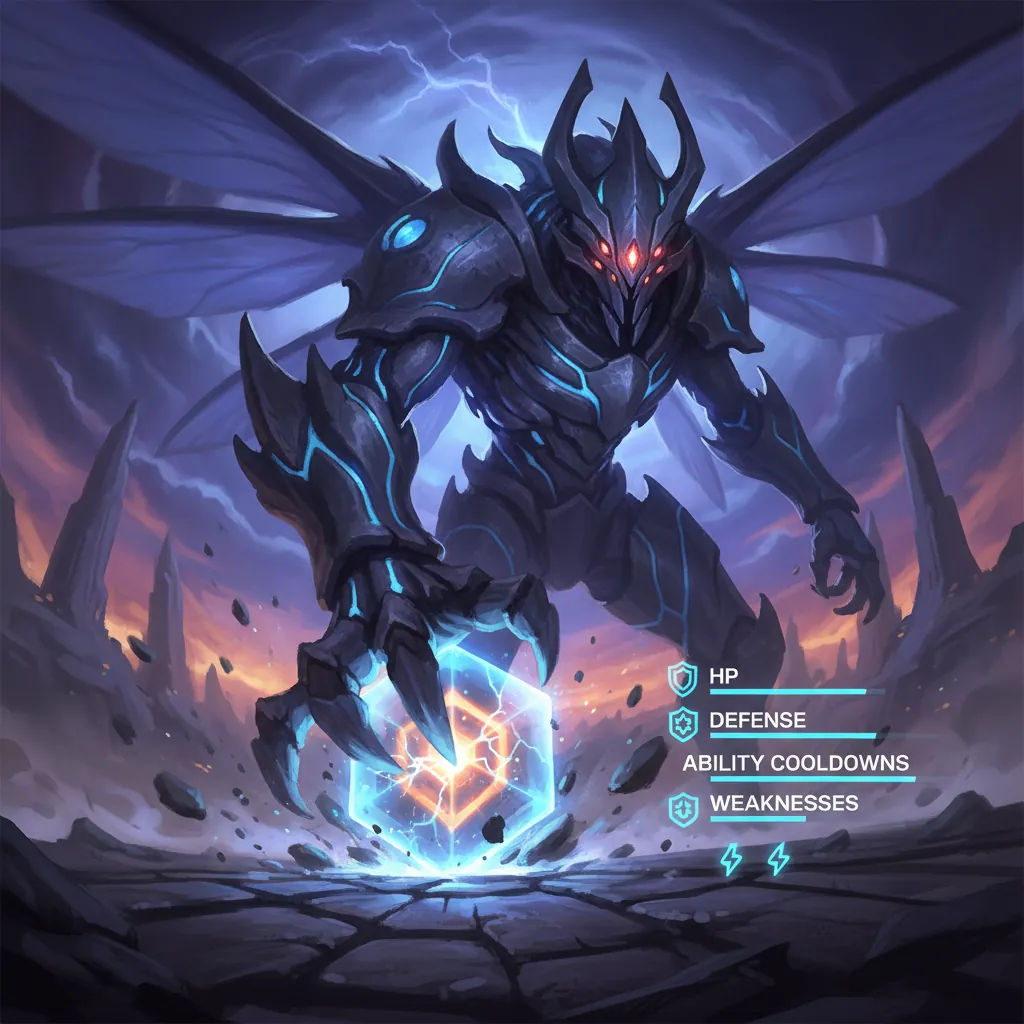
Mourning Aix Difficulty VI is a Level 100+ encounter located in the heart of Whining Aix’s Mire. Unlike its standard world boss counterpart, the Tactical Hologram version features significantly inflated HP pools and specialized mechanics designed to punish players who rely on spamming dodges or sustaining chip damage.
The boss possesses a massive resistance to Spectro damage. While characters like Jinhsi or the Spectro Rover are staples in other endgame content, they face a severe damage penalty here. To clear Difficulty VI within the strict time limit, players must prioritize Havoc, Fusion, Glacio, or Aero damage dealers who can bypass these innate defenses.
Mourning Aix Difficulty Scaling
| Difficulty Level | Recommended Resonator Level | Key Rewards |
|---|---|---|
| Difficulty I | Level 45 | Astrite, Data Sets, Shell Credits |
| Difficulty II | Level 55 | Astrite, Data Sets, Shell Credits |
| Difficulty III | Level 70 | Astrite, Data Sets, Shell Credits |
| Difficulty IV | Level 80 | Astrite, Data Sets, Shell Credits |
| Difficulty V | Level 90 | Astrite, Data Sets, Shell Credits |
| Difficulty VI | Level 100+ | Astrite, Advanced Data Sets, Trophy |
Elemental Resistance Profile
- Spectro Resistance: Very High (estimated 70%+)
- Havoc Resistance: Normal
- Glacio Resistance: Normal
- Fusion Resistance: Normal
- Aero Resistance: Normal
- Electro Resistance: Normal
Location and Unlock Requirements
To challenge the Mourning Aix Hologram, you must travel to the southeastern portion of Whining Aix’s Mire. The Hologram terminal is situated on a plateau overlooking the marsh. To unlock Difficulty VI, you must first successfully complete Difficulties I through V. Each subsequent level increases the boss’s aggression, speed, and the complexity of its “Silence” application. Accessing this challenge also requires a high Union Level to ensure your Resonators can reach the Level 90-100 threshold required to deal meaningful damage.
Difficulty VI Special Mechanisms Explained
Difficulty VI introduces two lethal mechanisms that define the flow of the fight. The first is a stacking enrage mechanic, undisclosed. Once the fight reaches the 3-minute mark, Mourning Aix gains a 50% ATK increase every 10 seconds. These stacks are infinite, meaning that by the 4-minute mark, almost any single hit—even through a shield—will result in an immediate character defeat.
The second mechanism, undisclosed, targets your stamina. If your active Resonator is at any value less than 100% HP, every dodge consumes an additional 10 Stamina. In a fight where you must dodge frequently to survive, this penalty can quickly lead to stamina depletion, leaving you unable to avoid the boss’s command grabs or laser beams. Maintaining full HP through consistent healing or flawless play is mandatory.
Attack Patterns

Mourning Aix utilizes a combination of sweeping ground strikes and devastating aerial beam attacks. At Difficulty VI, the boss often chains these attacks with very little downtime, requiring you to identify parry windows to create openings for your own combos.
Phase 1: Grounded Aggression
In the initial phase, Mourning Aix stays relatively close to the ground, focusing on physical strikes and short-range Spectro bursts.
- 5-Hit Combo: The boss performs a series of two swipes, a ground slam, another swipe, and a final heavy slam. The third hit (the first ground slam) and the final hit provide critical parry windows. Successfully parrying the third hit can often interrupt the rest of the sequence, significantly depleting the boss’s Vibration Strength bar.
- Zig-Zag Charge: Mourning Aix dashes across the arena in a “Z” pattern. This move is parryable at the start of each dash. If you miss the parry, you must dodge sideways; dodging backward will usually result in being hit by the subsequent dash.
- Tail Sweep: A quick 360-degree rotation. This move is fast and often used as a “get off me” tool when you are mid-combo. It applies the “Silence” debuff if it connects.
Phase 2: Aerial Dominance and Projectile Spam
Once the boss’s HP drops or after a set amount of time, it takes to the sky more frequently, making it harder to target with melee Resonators.
- Aerial Grab: The boss flies high, momentarily disappears from the immediate camera view, and then dives for a command grab. This attack cannot be parried. You must time your dodge for the exact moment the boss begins its downward descent. Failing this dodge results in a massive damage sequence that usually kills non-tank Resonators instantly.
- Solo and Double Lasers: Mourning Aix fires high-velocity Spectro beams from its wings. The double laser version is particularly dangerous as the beams converge on your position. These are often followed immediately by a homing missile volley.
- Homing Projectiles: The boss launches three waves of Spectro missiles. These track your movement aggressively. The most effective way to avoid them is to dodge toward the boss rather than away; this forces the missiles to make a sharp turn they cannot sustain, causing them to hit the ground.
The ‘Silence’ Debuff: How to Avoid the Lockout
Certain attacks, specifically those involving the boss’s glowing blue wing-tips or tail, apply a “Silence” aura. When affected, your Resonator is surrounded by a dark Spectro ring. For several seconds, you are unable to dodge or swap characters. In Difficulty VI, being silenced is a death sentence, as it prevents you from avoiding the boss’s follow-up lasers or grabs. To avoid this, focus on dodging away from glowing swipes and prioritize breaking the boss’s Vibration Strength to keep it in a downed state.
Step-by-Step Strategy
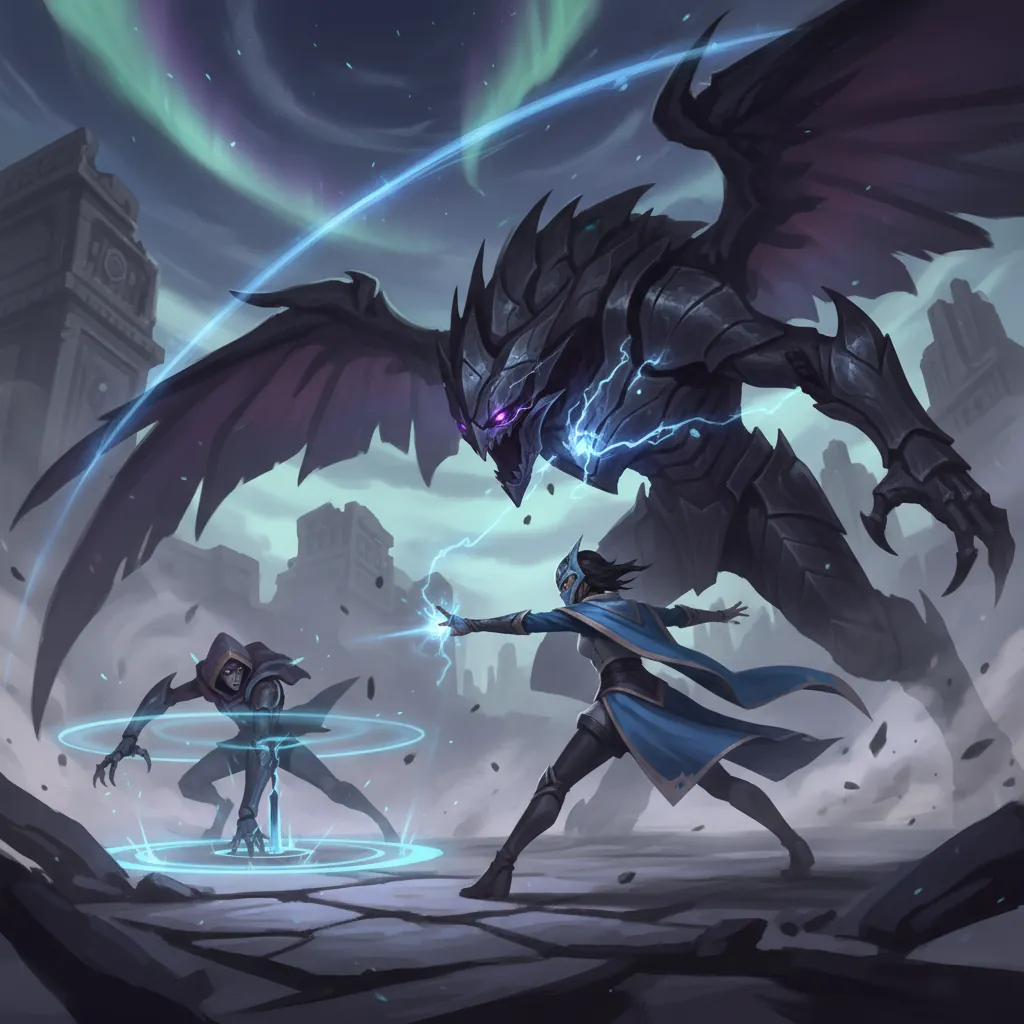
Surviving Mourning Aix VI is a test of endurance and discipline. You cannot simply “out-DPS” the mechanics due to the massive HP pool and the Spectro resistance.
Managing the 3-Minute Enrage Timer
Because the boss gains massive ATK boosts after 3 minutes, your rotation must be optimized for maximum uptime. Use “Quick-Swap” techniques to ensure that your Sub-DPS and Support are contributing damage even while your Main DPS is building Resonance Energy. If you reach the 4-minute mark and the boss is still above 20% HP, you may need to reconsider your Echo substats or weapon levels, as the incoming damage becomes mathematically impossible to survive.
Mastering the Parry Windows
Parrying is the fastest way to deplete the boss’s Vibration Strength. When the Vibration Strength bar (the white bar under the HP) reaches zero, the boss enters a “Broken” state, taking increased damage and remaining stationary for several seconds.
- Parry the 5-Hit Combo: Watch for the gold circular flash during the third strike.
- Parry the Dive: Occasionally, the boss will perform a low-altitude dive that is parryable. This is riskier than the ground parries but offers a huge reward in Vibration damage.
- Coordinate Echoes: Use Echoes with high interruption or parry potential, such as the Impermanence Heron, during these windows.
Healing vs. Shielding: Survival Tactics
Due to the stamina penalty mechanism, keeping your HP at 100% is more important than having a large shield. While shields from the Bell-Borne Geochelone Echo are helpful for preventing one-shots, they do not prevent the stamina penalty if your underlying HP is damaged.
- Verina/Shorekeeper: These supports are essential for their off-field healing. Ensure their Resonance Liberations are used whenever your HP dips even slightly.
- Consumables: Before the fight, consume high-tier Attack Food (such as those increasing ATK% or Crit Rate) and Spectro RES Potions to provide a buffer against the boss’s beam attacks.
Recommended Team

The 2026 meta for Wuthering Waves emphasizes high-mobility units and Resonators who can exploit elemental weaknesses. For Mourning Aix VI, avoid Spectro-based teams entirely.
Top Tier: The undisclosed Core
The current gold standard for this fight involves a combination of high Glacio or Aero shred.
- Main DPS: undisclosed
- Sub-DPS: undisclosed
- Support: Shorekeeper
Shorekeeper is vital in this composition for her ability to provide massive energy regeneration and consistent healing, which nullifies the stamina penalty. The synergy between the Main and Sub-DPS in this team allows for constant interruption of the boss’s ground combos.
Budget Friendly: Havoc Rover Quick-Swap
For F2P players, the Havoc Rover remains one of the strongest options due to their high burst potential and the fact that Mourning Aix does not resist Havoc damage.
- Main DPS: Havoc Rover
- Sub-DPS: Sanhua (for Glacio damage and Basic Attack DMG Deepen)
- Healer: Baizhi
This team focuses on Sanhua’s fast rotations to build Concerto energy, allowing the Havoc Rover to enter their enhanced state more frequently. Baizhi provides the necessary healing to maintain the 100% HP threshold, though she requires more field time than Shorekeeper.
The Importance of Shorekeeper in 2026 Meta
Shorekeeper has become a cornerstone of endgame boss guides because her kit specifically counters many Hologram mechanics. Her ability to provide a “safety net” for Resonators—occasionally preventing a fatal blow—is invaluable in Difficulty VI where a single mistake usually ends the run. Furthermore, her Spectro-aligned healing is highly efficient, even if her own damage is mitigated by the boss’s resistances.
Best-in-Slot Echo Sets for Mourning Aix VI
| Role | Recommended Echo Set | Primary Stat Priority |
|---|---|---|
| Main DPS | Sun-sinking Eclipse (Havoc) or Freezing Frost (Glacio) | Crit Rate / Crit DMG |
| Sub-DPS | Moonlit Clouds | Energy Regen / ATK% |
| Support | Rejuvenating Glow | HP% / Healing Bonus |
Loot
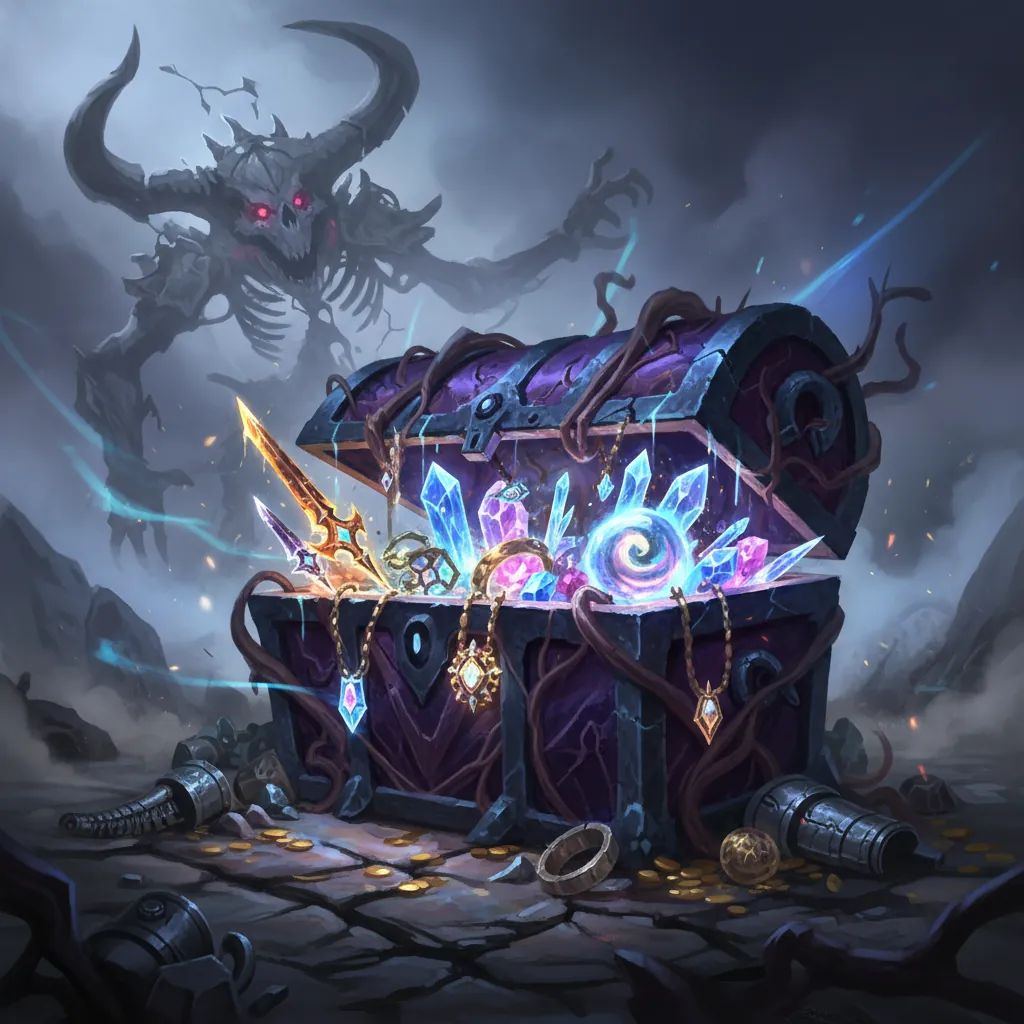
Completing Mourning Aix VI is a one-time milestone that provides significant rewards and prestige. While it is not a “farmable” boss in the traditional sense, the materials earned are essential for late-game character optimization.
One-Time Completion Rewards
The first time you clear Difficulty VI, you will receive a bounty of rewards:
- Astrite: 20–50 (depending on cumulative achievement milestones).
- Advanced Simulation Data: Used in the Simulation Training Store to purchase Premium Tuners and Shell Credits.
- Trophy: Unlocks the undisclosed achievement.
- Mourning Aix Echo: A guaranteed 5-Star Echo with a high probability of optimized base stats.
Farming the Simulation Training Store
The Advanced Simulation Data earned from high-level Hologram clears is the primary currency for the Simulation Training Store. Players should prioritize the following purchases:
- Premium Tuners: Essential for revealing substats on 5-Star Echoes.
- Malleable Echo Ore: Allows you to choose the primary stat for specific Echo sets.
- Shell Credits: The high cost of Level 90+ upgrades makes these a constant necessity.
By mastering the parry timings and maintaining a strict healing rotation to avoid stamina penalties, you can overcome the Mourning Aix VI and solidify your place among the elite Resonators in Wuthering Waves.
Sources
- Prydwen
- Game8 — https://game8.co/games/Wuthering-Waves/archives/455502
- Wuthering Wiki
- Official Wuthering Waves Website — https://wutheringwaves.kurogames.com/en/main/news/detail/823
- Reddit (r/WutheringWaves) — https://www.reddit.com/r/WutheringWaves/comments/1d3f5s1/mourning_aix_hologram_6_guide/
Related Guides

How to Beat Abyss Floor 12: Genshin Impact Strategy Guide

How to Beat Early Bosses in Neverness to Everness: Full Guide

How to Beat Early Bosses in Neverness to Everness (NTE)

How to Beat Early Bosses in Neverness to Everness: A Complete Guide

Sam HSR: How to Beat the Boss & Best Teams (June 2026)
NTE Abyss Guide: How to Beat Mammon in Beyond the Rails
NTE Boss Fight Mechanics Explained: Master Every Anomaly
Loading comments…