ZZZ Elemental Damage Explained: Best Builds & Mechanics Guide
Mastering the elemental interactions in New Eridu is the difference between struggling against high-level Ethereals and clearing Shiyu Defense with ease. This guide breaks down how Attribute Anomalies and Disorder reactions function to maximize your squad’s combat efficiency.
Overview
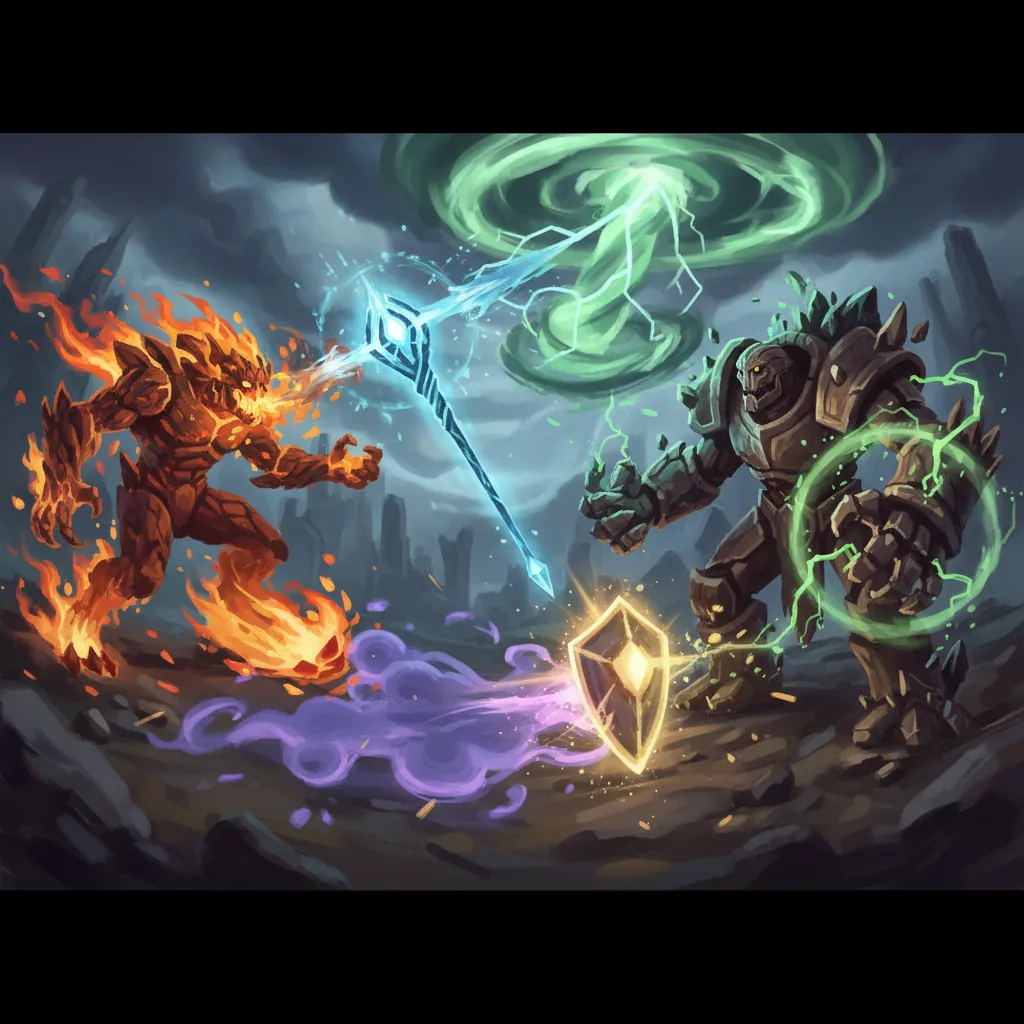
In Zenless Zone Zero (ZZZ), every Agent belongs to one of five elemental Attributes: Fire, Ice, Electric, Physical, or Ether. While standard attacks deal damage of that specific type, the true power lies in the Attribute Anomaly system. When an Agent attacks an enemy, they accumulate “Anomaly Buildup” for their specific element. Once the circular meter next to an enemy’s health bar fills completely, an Attribute Anomaly is triggered, inflicting a powerful debuff or damage-over-time (DoT) effect.
Understanding Attribute Anomaly
Each element produces a unique effect upon reaching 100% buildup. These effects scale based on the character’s stats and the enemy’s resistances.
| Element | Anomaly Name | Primary Combat Effects |
|---|---|---|
| Fire | Burn | Deals continuous Fire damage over time. Interrupts organic enemies. |
| Electric | Shock | Deals periodic Electric damage. Interrupts mechanical enemies and can spread to nearby targets. |
| Ice | Freeze / Frostbite | Freezes the target (stuns). Ending Freeze triggers Shatter damage. Frostbite increases Crit DMG taken by the target. |
| Physical | Assault / Flinch | Deals a massive burst of Physical damage and increases Daze buildup. Flinch increases DMG taken by the target. |
| Ether | Corruption | Deals periodic Ether damage. Interrupts organic enemies and increases Daze taken. |
The Power of Disorder Reactions
Disorder is the most advanced offensive mechanic in Zenless Zone Zero. It occurs when you trigger a new Attribute Anomaly on an enemy that is already suffering from an active Anomaly. For example, if an enemy is currently “Burning” and you successfully trigger the “Shock” anomaly, the “Burn” state is consumed instantly to trigger “Disorder.”
Disorder deals a massive burst of damage that accounts for the remaining potential damage of the previous anomaly plus a flat bonus. This makes “Disorder Teams”—squads featuring two different Anomaly-class Agents—exceptionally strong for boss encounters.
Mastery vs. Proficiency: Which Stat Matters?
Building an elemental specialist requires balancing two specific stats found on W-Engines and Disk Drives:
- Anomaly Mastery: This stat determines the speed at which you fill the Anomaly Buildup meter. Higher Mastery means fewer hits are required to trigger an effect like Burn or Assault. This is essentially your “application speed.”
- Anomaly Proficiency: This stat determines the final damage dealt by the Anomaly effect once it procures. Every point of Proficiency increases the base damage of effects like Burn, Shock, or Corruption.
For primary Anomaly DPS characters like Grace or Jane Doe, high Proficiency is mandatory to ensure their procs hit hard. Mastery is often prioritized on Slot 6 of Disk Drives to ensure the application happens frequently enough to maintain high uptime.
[Infographic showing the 5 ZZZ elements and their corresponding Anomaly effects.]
Best Weapons
Choosing the right W-Engine for an elemental build depends on whether you need faster application (Mastery) or higher damage per proc (Proficiency). Anomaly-class engines typically provide these stats as their secondary attribute.
Top S-Rank W-Engines
- Fusion Compiler (Grace’s Signature): This engine provides a massive boost to ATK and Penetration Ratio. Its passive increases Anomaly Proficiency by up to 3 times when using Special Attacks, making it the gold standard for Electric and Disorder builds.
- Sharpened Stinger (Jane Doe’s Signature): Specifically designed for Physical Anomaly builds, it increases Physical DMG and Anomaly Buildup rate. It excels at triggering Assault rapidly while providing a flat damage buff to the user’s kit.
- Flamemaker Shaker (Burnice’s Signature): This engine focuses on off-field Anomaly application, increasing Fire DMG and providing Anomaly Proficiency stacks when the user is not the active character.
Best Budget and F2P Options
- Weeping Gemini (A-Rank): Available through the Gadget Store, this is the best F2P option for any Anomaly character. It grants a stacking Anomaly Proficiency buff every time an Agent triggers an Anomaly, stacking up to 4 times.
- Rainforest Gourmet (A-Rank): This engine increases the user’s ATK for every 10 Energy consumed, up to a maximum limit. It is highly effective on characters like Piper or Grace who frequently use their EX Special Attacks.
- Roaring Ride (A-Rank): Provides a mix of ATK and Anomaly Mastery, making it a solid choice for players who need more frequent procs rather than just raw damage.
| W-Engine | Rank | Key Stat | Passive Effect Focus |
|---|---|---|---|
| Fusion Compiler | S | PEN Ratio | Anomaly Proficiency Stacks |
| Sharpened Stinger | S | Physical DMG | Anomaly Buildup & DMG |
| Weeping Gemini | A | Anomaly Prof. | Stacking Proficiency on Proc |
| Rainforest Gourmet | A | ATK% | ATK Buff via Energy Consumption |
Best Disks (Artifacts)
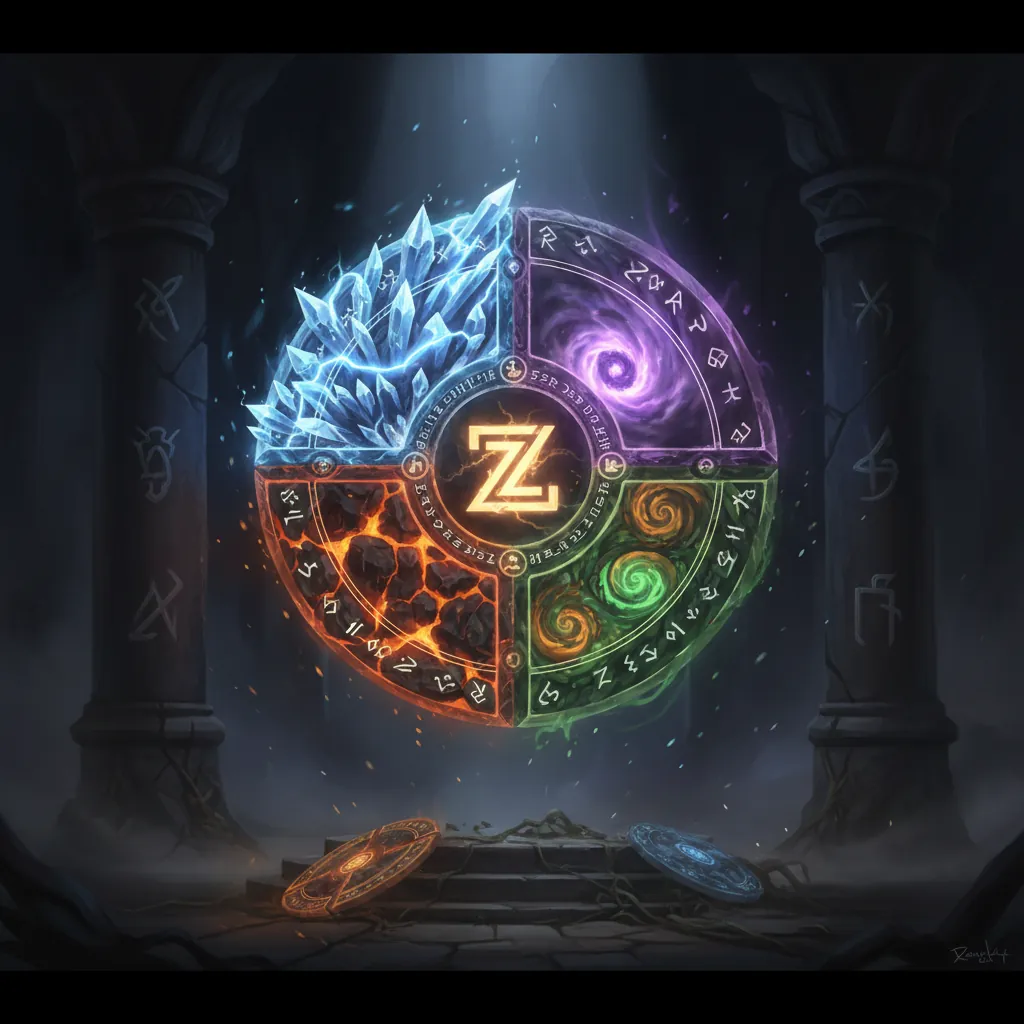
Disk Drives provide the necessary stat thresholds to make elemental builds viable in the endgame. For elemental damage, you are looking for sets that either increase your specific element’s damage or boost the universal Anomaly stats.
Recommended Disk Drive Sets
- 4-Piece Chaos Jazz: This is the premier set for Fire and Electric Anomaly characters. It provides Anomaly Proficiency and increases Fire/Electric DMG. Crucially, it boosts damage dealt while the character is off-field, making it perfect for “Quick Swap” Disorder teams.
- 4-Piece Freedom Blues: The best utility set for elemental application. The 2-piece set increases Anomaly Proficiency, while the 4-piece set reduces the enemy’s Anomaly Buildup RES for the wearer’s element by 20% when hitting them with an EX Special Attack.
- 4-Piece Fanged Metal: Essential for Physical Assault builds (like Jane Doe or Piper). It increases Physical DMG and provides a generic DMG buff against targets currently suffering from the Flinch (Physical) debuff.
- 2-Piece Swing Jazz: Often used as a secondary set to provide 20% Energy Regen, allowing Agents to use their EX Special Attacks more frequently for faster buildup.
Optimal Main Stats and Substats
To maximize elemental output, prioritize the following main stats on your Disk Drive slots:
- Slot 4: Anomaly Proficiency (Mandatory for Anomaly DPS)
- Slot 5: Elemental DMG Bonus (Matching the Agent’s element)
- Slot 6: Anomaly Mastery (For faster buildup) or ATK%
Substat Priority:
- Anomaly Proficiency
- ATK%
- Penetration (PEN)
- Flat ATK
Note: Traditional Crit Rate and Crit DMG are generally lower priority for Anomaly-focused builds, as the Anomaly damage itself cannot crit.
Team Comp
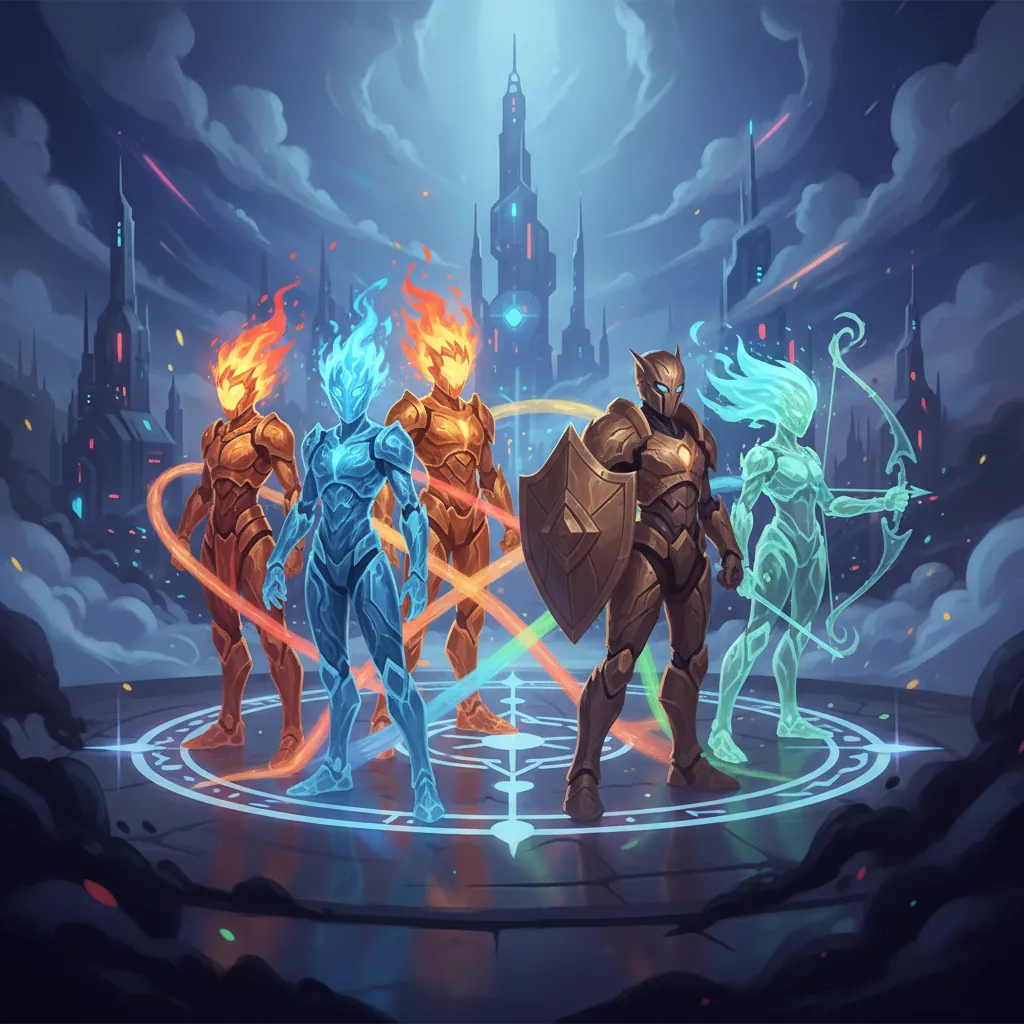
Building a team in ZZZ usually follows one of two philosophies: Mono-Element or Disorder.
The Mono-Element Strategy
Mono-element teams focus on a single element to take advantage of specific character passives and RES shred. These teams often consist of a Stun Agent, a Support Agent, and an Attack Agent of the same element.
- Ice Mono Team: Ellen (Attack), Lycaon (Stun), and Soukaku (Support). This team focuses on keeping the enemy permanently Frozen while Soukaku provides massive Ice DMG buffs to Ellen.
- Electric Mono Team: Anton (Attack), Anby (Stun), and Rina (Support). Rina provides PEN Ratio buffs and increases Shock duration, allowing Anton to deal massive burst damage to Shocked targets.
Top Disorder Team Compositions
Disorder teams use two Anomaly Agents of different elements to trigger rapid reaction bursts.
- The “Grace-Piper” Classic: Grace (Electric Anomaly) + Piper (Physical Anomaly) + Rina or Lucy (Support). Grace applies Shock rapidly, then Piper swaps in to trigger Assault, which immediately procs Disorder for massive damage.
- The Jane-Burnice Duo: Jane Doe (Physical Anomaly) + Burnice (Fire Anomaly) + Caesar or Seth (Defense/Support). Burnice applies Fire off-field while Jane stays on-field to trigger Physical anomalies, creating a constant stream of Disorder procs.
[Team composition UI screenshot showing a balanced Disorder team (Grace, Piper, Rina).]
Rotation
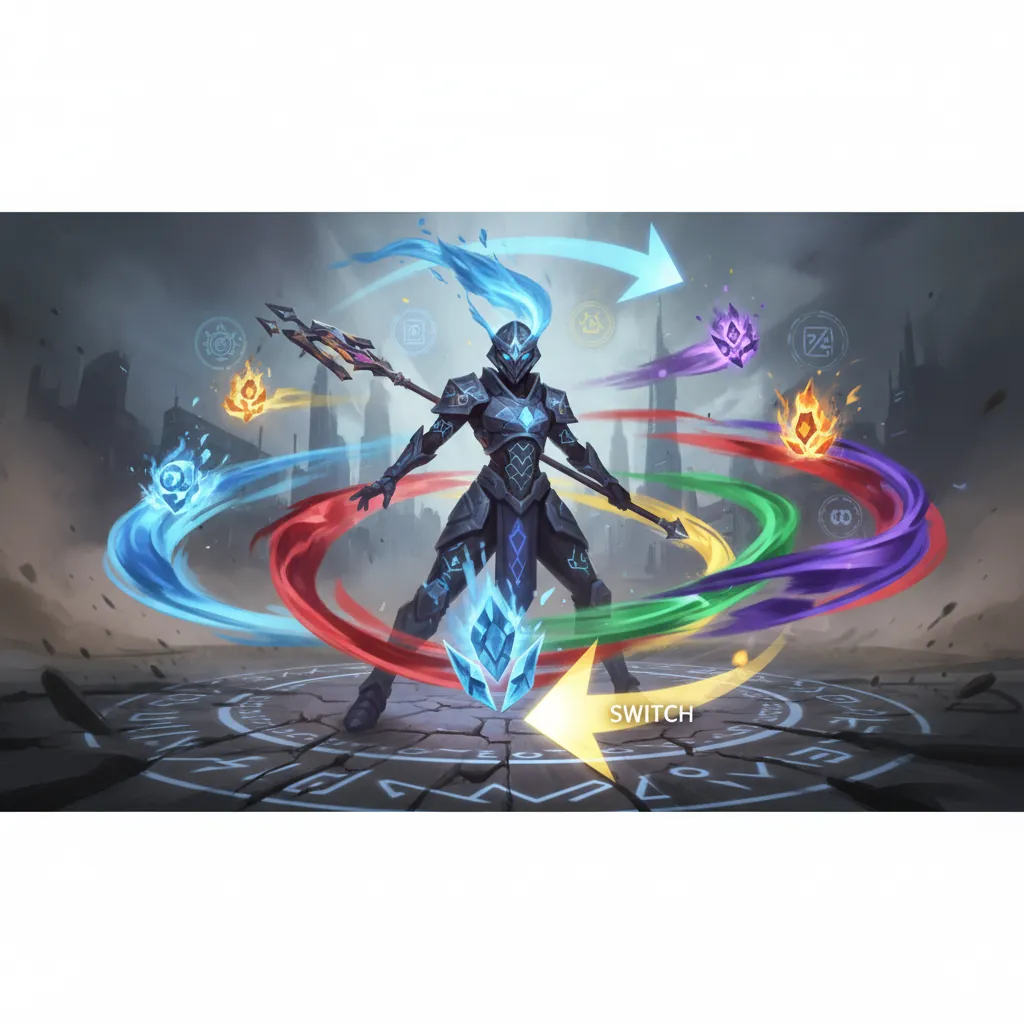
Effective elemental combat requires managing the “buildup” of two different meters simultaneously without overriding them inefficiently.
Standard Combat Flow
- Initiate with Support/Stun: Use your Support character to apply buffs (like Soukaku’s flag or Rina’s puppets) and your Stun character to build the enemy’s Daze meter.
- Apply Primary Anomaly: Swap to your first Anomaly Agent (e.g., Grace). Use her EX Special Attack and basic strings until the Shock meter is nearly full or just triggered.
- The Swap: Once the first Anomaly is active, immediately swap to your second Anomaly Agent (e.g., Jane Doe).
- Trigger Disorder: Use the second Agent’s high-buildup moves (like Jane’s “Salchow Jump”) to trigger the second Anomaly. The moment the second icon appears, the Disorder damage will pop.
Maximizing Disorder Windows
The damage of a Disorder proc is calculated based on the “remaining” damage of the previous anomaly. Therefore, you should trigger Disorder as soon as possible after the first anomaly is applied. If you wait until the Burn or Shock DoT is almost finished, the resulting Disorder burst will be significantly weaker.
Visual Rotation Flowchart:
- Step 1: Agent A (Anomaly 1) -> Build meter to 100%.
- Step 2: Anomaly 1 Triggered (DoT starts).
- Step 3: Instant Swap to Agent B (Anomaly 2).
- Step 4: Agent B (Anomaly 2) -> Build meter to 100%.
- Step 5: Disorder Proc (Massive Burst) + Anomaly 2 begins.
- Step 6: Repeat by swapping back to Agent A.
FAQ

Does elemental damage crit?
Standard hits from an elemental Agent can crit like any other attack. However, the Attribute Anomaly damage (the DoT from Burn/Shock or the burst from Assault/Shatter) cannot crit. The only exception is if a character has a specific passive or W-Engine that allows Anomaly damage to crit undisclosed.
How does enemy resistance affect buildup?
Enemies have varying levels of Attribute Resistance. If an enemy is resistant to Fire, the Fire Anomaly meter will fill much slower, and the resulting Burn damage will be reduced. Conversely, hitting an enemy with an element they are weak to increases the buildup rate significantly.
Can multiple characters contribute to the same Anomaly meter?
Yes. If you have two Electric characters on your team, both of their attacks will contribute to the same Shock meter. This is why Mono-Element teams can trigger their specific Anomaly very quickly.
What is the difference between Daze and Anomaly buildup?
Daze is the yellow bar under the enemy’s health that leads to a “Stunned” state, allowing for Chain Attacks. Anomaly buildup is the circular icon next to the health bar that leads to elemental debuffs. While some elements (like Physical/Assault) help build Daze faster, they are two separate systems.
Sources
- Zenless Zone Zero Official Wiki — https://zenless-zone-zero.fandom.com/wiki/Attribute
- Prydwen Institute ZZZ Guides
- Game8 ZZZ Elemental Guide — https://game8.co/games/Zenless-Zone-Zero/archives/451456
- Esports.gg ZZZ Mechanics
- Gamerant ZZZ Attribute Guide
Related Guides

Best Build for Mako (Nanally) in Neverness to Everness (NTE)

Best Mimi (Mint) Build in Neverness to Everness (NTE)

Best F2P Build in Neverness to Everness: Top Teams & Arcs

Best Healer in NTE: Top Builds, Espers & Arcs (June 2026)

Best Healer Build in Neverness to Everness (NTE): Edgar Guide

Best Kuro Build in Neverness to Everness: Weapons, Disks & Teams

Best Support Build for Mimi (Haniel) in Neverness to Everness

Loading comments…