
Best Healer Build in Neverness to Everness (NTE): Edgar Guide
Keeping your squad healthy in the chaotic streets of Hethereau requires more than just quick reflexes; it requires a dedicated support who can turn the tide of battle when HP bars begin to flicker.
Edgar is the backbone of sustain in the current 1.0 meta of Neverness to Everness (NTE). As a member of the Eibon Antique Shop, this blue-haired Cosmos-element Esper provides the most reliable healing throughput available at launch. While other characters offer minor life-steal or shields, Edgar is a specialist designed to keep high-risk damage dealers like Baicang from falling in battle. This guide covers the optimal Arcs, Cartridges, and team synergies to maximize Edgar’s potential as the premier healer in Hethereau.
Overview
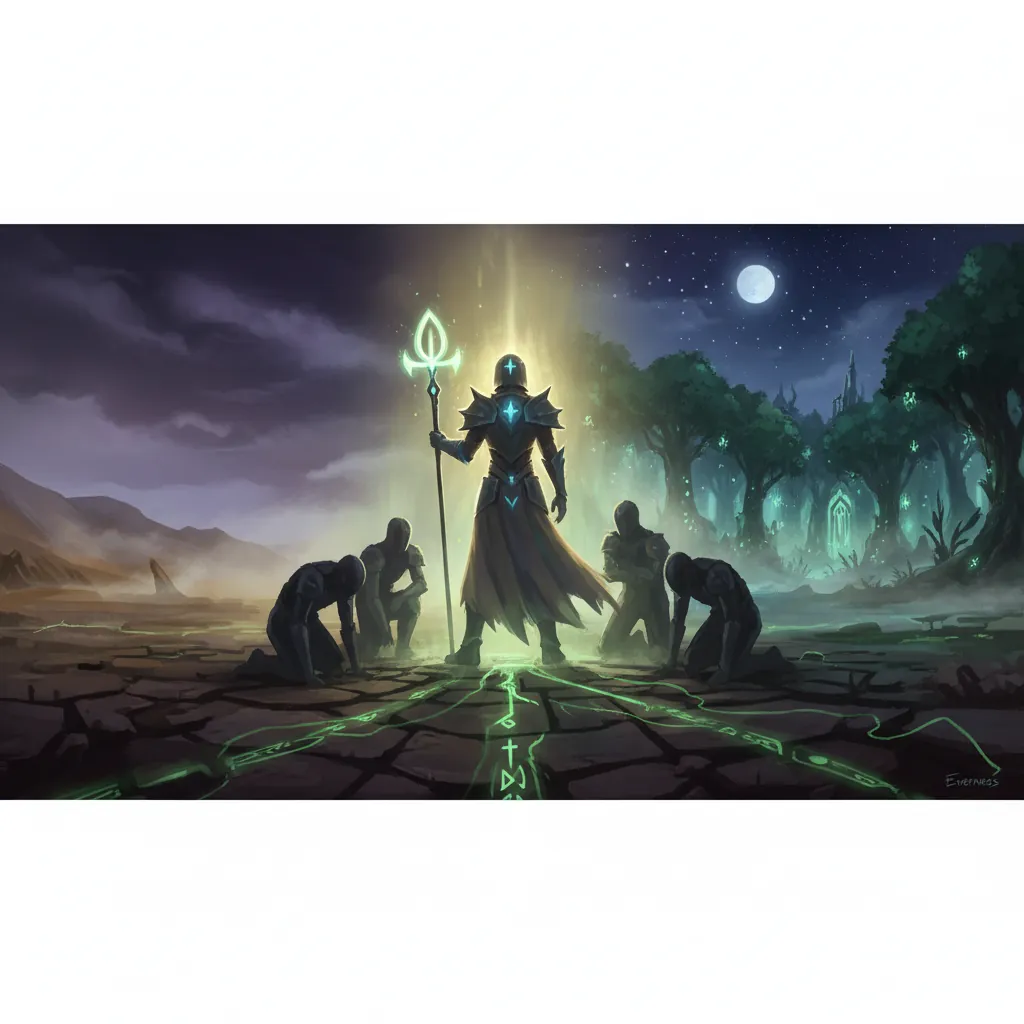
Edgar is currently the only dedicated A-Rank healer in Neverness to Everness (NTE) as of the 1.0 launch. His kit is built around the “Keys of Truth” mechanic, which allows him to extend his healing presence on the field. Unlike offensive supports who provide massive buffs, Edgar focuses almost exclusively on raw HP recovery and survival, making him indispensable for players tackling high-difficulty content where enemy damage outpaces natural regeneration.
As a Cosmos-element character, Edgar uses Liquid-type Arcs. His healing scales directly with his Max HP, meaning his build is relatively straightforward: the more health he has, the more effective his restoration becomes. While pure healing is less prioritized in speedrun metas, Edgar is essential for high-difficulty Anomaly Pilgrimages and boss encounters like the Sea Prisoner, where one-shot mechanics and heavy AoE damage are common.
Edgar’s Base Stats at Level 80
The following table outlines Edgar’s baseline attributes at the current level cap. Note that his high base HP is his most critical stat for healing scaling.
| Stat | Value at Level 80 |
|---|---|
| HP | 16,362 |
| ATK | 421 |
| DEF | 824 |
| Cycle Intensity | — |
| Crit Rate | 5% |
| Crit DMG | 50% |
Skill Priorities
To get the most out of Edgar, you should focus your resources on his active healing skills first. His Basic Attack provides negligible value to his role and should be ignored until his support kit is maxed.
- Wild Current (Redirect Skill): This is your primary tool for single-target sustain.
- Finnegan’s Wake (Ultimate): Essential for team-wide recovery and maintaining field presence.
- Weight of Knowledge (Support Skill): Important for generating Keys of Truth and Ultimate energy.
- Combat Practice (Basic Attack): Lowest priority.
Why Edgar is the Meta Healer
Edgar occupies a unique niche because his healing is both targeted and persistent. His ability to channel “Wild Current” allows you to save a specific ally on the brink of death, while his Ultimate creates a safe zone for the entire team. In a game where dodging is vital but not always perfect, Edgar provides a safety net that allows for more aggressive playstyles.
Key Healing Mechanics: Wild Current vs. Finnegan’s Wake
Understanding the difference between Edgar’s two main healing tools is vital for high-level play:
- Wild Current: When you hold this skill, Edgar enters a channeling state. He continuously heals the teammate with the lowest current HP percentage. This is your “emergency button.” However, be aware that the cooldown of this skill increases the longer you hold it, and Edgar remains stationary while channeling.
- Finnegan’s Wake: This Ultimate deploys a large domain (the Labyrinth Vigil Field) that lasts for 10 seconds by default. Any active character within this domain receives continuous healing. By using his “Keys of Truth” mechanic, Edgar can extend this duration up to 13 seconds, providing a massive window of safety for your Main DPS.
Best Weapons
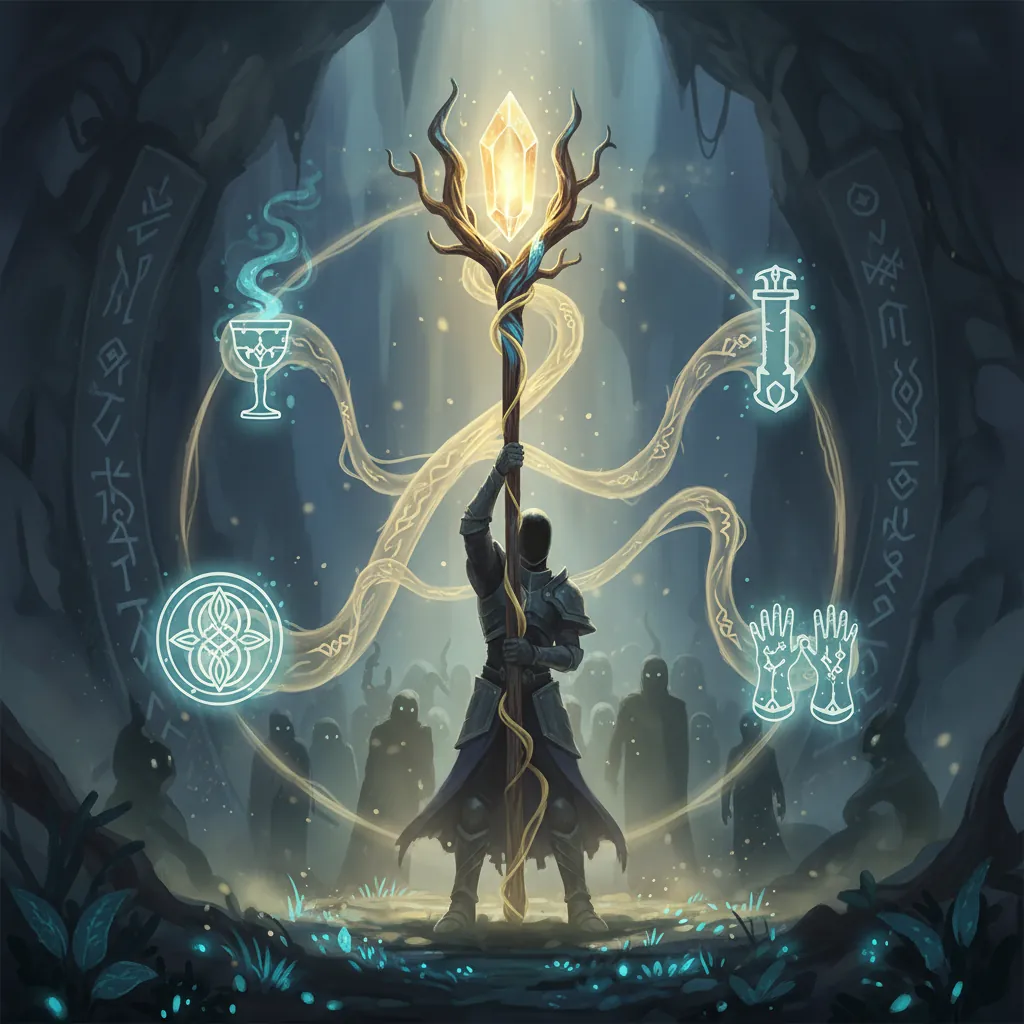
Choosing the right Liquid-type Arc for Edgar is the fastest way to boost his healing output. Because his kit scales with HP, you should prioritize weapons that offer HP% substats or direct Healing Bonus passives.
Top-Tier Arcs (S-Rank and A-Rank)
Call of the Twisted City is widely considered the best-in-slot Arc for Edgar. Despite being an A-Rank weapon, its synergy with his kit is unmatched. It provides a massive 37.5% HP bonus at maximum level and a passive that increases Healing Bonus by 12% for 10 seconds after using a Redirect Skill. Since Edgar frequently uses Wild Current, this buff has nearly 100% uptime.
Mind Royale is a top-tier alternative for players focusing on Ultimate uptime. It grants the wearer 10 Ultimate Energy whenever they cast a Redirect Skill (with a 20-second internal cooldown). This is particularly useful in “Charge” team compositions where you want to cycle through Ultimates as quickly as possible.
Best F2P and Budget Alternatives
For F2P players or those just starting their journey in Hethereau, the B-Rank Umbrella is a surprisingly potent placeholder. It provides a solid HP foundation and is easily obtainable through early Anomaly Commissions. It lacks the powerful passives of A-Rank Arcs but serves its purpose until you can craft or pull a better option.
| Arc Name | Rarity | Main Stat (Lv. 80) | Passive Effect |
|---|---|---|---|
| Call of the Twisted City | A-Rank | HP 37.5% | +12%–20% Healing Bonus for 10s after Redirect Skill. |
| Mind Royale | A-Rank | [Value pending] | Grants 10 Ultimate Energy on Redirect Skill cast (20s CD). |
| Your Happiness is Priceless | — | — | — |
| Umbrella | B-Rank | HP % | Increases base HP and provides basic sustain. |
Best Disks (Artifacts)
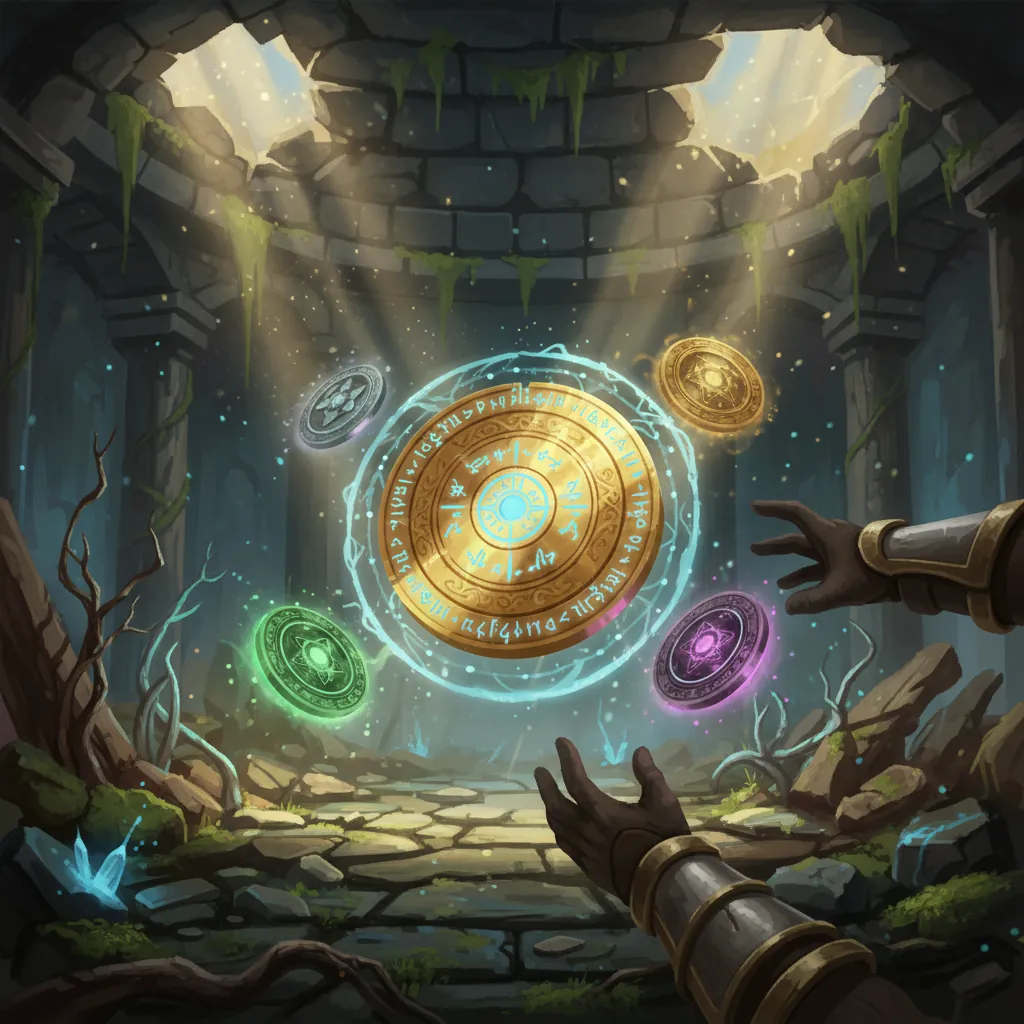
In NTE, your character’s power is heavily influenced by the Cartridges and Modules installed in their Console. For Edgar, the goal is to maximize his “Healing Amplification” and “Max HP” stats.
Recommended Cartridge Sets
Thea’s Night Tavern is the definitive 4-piece Cartridge set for healers. The 2-piece bonus provides a flat 10% HP increase, while the 4-piece bonus grants a massive 20% Healing Bonus. This set is essential for endgame content like the Sea Prisoner boss fight, where every point of healing counts.
Speedy Hedgehog is a viable secondary set if your team already has sufficient sustain and needs more offensive utility. The 4-piece bonus increases all allies’ ATK by 15% for 20 seconds after the wearer casts their Ultimate. If you are running Edgar with Mind Royale for fast Ultimate cycling, this set can turn him into a potent offensive buffer.
Console Optimization: The Power of Type III Modules
Edgar’s Console thrives when using Type III Modules. These modules are larger and more complex to fit but offer the highest stat ceilings. A fully optimized Console using Type III Modules can grant up to a 60% Max HP bonus. When building your Console, prioritize Modules that form the required shapes for Thea’s Night Tavern while filling the remaining slots with HP-focused Type III blocks.
Substat Priority Guide
When upgrading your Cartridges, look for the following substats in order of importance:
- Healing Bonus % (Mainstat): This is the single most important multiplier for Edgar.
- Max HP %: Directly increases the base value of his heals.
- Cycle Intensity: Improves how quickly he can rotate back into his skills.
- Break Intensity: Useful for helping the team stagger bosses, though secondary to healing.
Team Comp

Edgar’s versatility allows him to fit into almost any team, but he truly shines when paired with characters who have high energy demands or self-damaging mechanics.
The ‘High-Risk’ Duo: Edgar + Baicang
Edgar is the perfect partner for Baicang. Baicang is a top-tier DPS, but his high-damage skills consume his own HP, leaving him vulnerable. Edgar’s Wild Current can be channeled while Baicang is off-field or during downtime to ensure the DPS is always ready for the next burst window. This duo is the gold standard for clearing high-level Anomaly content.
F2P Progression Team
The “Triple-Reaction Charge” team (Zero, Skia, Edgar) is the best F2P-friendly composition for early progression. This team utilizes the interaction between Cosmos, Anima, and Lakshana elements to trigger the Charge reaction.
- Zero (Protagonist): Provides consistent damage and elemental application.
- Skia: Acts as a sub-DPS and crowd controller.
- Edgar: Keeps the team alive while contributing to the Charge reaction cycle.
Endgame Survival: Anomaly Pilgrimage Comps
In the Blossom Meta, Edgar provides safety for Nanally and Sakiri. During long boss windows, Nanally needs to remain on the field to maximize her damage stacks. Edgar’s Ultimate domain (Finnegan’s Wake) allows her to ignore minor chip damage and focus entirely on her rotation. Additionally, Jiuyuan (at Awakening level 1) can act as a sub-healer, allowing Edgar to focus more on generating Ultimate energy and maintaining the domain.
| Synergy Type | Recommended Teammates | Core Benefit |
|---|---|---|
| HP Management | Baicang | Heals HP lost from Baicang’s self-damage skills. |
| Reaction Focus | Zero, Skia | Triggers “Charge” reactions for faster Energy gain. |
| Blossom Meta | Nanally, Sakiri | Provides a safe domain for long DPS windows. |
| Dual Support | Jiuyuan, Haniel | High survivability and consistent ATK buffs. |
Rotation
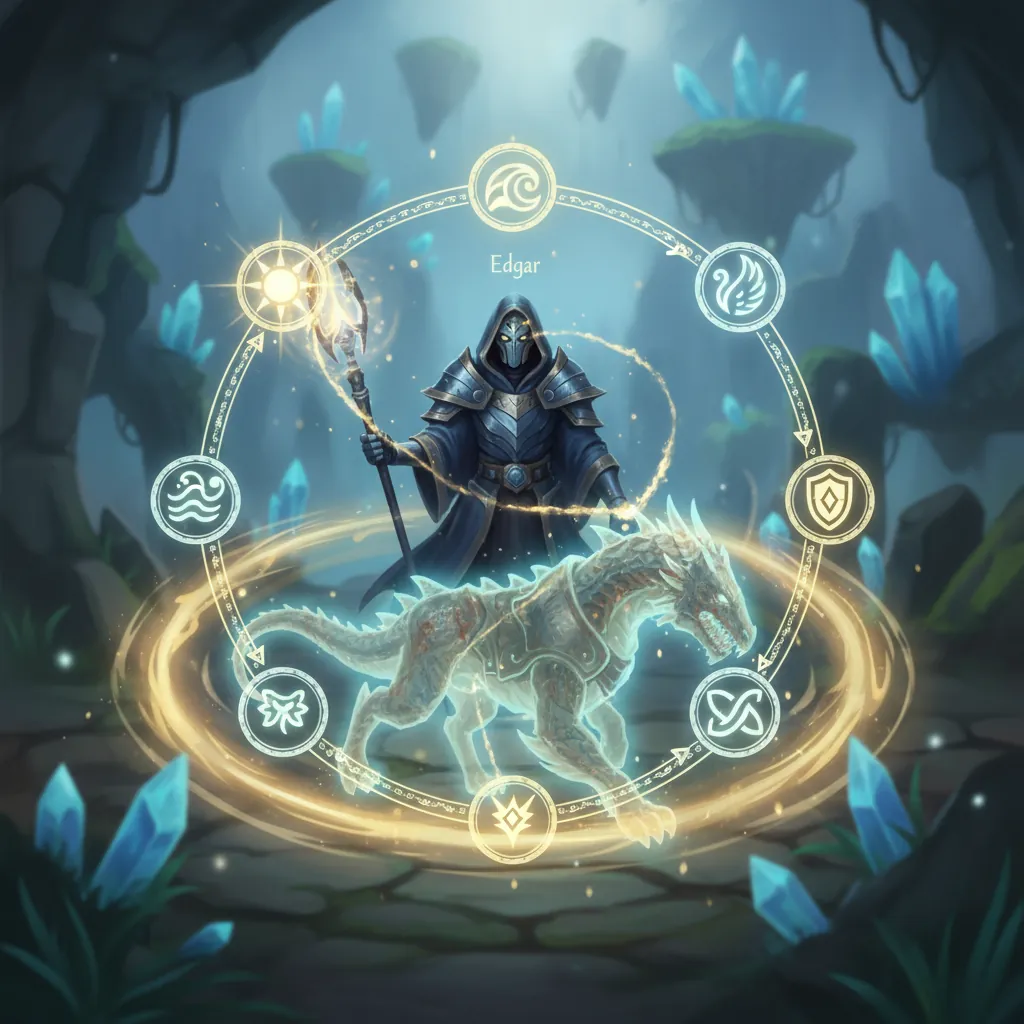
Maximizing Edgar’s effectiveness requires understanding how to stack “Keys of Truth” to extend his Ultimate’s duration. A proper rotation ensures that your team is never without a healing source.
Standard Healing Loop
- Start with your Buffer: Switch to a character like Sakiri or Haniel to group enemies and apply initial debuffs.
- Engage with Main DPS: Switch to your primary damage dealer (e.g., Baicang or Nanally) to burn through the enemy’s Break bar.
- Monitor HP: When an ally’s HP falls below 50%, swap to Edgar.
- Channel Wild Current: Hold the Redirect Skill to focus heals on the lowest-HP ally. This also generates your first Key of Truth.
- Use Support Skill: Use “Weight of Knowledge” to generate a second Key of Truth and gain Ultimate energy via his “Gentle Edge” passive.
Maximizing Ultimate Uptime
Edgar’s Ultimate, Finnegan’s Wake, has a base duration of 10 seconds. However, his “Unchanging Warmth” passive allows him to gain Keys of Truth by using his Redirect and Support skills.
- Each Key of Truth extends the Ultimate duration by 1 second (up to a maximum of 3 extra seconds).
- Optimal Sequence: Use Wild Current (1 Key) -> Weight of Knowledge (1 Key) -> Teammate Support Skill (1 Key via A1 Awakening) -> Finnegan’s Wake.
- This results in a 13-second healing domain, which is often enough to outlast a boss’s entire enrage phase.
Emergency Survival Tactics
If you find yourself in a situation where your Main DPS is about to die and Edgar’s Ultimate isn’t ready, use his Weight of Knowledge (Support Skill) immediately. This skill triggers his “Gentle Edge” passive, which can instantly grant 120 Ultimate Energy if it triggers a Charge reaction. This “emergency jumpstart” can often bring his Ultimate online just in time to save the run.
FAQ

Is Edgar the only healer in NTE? As of the 1.0 launch, Edgar is the only dedicated A-Rank healer. Other characters like Jiuyuan have minor sustain in their kits, and some Arcs provide life-steal, but Edgar is the only one whose entire kit is focused on HP recovery.
Can I heal without a healer? Yes, but it is much more difficult in endgame content. You can use ReroRero Phone Booths and Wertheimer Towers for out-of-combat healing, or consume food items during battle. However, food has a cooldown and is limited in high-tier Anomaly challenges.
Is Edgar worth building for the endgame? Absolutely. While the meta may eventually shift toward pure DPS and shielding, Edgar is essential for the current Anomaly Pilgrimage levels and the Sea Prisoner boss. His low investment cost as an A-Rank character makes him a high-value unit for any account.
What is Edgar’s best Awakening level? A1 and A3 are his most significant power spikes. A1 allows him to gain Keys of Truth from teammate Support Skills, greatly simplifying his rotation. A3 increases his healing effectiveness by 15% for allies with low HP, which is crucial for surviving boss “nuke” phases.
Sources
- ldshop.gg — https://vertexaisearch.cloud.google.com/grounding-api-redirect/AUZIYQHLfYAIEt79VxjkDNwRwKU2L63bygBC33wIXwHhpjwdLiLrCXh49_F36cWAQt83Icdx4KbkagS6xCyOpgZ9ExJ02uanz9no-ma-TYmaaQUGUYJx26NGvzyD2RnpBpIjY0f_YpknQMFzDek=
- enjoygm.com — https://vertexaisearch.cloud.google.com/grounding-api-redirect/AUZIYQEnjX1Aizf1Jfqv66ZUlReBBkzA0koyUp6Mr72qW_I1WK2aF9u7OzeOJ9zSB9iUCaHEDvKkjXR3duKbRwmwkVO4HAtKwzg_I0NLI29WvQ_Jx4y4IKj1QuQkYb6vk61UaYs_98UpaWpKZK8cJiU_7nv19rqrs327buabi-hFJZs=
- ntewiki.org — https://vertexaisearch.cloud.google.com/grounding-api-redirect/AUZIYQGYXlQmcvv3Kik0Q3TOUEstxrhgr3EhN7aOa50YUGK0ZSeOKpWkdt5nKX9CK4CA21tQ2rykHkiV9pnmCg6sYl8Ew9lP4v7gmzL3tBi0-XY0Y4GGmfPBA7ZgW_6DIy4rLmT0vQ==
- gamewith.net — https://vertexaisearch.cloud.google.com/grounding-api-redirect/AUZIYQGlHCcNmd4XKZvMRb2bF6oFM8KzYwYA18SzHLgJucoSBbk8ruPGpvZKgrLSmX3ZL3ZDDsRe0H3EgDbEPV0fBDZTpZKHvjLyD_zFtrF96FDEpjV55cuuB3Ai
- icy-veins.com — https://vertexaisearch.cloud.google.com/grounding-api-redirect/AUZIYQGZ65CJ8iAOzaxvECBn0dRQRl7pxXxfnP2ys4bGxJ9gL8CV4sxKs_G7LV1GiDv80LjPgIaBPPnBJC5yVQSjJiEwK1Jo1YM4JBGbORzRm39UJFijQT9S4oU87D3cp9e2j8jQUOzDT1TDHJPeNtm-lW0aZB0SU7PzfTjSrtFRwMFQEiU=
- kaiden.gg — https://vertexaisearch.cloud.google.com/grounding-api-redirect/AUZIYQHsrXF7jm3jNlS8KvZr9JvUeO5r08CWGOj0K2IjzXLGV1IN2eZqniY6dFY0BA7dV5eFGmL3kbHND5X0L0zFwu_swVa1lIzZXvfjDXwUnwt8a3NRf7sQ9t2Zg3TkgkIVWvs7mj3aRlVsze4LCL1RXqxqWXA=
- thegamer.com — https://vertexaisearch.cloud.google.com/grounding-api-redirect/AUZIYQGcm_TcUTN4KEbdZHVkwv_O1_rvh374VQrB89snW3UwxXL5lgo9zCwIZLmz7IMu7wy289RLi6r3epryKFuC5pVmkXdodjAMH_CZOkL0CsraFL2Kv7Ym7YDdcktcVIPZcaqBKuyQ78J3akeurZMiWHuaRuwL5Qj30oRXUHjBPnBdSW8iWg==
- hngameguide.com — https://vertexaisearch.cloud.google.com/grounding-api-redirect/AUZIYQGSQsQl8vimTN-pGxk2g6e9LEclUGn0ZxV8ISyJLgzbzeVto0ekXoVvyU4wmpMocONPr6O6UVLKXJutKjFFEL12OrHEhf7A1wabI4LqjnNUIPyLa_sRHHSugliIiaoWewtt3FRRXsGS3XdHIp7cbjH98MvszJay2-ewsLpYxlM5Xg-PWHqkySm0Rg==
Related Guides

Best Build for Mako (Nanally) in Neverness to Everness (NTE)

Best Mimi (Mint) Build in Neverness to Everness (NTE)

Best F2P Build in Neverness to Everness: Top Teams & Arcs

Best Healer in NTE: Top Builds, Espers & Arcs (June 2026)

Best Kuro Build in Neverness to Everness: Weapons, Disks & Teams

Best Support Build for Mimi (Haniel) in Neverness to Everness

Best Support Build in Neverness to Everness (NTE Guide)
Clara Best Light Cone HSR: Top Weapons & Build Guide
Sources (17)
- vertexaisearch.cloud.google.comvertexaisearch.cloud.google.com
- vertexaisearch.cloud.google.comvertexaisearch.cloud.google.com
- vertexaisearch.cloud.google.comvertexaisearch.cloud.google.com
- vertexaisearch.cloud.google.comvertexaisearch.cloud.google.com
- vertexaisearch.cloud.google.comvertexaisearch.cloud.google.com
- vertexaisearch.cloud.google.comvertexaisearch.cloud.google.com
- vertexaisearch.cloud.google.comvertexaisearch.cloud.google.com
- vertexaisearch.cloud.google.comvertexaisearch.cloud.google.com
- vertexaisearch.cloud.google.comvertexaisearch.cloud.google.com
- vertexaisearch.cloud.google.comvertexaisearch.cloud.google.com
- vertexaisearch.cloud.google.comvertexaisearch.cloud.google.com
- vertexaisearch.cloud.google.comvertexaisearch.cloud.google.com
- vertexaisearch.cloud.google.comvertexaisearch.cloud.google.com
- vertexaisearch.cloud.google.comvertexaisearch.cloud.google.com
- vertexaisearch.cloud.google.comvertexaisearch.cloud.google.com
- vertexaisearch.cloud.google.comvertexaisearch.cloud.google.com
- vertexaisearch.cloud.google.comvertexaisearch.cloud.google.com
Loading comments…