
Best Mimi (Mint) Build in Neverness to Everness (NTE)
Mint is the first high-mobility Anima DPS many players encounter in Neverness to Everness, offering a devastating area-of-effect playstyle that remains relevant well into the late game. This guide provides the definitive best build for Mimi (Mint) to maximize her Whirlwind damage and elemental synergy.
Overview
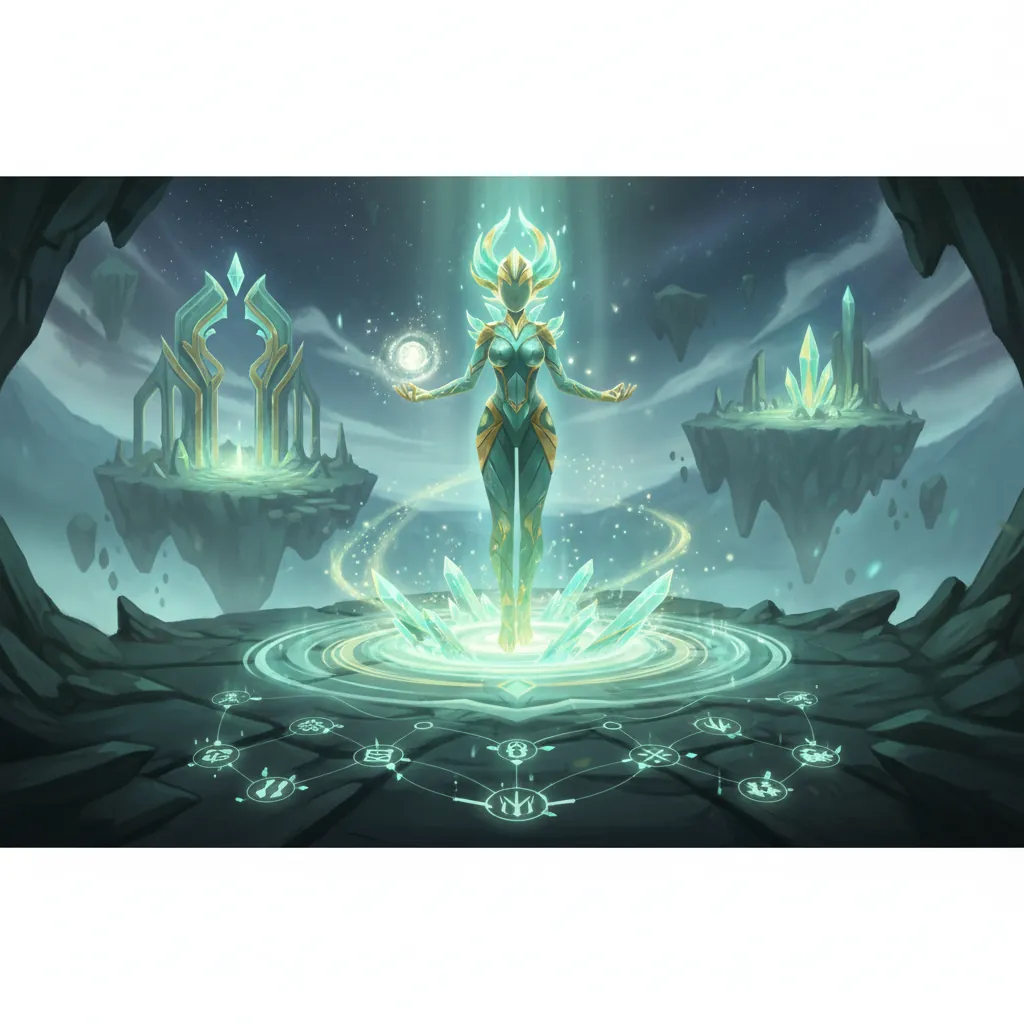
Mint is a standout A-Rank character in Neverness to Everness (NTE) who serves as a primary on-field damage dealer. Released on April 29, 2026, she quickly became a fan favorite not just for her accessibility as a free story character, but for her high-sustained DPS capabilities. Within the Bureau of Anomaly Control, Mint is recognized for her agility and her unique ability to manipulate the Anima attribute through “Liquid” type Arcs.
Her combat identity revolves around a high-risk, high-reward stamina management system. Unlike characters who rely on quick-swap bursts, Mint demands significant field time to execute her signature “Whirlwind” attack. This move allows her to spin through enemy ranks, dealing continuous Anima damage to every target within her radius. Because she is obtained during the Prologue, she acts as the cornerstone for most Free-to-Play (F2P) accounts, providing the necessary AoE clearing power to handle early-game Anomaly Zones.
| Attribute | Detail |
|---|---|
| Name | Mint (Mimi) |
| Rarity | A-Rank |
| Attribute | Anima |
| Weapon Type | Liquid |
| Affiliation | Bureau of Anomaly Control |
| Release Date | 2026-04-29 |
Mint vs. Mimi: Clearing Up the Name Confusion
If you are searching for the “best build for Mimi NTE,” you are looking for Mint. “Mimi” is the ubiquitous community nickname for the character, derived from her “nekomimi” (cat-ear) physical traits and her feline-inspired combat animations. While the game’s official menus and story dialogue exclusively use the name Mint, the player base on platforms like Reddit and Discord almost exclusively refers to her as Mimi. When looking for team compositions or theorycrafting spreadsheets, ensure you are checking for Mint to find the most accurate technical data, though “Mimi” remains the primary term for social guides and fan content.
Core Combat Mechanics and Passive Talents
Mint’s kit is built around her “Whirlwind” mechanic. By holding the Basic Attack button, Mint enters a spinning state that drains her stamina bar in exchange for rapid-fire Anima hits. This attack has a wide horizontal reach but a limited vertical hitbox, making enemy grouping essential.
Her passive talents further enhance this playstyle by rewarding stamina efficiency. Her first major talent, undisclosed, increases her Anima DMG scaling based on the percentage of stamina remaining when the Whirlwind begins. This means that starting a rotation with a full stamina bar is mathematically superior to weaving in frequent dashes. Additionally, her Dash Skill is not just for repositioning; it serves as a gap-closer that applies a brief Anima resistance shred to enemies hit, setting the stage for her primary damage loop.
Best Weapons
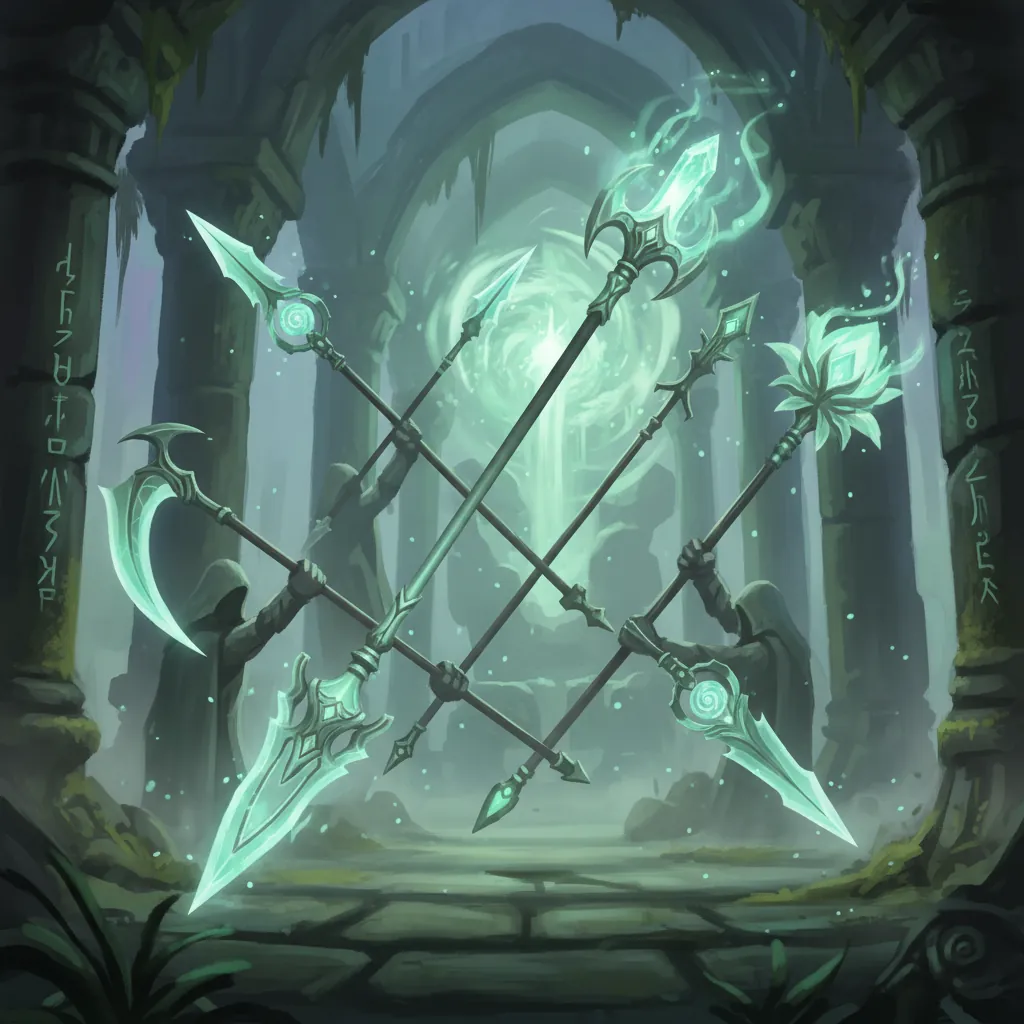
In the gear system of Neverness to Everness, weapons are referred to as Arcs. Mint utilizes the Liquid-type Arc category, which typically focuses on elemental amplification and resource management. Choosing the right Arc for Mint involves balancing her need for raw Attack (ATK) power with the stamina requirements of her Whirlwind.
Signature S-Rank Arcs
The gold standard for Mint is the S-Rank Arc “Youthful Fantasy.” This weapon provides the highest base ATK in the Liquid category and features a secondary stat that focuses on undisclosed. The passive effect of Youthful Fantasy is specifically designed for sustained attackers, providing a undisclosed bonus that triggers when stamina is consistently consumed. For players looking to maximize Mint’s endgame potential in high-level Anomaly Zones, pulling for this Arc is the single biggest upgrade available.
Best 4-Star and F2P Alternatives
For players who haven’t secured an S-Rank weapon, “Real Music” is the definitive A-Rank choice. It is often featured in the Bureau of Anomaly Control’s standard supply drops. Real Music offers a significant boost to Anima DMG and provides a flat reduction to skill cooldowns. This allows Mint to use her Dash Skill more frequently, maintaining the resistance shred uptime on elite enemies.
F2P players should look toward “Shiny Days,” a B-Rank Arc that is easily refined through world exploration and story rewards. While its base stats are lower than the higher-tier options, its passive provides basic ATK scaling that is incredibly reliable for early-to-mid-game progression.
| Arc Name | Rarity | Type | Primary Substat | Passive Effect Summary |
|---|---|---|---|---|
| Youthful Fantasy | S-Rank | Liquid | [Information unavailable] | — |
| Real Music | A-Rank | Liquid | Anima DMG % | Boosts Anima DMG and reduces skill cooldowns. |
| Shiny Days | B-Rank | Liquid | ATK % | Provides basic ATK scaling for early-game progression. |
Best Disks (Artifacts)
In Neverness to Everness, the artifact system uses “Cartridges” (frequently called Disks by players transitioning from other urban fantasy RPGs). For a primary DPS like Mint, the focus must be on maximizing her Critical hits and her elemental output.
Recommended Cartridge Sets
The current meta-defining set for Mint is the 4-piece Shadow Creed. This set is specifically tuned for Anima characters who trigger frequent elemental reactions. The 2-piece bonus provides a flat 15% increase to Anima DMG. The 4-piece bonus is where the set truly shines: it increases Mint’s Crit Rate by [exact value pending official confirmation] and grants a massive Crit DMG bonus for several seconds after an Anima reaction (such as Blossom or Scorch) is triggered. Given Mint’s high hit rate during her Whirlwind, she can maintain 100% uptime on this buff.
An alternative for players struggling with stamina management is the 4-piece Speedy Hedgehog set. This set is less focused on raw damage and more on “uptime.” It increases stamina regeneration by 20% and reduces the stamina drain of Hold Attacks (like Whirlwind) by [exact value pending official confirmation]. While your individual hits will be weaker than with Shadow Creed, you can stay in the Whirlwind state for significantly longer, which can be beneficial in encounters with large waves of low-health enemies.
Optimal Substat Distribution
When tuning Mint’s Cartridges, you should prioritize stats that scale her total output. Cycle Intensity is a unique NTE stat that affects how quickly your character builds their Esper Cycle Gauge for Ultimates. While important, it should not take precedence over her raw damage stats.
- Crit Rate / Crit DMG: Aim for a 1:2 ratio. Mint needs at least 60% Crit Rate to consistently trigger her passive talent procs.
- Anima DMG %: This is a non-negotiable stat for her Slot 2 Cartridge.
- ATK %: Provides the baseline for all her scaling.
- Cycle Intensity: Helpful for more frequent Ultimate usage, but secondary to damage.
Team Comp
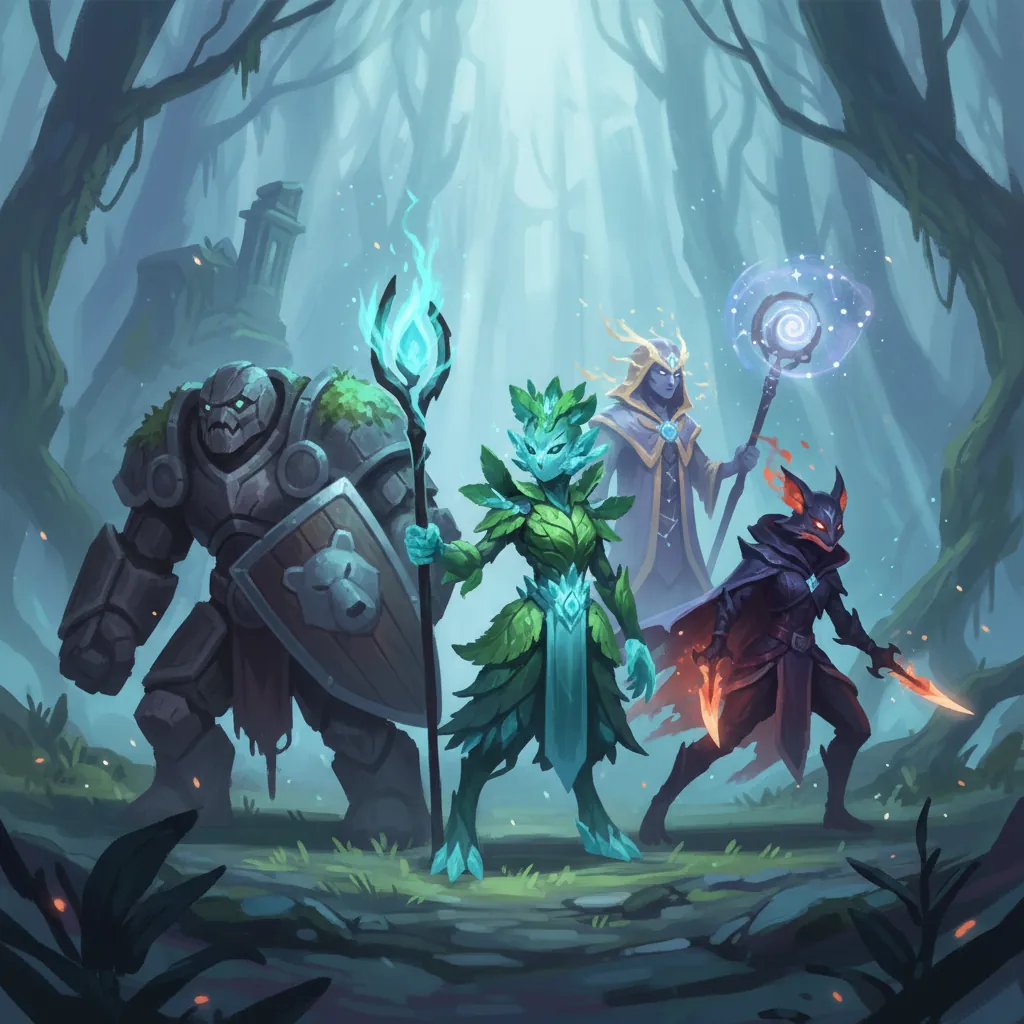
Mint performs best when supported by characters who can group enemies and provide elemental reactions. In NTE, the “Blossom” reaction—triggered by combining Anima with Cosmos or Incantation—is one of the most effective ways to clear rooms.
The Blossom Meta Comp
The premium team for Mint focuses on maximizing her AoE potential.
- Mint (Main DPS): Provides the bulk of the damage through Anima-infused Whirlwind attacks.
- Sakiri (Support/CC): Sakiri is essential for her “Devour Whole” skill. This ability creates a gravitational pull that sucks enemies into a tight cluster, allowing Mint to hit every target simultaneously with her spin.
- Haniel (Buffer): Haniel serves as the primary offensive support. Her Ultimate provides a team-wide ATK and Skill DMG buff that scales perfectly with Mint’s multi-hit attacks.
- Fadia (Sustain): Fadia provides the necessary healing and elemental resonance to keep the team healthy during longer engagements in the Anomaly Zones.
Budget-Friendly F2P Lineups
For players just starting out, a highly effective team can be built using early-game units:
- Mint (Main DPS)
- Zero (Sub-DPS): Zero provides off-field damage that can help trigger reactions while Mint is spinning.
- Haniel (Buffer): As a highly accessible buffer, Haniel should remain in almost every Mint-centric team.
- Adler (Shield/Support): Adler is crucial for F2P players. His shield prevents Mint from being interrupted or knocked back while she is in her Whirlwind animation. Since Mint is vulnerable while spinning, Adler’s protection is a massive quality-of-life improvement.
| Character | Role | Reaction Contribution | Key Synergy |
|---|---|---|---|
| Mint | Main DPS | Anima (Primary) | High AoE damage dealer. |
| Sakiri | Support/CC | Cosmos | Groups enemies for Mint’s Whirlwind. |
| Haniel | Buffer | Incantation | Increases team-wide ATK and Skill DMG. |
| Adler | Shield | Physical/Neutral | Prevents interruption during spin. |
Rotation
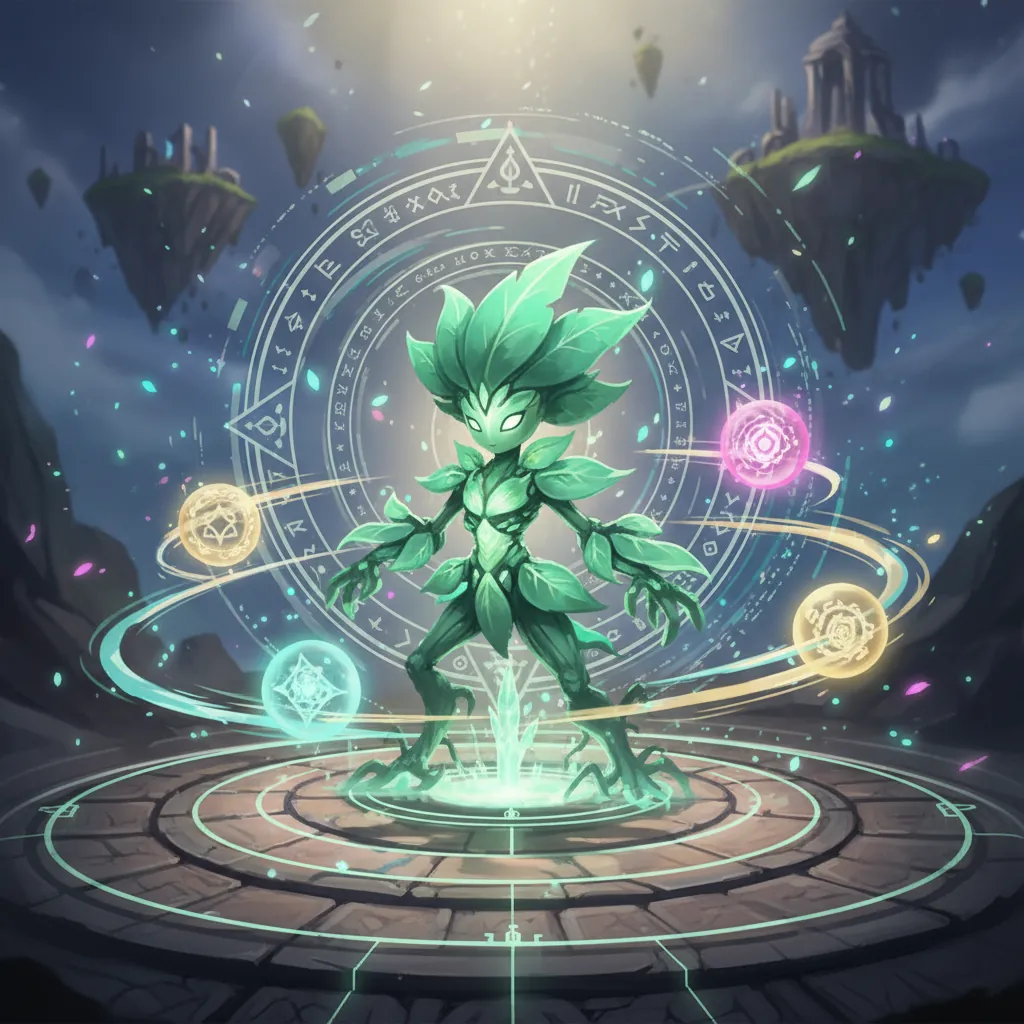
To get the most out of a Mint build, you must follow a specific sequence that ensures all buffs are active before Mint begins consuming her stamina.
Standard Combat Loop
- Opener (Sakiri): Start the fight with Sakiri. Use her “Devour Whole” skill to pull all scattered enemies into a single point. This ensures that Mint doesn’t waste stamina chasing down individual targets.
- Buff Phase (Haniel): Immediately swap to Haniel and activate her Ultimate. This sets the damage floor for the entire rotation. If her Skill is available, use it to generate extra energy.
- Protection (Adler/Fadia): If you are using Adler, deploy his shield now. This is the “safety net” that allows Mint to ignore enemy attacks while she is locked into her spinning animation.
- DPS Window (Mint): Swap to Mint. Use her Dash Skill to close any remaining distance and apply the Anima resistance shred. Immediately transition into a Hold Basic Attack to trigger the Whirlwind loop. Continue spinning until your stamina is almost depleted or the enemies are defeated.
- Reset: Once Mint’s stamina is low, swap back to your supports to regenerate energy and wait for cooldowns.
Maximizing the Esper Cycle Gauge
The Esper Cycle Gauge is the key to maintaining momentum in Neverness to Everness. While Mint is your primary damage dealer, her Ultimate should be used as a finisher or a way to refresh her position. If you find your gauge is building slowly, consider increasing the Cycle Intensity substats on your support characters (Haniel and Sakiri) rather than on Mint herself. This keeps the buffs flowing without sacrificing Mint’s personal damage.
FAQ
Common Player Questions
Is Mimi a separate character from Mint?
No. As mentioned earlier, “Mimi” is simply the nickname used by the community due to her cat-like appearance. If you see a guide for “Mimi,” it is applicable to Mint.
How do I unlock Mint’s full potential?
You should focus on her “Awakenings.” In NTE, Awakenings are unlocked by obtaining duplicates of the character. Since Mint is an A-Rank character, you can often find her duplicates in the standard banner or as rewards for completing specific milestones in the main story. Her later Awakenings significantly reduce the stamina cost of her Whirlwind, which is the single biggest boost to her DPS.
Can Mint clear endgame Anomaly Zones?
Absolutely. While S-Rank DPS characters may have higher burst potential, Mint’s consistent AoE damage makes her one of the most efficient clearers for timed content. With a high-investment “Shadow Creed” cartridge set and a well-built Sakiri for grouping, Mint can compete with the best units in the game.
What is the best Life Skill to level for Mint?
In the urban simulation side of NTE, you should focus on Mint’s “Cafe Management” skills. Leveling this increases your passive Fons (currency) income, which is essential for buying the materials needed to upgrade her Arcs and Cartridges.
Troubleshooting Your Build
If your Mint feels like she isn’t doing enough damage, check your Crit Rate. Because her Whirlwind hits so many times, missing out on Crits results in a massive loss of potential DPS. If her Crit Rate is below 50%, swap your Slot 4 Cartridge to a Crit Rate primary stat, even if it means losing some Crit DMG. Consistency is more important than big occasional numbers for a multi-hit character like Mint.
Additionally, ensure you aren’t over-dashing. Dashing consumes the same stamina pool that Mint uses for her Whirlwind. If you dash three times to get to an enemy, you have significantly less time to spin. Use Sakiri’s pull or Mint’s Dash Skill (which has a specific stamina-to-distance efficiency) to manage your resources better.
Sources
- Neverness to Everness Official Website — https://nte.hotta.games/
- Game8 Neverness to Everness Guide Hub — https://game8.jp/nte
- IGN: Neverness to Everness Character Database — https://www.ign.com/games/neverness-to-everness
- Reddit: r/NTE_Official Community Builds — https://www.reddit.com/r/NTE_Official/
- Prydwen Institute: NTE Character Analysis
Related Guides

Best Build for Mako (Nanally) in Neverness to Everness (NTE)

Best F2P Build in Neverness to Everness: Top Teams & Arcs

Best Healer in NTE: Top Builds, Espers & Arcs (June 2026)

Best Healer Build in Neverness to Everness (NTE): Edgar Guide

Best Kuro Build in Neverness to Everness: Weapons, Disks & Teams

Best Support Build for Mimi (Haniel) in Neverness to Everness

Best Support Build in Neverness to Everness (NTE Guide)
Loading comments…