
Best Support Build in Neverness to Everness (NTE Guide)
Maximizing team-wide damage and survivability in Neverness to Everness (NTE) requires a deep understanding of how support characters manipulate the Esper Cycle and the break system. While high-tier DPS units like Nanally often take the spotlight, the effectiveness of any build is ultimately determined by the buffers and sustain units that enable them to perform.
Overview

Support characters in Neverness to Everness are the backbone of any successful squad, particularly when tackling high-level Hethereau anomalies or timed challenges in the urban landscape. Unlike damage dealers who focus on personal output, supports are categorized into three distinct functional roles. Buffers like Sakiri and Haniel focus on increasing the ATK and DMG percentages of the active character. Sustain units, including Fadia and Adler, provide the healing and shielding necessary to survive aggressive enemy patterns. Finally, Cyclers like Esper Zero focus on energy regeneration, ensuring the team can trigger the Esper Cycle as frequently as possible.
As of Version 1.0, Sakiri stands as the premier S-Class support. Her kit is designed around massive team-wide stat boosts and essential crowd control, making her a staple in the current meta. For players looking for a more accessible option, Haniel serves as the best A-Class alternative. Haniel provides consistent buffs and possesses strong elemental synergy with Psyche-based teams. Regardless of which character you choose, the primary objective of a support build is to maximize “Charge Efficiency.” This stat dictates how quickly your team can build the Esper Meter, which is the key to unleashing the devastating Esper Cycle.
The Role of Supports in the Esper Cycle
The Esper Cycle is the core combat mechanic of NTE. When the Esper Meter is filled, the team enters a heightened state where cooldowns are reduced and damage is significantly amplified. Supports facilitate this by using skills that generate high amounts of energy. A support that cannot maintain a high uptime on their ultimate or skill rotation will cause the entire team’s DPS to plummet, as the “Main DPS” will be stuck performing basic attacks while waiting for the meter to fill. Proper support builds prioritize utility and energy over personal crit stats.
Top Tier Support Characters
The current roster offers a variety of support options depending on your current needs for healing, shielding, or raw damage amplification.
| Character | Rarity | Primary Utility | Element |
|---|---|---|---|
| Sakiri | S-Class | ATK Buffs / Crowd Control | — |
| Haniel | A-Class | Team Buffs / Synergy | Psyche |
| Fadia | A-Class | Pure Healing / Sustain | — |
| Adler | A-Class | Shielding / DEF Scaling | — |
| Hotori | [Information unavailable] | Utility / Support | — |
Best Weapons

In Neverness to Everness, weapons are referred to as Arcs. For support units, the choice of Arc is rarely about the weapon’s base attack power. Instead, you must look at the passive effects that trigger when the character is off-field or when they use their ultimate. The goal is to select an Arc that provides a team-wide benefit, such as an ATK percentage increase or a boost to the team’s energy regeneration.
Top S-Rank Arcs for Buffers
For high-end builds, S-Rank Arcs offer the most potent passives. The “Day Off” Arc is currently considered the best-in-slot for utility-focused supports. It belongs to the Solid type and provides a flat 30% ATK boost to the entire team, making it the gold standard for Sakiri or Esper Zero builds. Another high-tier option is “Good Boy’s Grand Adventure,” a Gas-type Arc. This weapon enhances team utility by undisclosed, which is particularly useful in teams that rely on frequent character swapping.
For healers like Fadia, the “Call of the Twisted City” is the preferred choice. This Arc increases the character’s Healing Bonus, ensuring that even minimal field time is enough to top off the team’s health bars. While its offensive utility is lower than “Day Off,” the added sustain is vital for players still learning boss mechanics.
Best F2P Support Weapons
Free-to-play players have excellent options in the B-Rank and A-Rank categories. The “Umbrella” is a standout Synthesis-type Arc. It provides a significant HP boost to the wielder and can generate shields under specific conditions. This makes it an ideal budget choice for Adler or any support that scales their utility off their total HP pool.
| Arc Name | Type | Key Passive Effect |
|---|---|---|
| Day Off | Solid | 30% ATK boost to all allies |
| Good Boy’s Grand Adventure | Gas | Enhances team utility and energy flow |
| Call of the Twisted City | [Information unavailable] | Increases Healing Bonus and sustain |
| Umbrella | Synthesis | HP boost and defensive shield generation |
Best Disks (Artifacts)
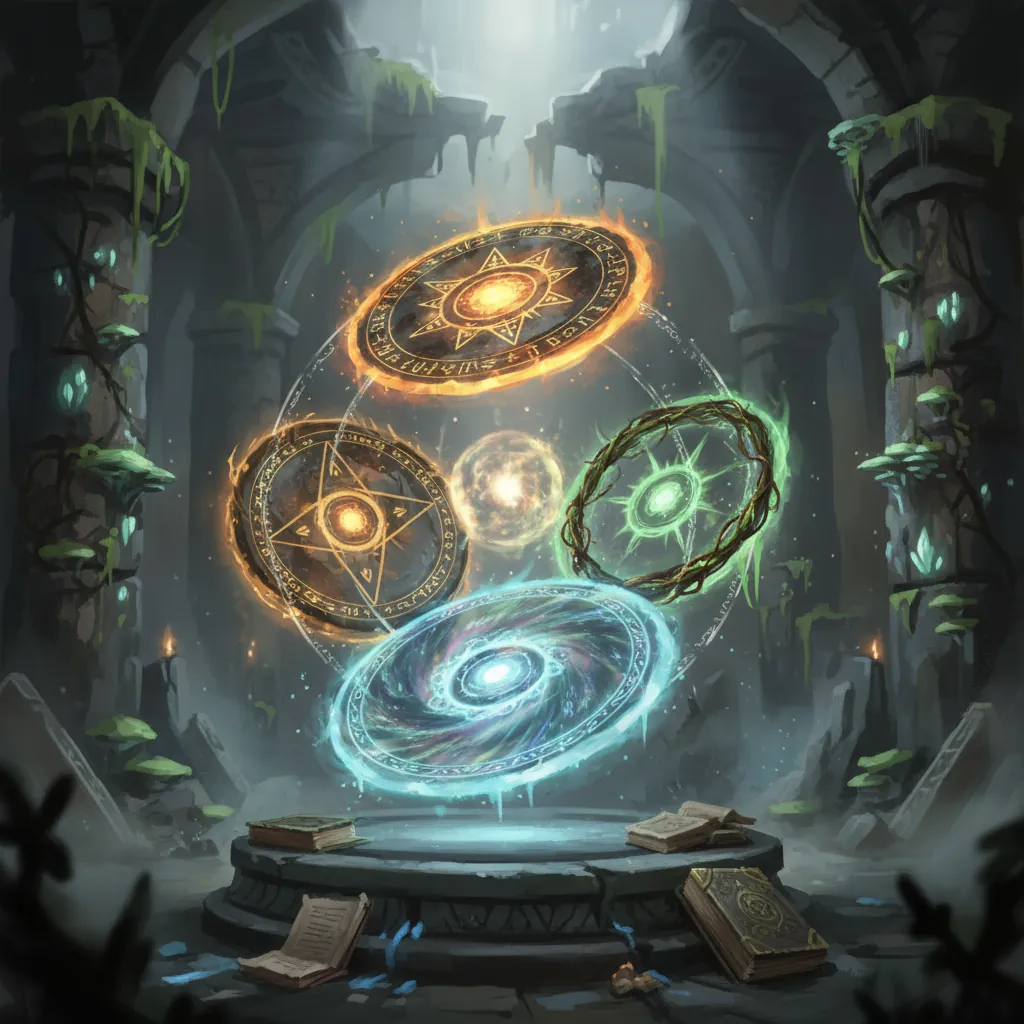
The gear system in NTE utilizes “Cartridges” which are slotted into a character’s Console. These function as the primary way to customize stats. For supports, the set bonuses provided by 2-piece and 4-piece configurations are more important than the raw stats of the individual Cartridges.
The Speedy Hedgehog Meta
Currently, the “Speedy Hedgehog” set is the undisputed meta for almost every support character. The 2-piece bonus grants a +12% increase to Charge Efficiency, which is the most valuable stat for maintaining the Esper Cycle. The 4-piece bonus is even more impactful: after the character uses their Ultimate, all allies receive a +15% ATK boost for 20 seconds. Since most support rotations involve using an Ultimate before swapping to a DPS, this set provides a nearly permanent damage increase during the team’s burst windows.
Alternative Cartridge Sets
While Speedy Hedgehog is the general choice, specific characters benefit from more specialized sets. “Kingdom’s Guard” is a defensive set designed for shield-based characters like Adler. It enhances defensive scaling, allowing shields to absorb more damage before breaking. For players who haven’t farmed a full Hedgehog set, “Shadow Creed” is a reliable A-Tier alternative. Its 4-piece bonus grants a +25% ATK boost for 20 seconds after casting a Skill, which is slightly easier to trigger but often has lower overall uptime compared to Ultimate-based buffs.
Recommended Cartridge Stats for Supports:
- Slot 1 (Fixed): HP
- Slot 2 (Fixed): ATK
- Slot 4 (Main Stat): Charge Efficiency (Priority #1)
- Slot 3/5 (Main Stat): HP% (for Healers/Shielders) or ATK% (for Buffers like Sakiri)
- Sub-stats: Charge Efficiency > HP% > ATK% > Flat HP
Team Comp

A support build is only as good as the team it enables. In NTE, team composition revolves around elemental reactions and the synergy between the Main DPS and their enablers.
Meta Team: The Blossom Nuke
The “Blossom Nuke” team is currently the highest-performing composition available at launch. This team relies on Nanally’s explosive damage, which is amplified by Sakiri’s buffs and Jiuyuan’s sub-DPS contributions.
- Main DPS: Nanally (High burst damage)
- Sub-DPS: Jiuyuan (Off-field damage and elemental application)
- Support: Sakiri (ATK buffs and enemy grouping)
- Cycler: Esper Zero (Energy generation and Esper Meter management)
In this setup, Sakiri uses her crowd control to pull enemies together, while Esper Zero ensures the Esper Meter stays full. This allows Nanally to remain in her enhanced state for the majority of the fight.
F2P and Budget Support Teams
For players who did not pull for S-Class units, the “Chaos Burst” team offers a powerful alternative focusing on the Break mechanic.
- Main DPS: Daffodil
- Support: Haniel
- Sustain: Fadia
This team focuses on high Break damage and triggering “Nova” reactions. Haniel provides the necessary buffs to ensure Daffodil can shatter enemy shields quickly, while Fadia keeps the team healthy. Another effective starter core is Esper Zero, Haniel, and Adler, which provides a very safe playstyle with both shielding and energy regeneration.
Elemental Synergy Guide:
- Discord: Triggered by combining Chaos and Scorch elements.
- Stain: Triggered by combining Lakshana and Psyche elements.
Rotation

The order in which you use your skills is critical. A common mistake is swapping to the Main DPS before the support buffs have been fully applied, leading to a significant loss in potential damage.
Optimizing the Esper Cycle
A standard rotation for a high-end support team, specifically the Nanally-Sakiri core, follows a strict flow to ensure maximum buff uptime during the Esper Cycle.
- Start with the Buffer: Switch to Sakiri or Haniel immediately.
- Apply Crowd Control: Use Sakiri’s “Devour Whole” (Hold version) to group enemies. This ensures that when your DPS enters the field, their AoE attacks hit every target.
- Generate Energy: Swap to Esper Zero and use her Skill. This is designed to instantly fill a portion of the Esper Meter and trigger the Cycle Gauge.
- Activate Ultimates: Use your support’s Ultimate (e.g., Sakiri’s Ult) to trigger the 4-piece Speedy Hedgehog effect (+15% ATK).
- The Burst Window: Swap to your Main DPS (Nanally or Daffodil). If the enemy is in a “Broken” state, unload your full rotation and Ultimate.
Common Rotation Mistakes to Avoid
One of the most frequent errors is using a healer’s Ultimate when the team is at full health just to trigger a buff. If you are using Fadia, it is often better to save the Ultimate for emergency recovery unless you are certain you can recharge it before the next major boss mechanic. Additionally, ensure that you are holding Sakiri’s skill rather than just tapping it; the hold version provides significantly better grouping, which is essential for maximizing the efficiency of Nanally’s attacks.
FAQ

Who is the best healer in NTE? Fadia is currently the only pure healer in the game. While other characters have minor self-sustain, Fadia is the only one capable of healing the entire party reliably. However, many high-level players prefer Adler for his superior shielding, which prevents damage from occurring in the first place.
Can I play NTE without S-Class supports? Yes. Haniel and Adler are both A-Class units that are highly effective. They are capable of clearing all launch content, including the most difficult urban anomalies, provided they are built with the correct Cartridges and Arcs.
What is the most important stat for supports? Charge Efficiency is the most vital stat. Without it, your support will not have their Ultimate ready when the DPS needs it, causing the rotation to stall. Aim for at least [exact value pending official confirmation] Charge Efficiency on your primary buffer.
Do ATK buffs from different supports stack? Buffs from different sources generally stack. For example, the ATK buff from Sakiri’s skill will stack with the ATK buff from the Speedy Hedgehog Cartridge set. However, two characters wearing the Speedy Hedgehog set will not provide a double bonus; the set effect does not stack with itself.
Sources
- Neverness to Everness Official Site — https://nte.perfectworld.com/
- Prydwen Institute NTE Guide
- Kaiden NTE Database — https://kaiden.gg/nte/
- Neverness.gg Character Wiki — https://neverness.gg/characters/
- Hotta Studio Official Discord — https://discord.com/invite/nte
Related Guides

Best Build for Mako (Nanally) in Neverness to Everness (NTE)

Best Mimi (Mint) Build in Neverness to Everness (NTE)

Best F2P Build in Neverness to Everness: Top Teams & Arcs

Best Healer in NTE: Top Builds, Espers & Arcs (June 2026)

Best Healer Build in Neverness to Everness (NTE): Edgar Guide

Best Kuro Build in Neverness to Everness: Weapons, Disks & Teams

Best Support Build for Mimi (Haniel) in Neverness to Everness
Loading comments…