
Wuthering Waves Beginner Tips: Best Starter Build & Guide
Starting your journey in Solaris-3 requires more than just fast reflexes; it demands a deep understanding of how to build your Resonators and manage your world progression. This guide provides the essential knowledge to master the early game and optimize your starter team for maximum efficiency.
Overview

Wuthering Waves (WuWa) distinguishes itself from other open-world RPGs by providing a protagonist, the Rover, who remains a competitive high-tier unit throughout the game. Unlike many free-to-play (F2P) titles where the starting character is quickly outclassed, the Rover—specifically in their Spectro and later Havoc forms—serves as a cornerstone for many endgame team compositions.
Success in the early hours depends on two parallel progression tracks: your Union Level and your Data Bank level. The Union Level dictates your overall account progress and the difficulty of the world, while the Data Bank determines the quality of the Echoes (monsters you equip for stats) that you can collect.
Resource management is the final pillar of a successful start. Waveplates (stamina) and Shell Credits (currency) are abundant initially but become significant bottlenecks as you reach the mid-game. Focusing your resources on a core team of three Resonators rather than spreading them thin across your entire roster is the most effective strategy for beginners.
Understanding the Rover’s Potential
The Rover begins with the Spectro element, offering a balanced kit of area-of-effect (AoE) damage and time-slow mechanics. As you progress through the main story—specifically after completing Chapter 1, Act 6—you unlock the Havoc Rover. The Havoc version is widely considered one of the strongest DPS units in the game, capable of dealing massive burst damage that rivals limited 5-star characters. Investing in the Rover’s levels and skills is never a waste of resources, as their levels carry over between elemental forms.
The Data Bank: Your Key to Power
The Data Bank is a unique system that tracks every Echo you have captured. Every time you catch a new type of Echo or a higher rarity version of one you already own, you gain Data Bank Experience. Increasing your Data Bank level is the only way to unlock higher rarity Echo drops (Blue, Purple, and eventually Gold). At Data Bank Level 15, you gain the ability to find 5-star (Gold) Echoes, which provide the massive stat boosts required for difficult boss encounters.
Resource Management for Beginners
During your first 20 hours, you will receive a large influx of “Fuel,” an item that restores 60 Waveplates. Resist the urge to spend these immediately. It is significantly more efficient to save your Fuel until you reach Union Level 40 or 45, where the rewards from bosses and domains are much higher. Spend your daily natural Waveplates on character ascension materials and weapon upgrade materials first, as these provide guaranteed power increases compared to the RNG-heavy process of Echo farming.
| Union Level | SOL3 Phase | World Difficulty / Reward Tier |
|---|---|---|
| 1-10 | Phase 1 | Base world level, standard drops |
| 10-20 | Phase 2 | Increased enemy levels, better material drops |
| 20-30 | Phase 3 | First major difficulty spike, Purple materials unlock |
| 30-40 | Phase 4 | Access to higher tier Boss drops |
| 40-50 | Phase 5 | Gold Echo drop rate significantly increased |
| 50-60 | Phase 6 | Maximum material drop efficiency |
| Data Bank Level | Max Echo Rarity | Drop Rate | Milestone Reward |
|---|---|---|---|
| Level 5 | Blue (Rare) | 10% | Increased Stamina |
| Level 8 | Purple (Epic) | 15% | Cost Limit Increase |
| Level 15 | Gold (Legendary) | 20% | 5-star Echoes Unlocked |
| Level 20 | Gold (Legendary) | 20% | 100% 5-star Drop Chance |
Best Weapons

Choosing the right weapon for the Rover and your sub-DPS characters can drastically change your damage output. In Wuthering Waves, weapons provide a Base ATK stat, a secondary stat (like Crit Rate or ATK%), and a passive ability. For the Rover, who uses a Sword, you want to prioritize weapons that offer Crit Rate or Energy Regen to ensure their Resonance Liberation (Ultimate) is available as often as possible.
Top 5-Star Weapon Picks
The Emerald of Genesis is the premier 5-star sword available from the Standard Weapon Permanent Convene. It is highly recommended to use your 5-star weapon selector or your guaranteed standard pulls on this weapon. It provides a massive Crit Rate secondary stat and a passive that increases Energy Regen and ATK% when using a Resonance Skill. This weapon is “future-proof,” meaning it will remain excellent on almost any sword-based DPS character released in the future.
Best 4-Star & F2P Alternatives
If you do not have a 5-star weapon yet, several 4-star and 3-star options perform admirably.
- Commando of Conviction (4-Star): A great general-purpose sword that provides a high ATK% bonus. Its passive triggers an ATK boost when you use your Resonance Skill, making it perfect for the Rover’s quick-swap playstyle.
- Scale: Slasher (4-Star): This sword focuses on Energy Regen. It is particularly useful if you find yourself struggling to charge your Resonance Liberation. Its passive restores Concerto Energy, allowing you to trigger Intro and Outro skills more frequently.
- Lunar Cutter (3-Star): For absolute beginners, the Lunar Cutter is a solid placeholder. It provides ATK% and a DMG boost that stacks as you stay on the field.
- Sword#18 (3-Star): This is a niche but effective F2P option. It increases the user’s ATK when their HP is above a certain threshold, which is easy to maintain if you have a healer like Baizhi on your team.
At Union Level 45, you will receive a 5-star weapon box. It is generally advised to pick the Emerald of Genesis (Sword) or the Lustrous Razor (Broadblade) depending on whether your main DPS is the Rover or a character like Calcharo or Jiyan.
| Weapon Name | Rarity | Main Stat | Passive Effect (Rank 1) |
|---|---|---|---|
| Emerald of Genesis | 5-Star | Crit Rate | +12.8% Energy Regen; +6% ATK when Skill is used (stacks 2x) |
| Commando of Conviction | 4-Star | ATK% | +15% ATK for 15s after using Resonance Skill |
| Scale: Slasher | 4-Star | Energy Regen | Restores 8 Concerto Energy after using Resonance Skill |
| Lunar Cutter | 3-Star | ATK% | Increases ATK by 2% every 2s while in combat (stacks 6x) |
| Sword#18 | 3-Star | ATK% | +10% ATK when HP is above 80% |
Best Disks (Artifacts)

In Wuthering Waves, the gear system is known as the Echo System. While some players refer to them as “Disks” or “Artifacts,” the official term is Echoes. These are the spirits of monsters you defeat in the world. Echoes provide stat bonuses and a unique “Echo Skill” that allows you to transform into the monster to perform an attack or gain a buff.
Top Echo Sets for Beginners
Echoes belong to “Sonata Effects” (set bonuses). For the Rover, your choice of set depends on your current element:
- Celestial Light (Spectro Rover): A 2-piece set increases Spectro DMG by 10%. A 5-piece set increases Spectro DMG by an additional 30% for 15 seconds after using an Intro Skill.
- Sun-sinking Eclipse (Havoc Rover): A 2-piece set increases Havoc DMG by 10%. A 5-piece set increases Havoc DMG by up to 30% as you use Basic Attacks and Skills.
Main Stat & Substat Priority
Echoes use a “Cost” system. Your Resonator has a maximum Cost capacity (starting at 8 and increasing to 12 as your Data Bank levels up). The most efficient distribution for damage is the 4-3-3-1-1 setup:
- 4-Cost Echo (Overlord/Calamity Class): Main Stat should be Crit Rate or Crit DMG.
- 3-Cost Echo (Elite Class): Main Stat should be Elemental DMG Bonus (e.g., Spectro DMG or Havoc DMG).
- 1-Cost Echo (Common Class): Main Stat should be ATK%.
Tuning is a mechanic unlocked later where you use “Tuners” to reveal hidden substats on leveled-up Echoes. For beginners, do not worry about perfect substats. Focus on getting the correct Main Stats first. Priority substats for the Rover are Crit Rate > Crit DMG > ATK% > Energy Regen.
How to Farm Echoes Efficiently
You do not need Waveplates to farm Echoes; you simply need to find and defeat enemies in the open world. To speed up your Data Bank progression, use the “Echo Gallery” in your menu to track specific monsters you haven’t captured at high rarities yet. If you are struggling to find 3-cost Echoes (which are the hardest to drop with the correct elemental stat), you can use the “Echo Merge” function in the Data Bank to gamble lower-tier Echoes for a chance at new ones.
| Sonata Effect | 2-Piece Bonus | 5-Piece Bonus |
|---|---|---|
| Celestial Light | +10% Spectro DMG | +30% Spectro DMG after Intro Skill |
| Sun-sinking Eclipse | +10% Havoc DMG | +7.5% Havoc DMG after Basic/Skill (stacks 4x) |
| Rejuvenating Glow | +10% Healing Bonus | +15% ATK to all allies after healing |
| Moonlit Clouds | +10% Energy Regen | +22.5% ATK to next Resonator after Outro Skill |
Team Comp
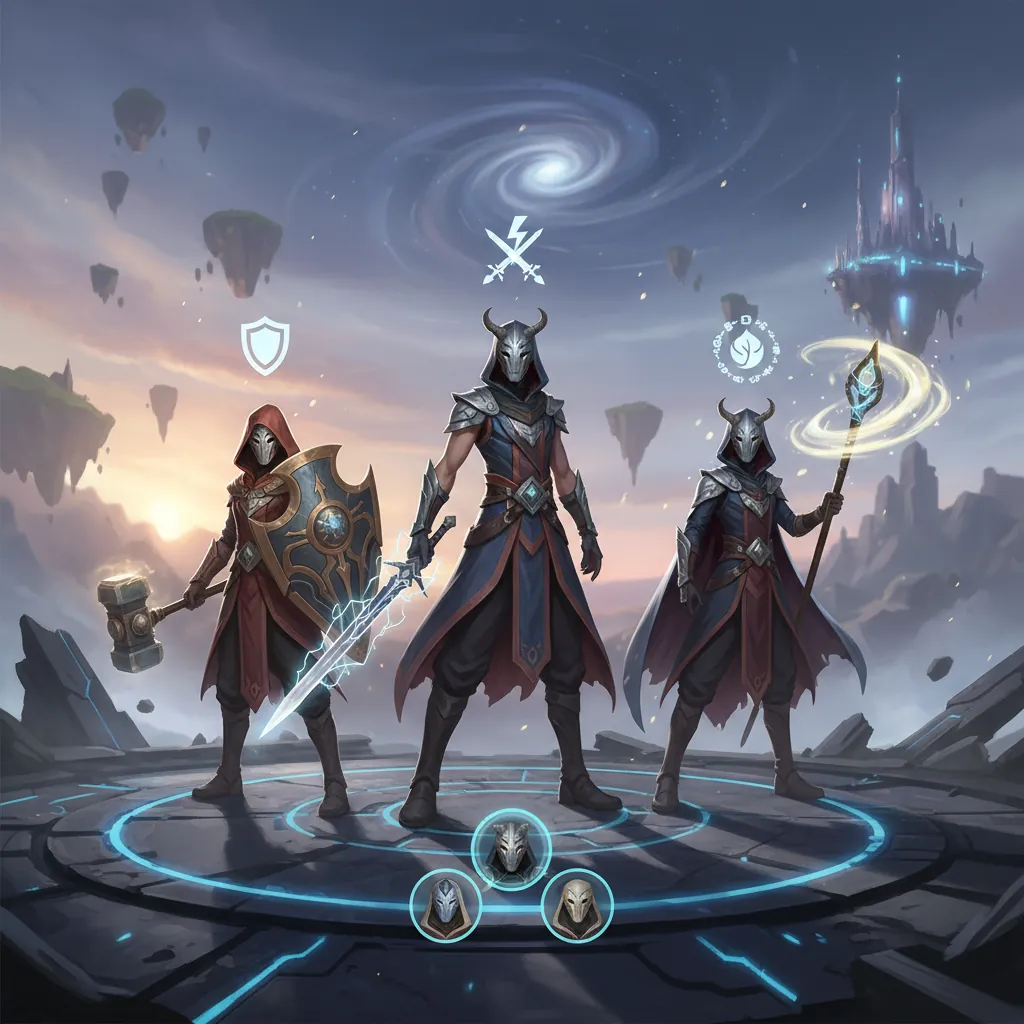
Building a team in Wuthering Waves follows a “Golden Trio” logic: one Main DPS, one Sub-DPS/Buffer, and one Healer/Sustain. This ensures that your main attacker receives the buffs and healing necessary to stay on the field while maximizing damage during swap windows.
The Best F2P Starter Team
The most effective team for players just starting out consists of:
- Rover (Main DPS): Your primary source of damage.
- Yangyang (Sub-DPS/Battery): She provides excellent crowd control with her Resonance Liberation and, more importantly, her Outro Skill restores Energy to the next Resonator.
- Baizhi (Healer): A free 4-star healer given early in the story. She provides consistent healing and an ATK buff through her Outro Skill.
Synergy & Outro Skill Combos
The core of combat synergy lies in the Outro Skill. When a Resonator’s Concerto Energy is full, swapping them out triggers their Outro Skill.
- Yangyang’s Outro: Restores 4 Resonance Energy per second for 5 seconds to the incoming Resonator. This helps the Rover use their Ultimate more often.
- Sanhua (Free 4-star): You receive Sanhua for free after logging in for five days. She is an incredible Sub-DPS whose Outro Skill increases the Basic Attack DMG of the next character by 38% for 14 seconds. This is exceptionally powerful for the Havoc Rover.
Choosing Your First 5-Star Resonator
Through the Novice Convene and the Beginner’s Choice Convene, you will eventually get to pick or pull a standard 5-star character.
- Verina: The absolute best choice for any account. She is a 5-star Spectro healer who provides massive ATK buffs and coordinated attacks. She is an upgrade over Baizhi in every way.
- Calcharo: A strong Electro DPS if you want an alternative to the Rover.
- Encore: A top-tier Fusion DPS with high ranged and melee capabilities.
| Character | Role | Element | Key Synergy |
|---|---|---|---|
| Rover | Main DPS | Spectro/Havoc | High burst; benefits from Energy Regen |
| Yangyang | Sub-DPS | Aero | Groups enemies; restores Energy to allies |
| Baizhi | Healer | Glacio | Provides healing and ATK% buffs |
| Sanhua | Sub-DPS | Glacio | Massive Basic Attack DMG buff for next unit |
| Verina | Support | Spectro | Best healer; universal ATK and DMG buffs |
Rotation

Combat in Wuthering Waves is fast-paced and rewards proactive swapping. You should never stay on one character for too long. Instead, you should rotate through your team to build Concerto Energy and trigger Intro/Outro skills.
Mastering Concerto Energy & Swapping
Concerto Energy is the circular gauge next to your character’s health bar. It fills as you deal damage with Basic Attacks, Skills, and Ultimates. When it is full, the character icons on the right will glow and pulse. Swapping at this moment triggers:
- Outro Skill: The character leaving the field provides a buff.
- Intro Skill: The character entering the field performs a powerful unique attack.
The Optimal Combat Flow
A standard rotation should look like this:
- Start with your Healer (Baizhi/Verina): Use their Skill and Basic Attacks to build Concerto Energy. Once full, swap to your Sub-DPS.
- Sub-DPS (Yangyang/Sanhua): Trigger their Intro Skill, use their Resonance Skill and Liberation to build Concerto quickly. Swap to your Main DPS.
- Main DPS (Rover): Enter with their Intro Skill (which will now be buffed by the previous two characters). Unleash their full combo, Resonance Skill, and Resonance Liberation.
- Repeat: By the time the Rover’s buffs expire, your Healer’s cooldowns should be ready to start the cycle again.
Breaking Enemy Stagger Bars
Elite enemies and bosses have a white “Vibration Strength” bar below their health. Reducing this bar to zero will “Immobilize” the enemy, making them take increased damage and stopping their attacks. You can deplete this bar faster by:
- Parrying: Attacking at the same time an enemy performs an attack with a golden “halo” effect.
- Dodging: A “Perfect Dodge” allows for a powerful counter-attack that deals high Vibration damage.
- Heavy Attacks: Certain characters deal more stagger damage with charged or heavy attacks.
FAQ

How do I level up my Data Bank quickly? The fastest way is to hunt “Phantom” Echoes (shiny versions) and to ensure you have captured every monster type at least once. If you are stuck, use the “Data Merge” feature in the Data Bank menu to combine low-rarity Echoes into new ones. This grants experience for any new Echoes generated.
Which 5-star character should I pick from the selector? Verina is the most recommended pick. Healers and buffers have much longer longevity in the meta than pure damage dealers. If you already have Verina, Calcharo or Encore are the next best choices for raw damage.
What are Waveplates and how should I spend them? Waveplates are your energy system. You should spend them daily to avoid capping at 240. Early on, focus on “Simulation Challenges” for Resonator EXP and Weapon EXP, and “Weekly Challenges” for rare talent upgrade materials.
Can I change the Rover’s element? Yes. You begin as Spectro. You can switch elements by interacting with the Resonance Nexus (the large towers) or through the character menu once you have unlocked the Havoc element via the story.
How do I unlock the Havoc Rover element? You must complete the Main Quest Chapter 1, Act 6 “Grand Warstorm.” After the final boss of this arc, the Rover will gain the Havoc element. You can then swap between Spectro and Havoc at any time outside of combat.
Sources
- Wuthering Waves Official Site — https://wutheringwaves.kurogames.com/en/
- Prydwen Wuthering Waves Guide — https://www.prydwen.gg/wuthering-waves/
- Game8 Wuthering Waves Wiki — https://game8.co/games/Wuthering-Waves
- Wuthering Waves Wiki (Fandom) — https://wutheringwaves.fandom.com/wiki/Wuthering_Waves_Wiki
- Wuthering.wiki — https://wuthering.wiki/
Related Guides

Best Build for Mako (Nanally) in Neverness to Everness (NTE)

Best Mimi (Mint) Build in Neverness to Everness (NTE)

Best F2P Build in Neverness to Everness: Top Teams & Arcs

Best Healer in NTE: Top Builds, Espers & Arcs (June 2026)

Best Healer Build in Neverness to Everness (NTE): Edgar Guide

Best Kuro Build in Neverness to Everness: Weapons, Disks & Teams

Best Support Build for Mimi (Haniel) in Neverness to Everness

Loading comments…