
Wuthering Waves Beginner Tips and Tricks: Best Starter Build
Mastering the fast-paced combat and intricate progression of Wuthering Waves requires more than just quick reflexes; it demands a solid understanding of the game’s unique Echo system and character synergies. This guide provides the essential strategies and the best starter build for the Rover to ensure your journey through Solaris-3 begins on the strongest possible footing.
📝 Editorial Note: This guide is AI-assisted and game data evolves rapidly. Please cross-reference with in-game information. Updated: 2026-05-13.
Overview

Wuthering Waves (WuWa) arrived on May 23, 2024, introducing a complex open-world environment where combat fluidity and monster absorption are the primary focuses. Unlike many other titles in the genre, your power is not solely determined by your character’s level or the quality of your gacha pulls. Instead, the “Data Bank” serves as the backbone of your progression, dictating the quality of the “Echoes” (monsters) you can capture and equip.
The most critical beginner tip is to prioritize leveling your Data Bank immediately. Every time you defeat a new monster type or a higher rarity of a monster you already own, you gain Data Bank experience. Higher Data Bank levels increase the “Drop Rate” of Echoes and, more importantly, unlock higher “Max Rarity” tiers. Reaching Data Bank Level 15 is a major milestone, as it allows for 5-star (Gold) Echoes to drop, which provide significantly higher stat ceilings and more sub-stat slots.
Understanding the Data Bank System
The Data Bank acts as an encyclopedia of every monster in the game. To level it up, you must “capture” Echoes by defeating enemies in the open world. If an enemy leaves behind a glowing silhouette, interacting with it adds that Echo to your collection.
| Data Bank Level | Max Echo Rarity | Echo Drop Rate | 5-Star Drop Chance |
|---|---|---|---|
| Level 1 | 2-Star (Green) | 10% | 0% |
| Level 5 | 3-Star (Blue) | 10% | 0% |
| Level 8 | 4-Star (Purple) | 15% | 0% |
| Level 15 | 5-Star (Gold) | 20% | 30% |
| Level 20 | 5-Star (Gold) | 20% | 100% |
Union Level vs. SOL3 Phase
Your account progression is tracked via the Union Level. As this level increases, you will periodically need to complete a “Phase Evaluation” to increase your SOL3 Phase. Increasing your SOL3 Phase makes world enemies tougher but also increases the quality of rewards from bosses, Tacet Fields, and weekly challenges.
- UL 1-10: SOL3 Phase 1
- UL 20: SOL3 Phase 2
- UL 30: SOL3 Phase 3
- UL 40: SOL3 Phase 4 (Unlock 5-star weapon box)
- UL 45: SOL3 Phase 5 (Guaranteed 5-star weapon from standard banner)
Essential Exploration Mechanics
Exploration in Wuthering Waves is highly vertical. To save stamina and move faster, utilize the Grapple (utility tool) in mid-air to reset your momentum. Wall running is a core mechanic; however, it still consumes stamina. To climb massive cliffs efficiently, run vertically until your stamina is nearly depleted, then perform a mid-air jump and use the Grapple to gain extra height. Additionally, performing a Basic Attack in mid-air can slightly hover your character, allowing you to clear gaps that would otherwise require a glider.
Best Weapons
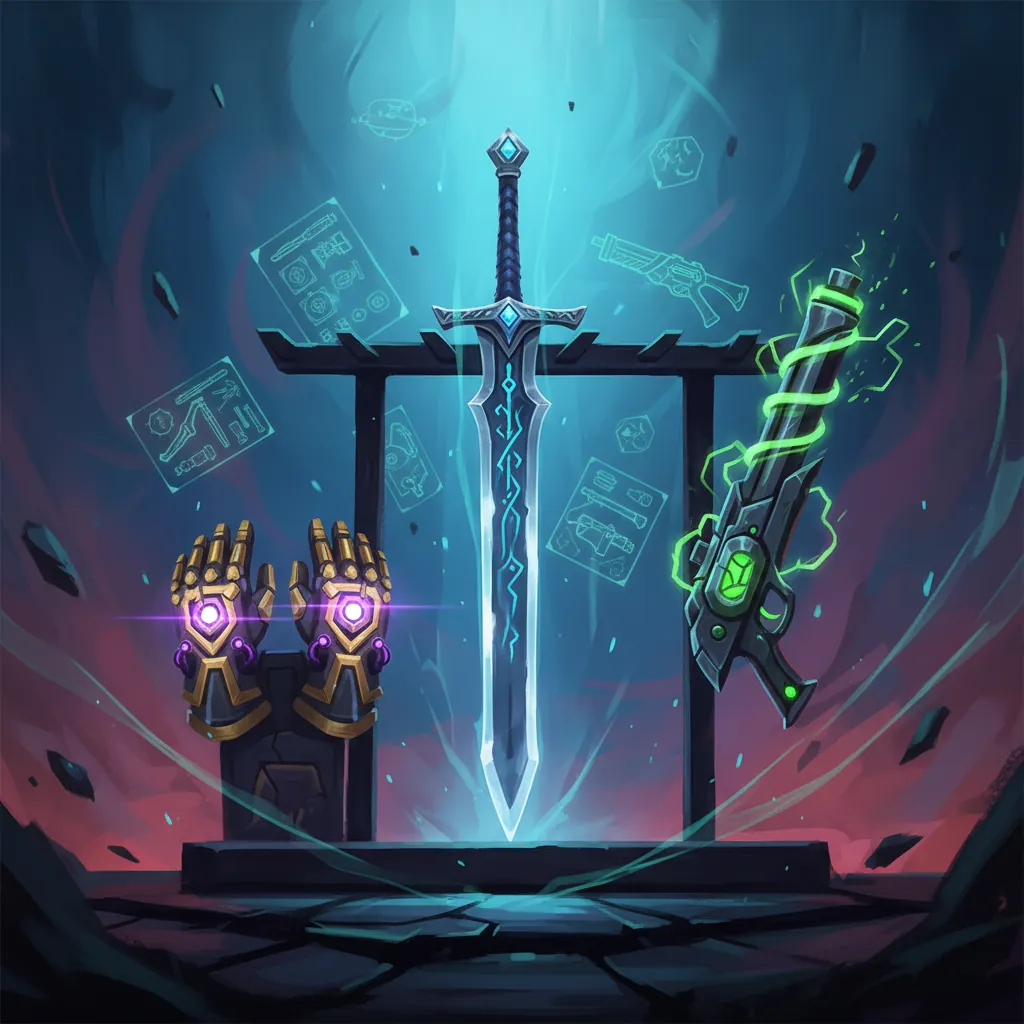
For the early game, the Spectro Rover serves as your primary damage dealer. As a Sword user, the Rover benefits most from weapons that provide Crit Rate, ATK%, or Energy Regen. While 5-star weapons are naturally superior, several 4-star and even 3-star options provide enough power to clear the main story and early Tower of Adversary floors.
Top Tier: 5-Star Sword Rankings
The absolute best weapon for a beginner Rover is the Emerald of Genesis. This 5-star sword can be obtained for free once you reach Union Level 45 by opening the “5-star Standard Weapon Supply Chest” rewarded to all players. It features a high Base ATK and a Crit Rate sub-stat, which is vital for late-game scaling. Its passive increases Energy Regen by 12.8% and grants a stacking 6% ATK buff whenever a Resonance Skill is used.
Best 4-Star Alternatives
If you haven’t reached UL 45 yet, the Commando of Conviction is the premier 4-star choice. It provides a flat ATK% sub-stat and a passive that increases ATK by an additional 15% for 15 seconds after using a Resonance Skill. This aligns perfectly with the Rover’s rotation.
Another strong contender is Lumingloss, available through the Insider Podcast (the game’s Battle Pass). Lumingloss focuses on Basic and Heavy Attack DMG, increasing these stats by 20% for 10 seconds after a Resonance Skill is cast. This is ideal if you prefer a playstyle centered on the Rover’s Forte Circuit empowered attacks.
F2P and 3-Star Budget Options
Do not overlook the Sword of Night. As a 3-star weapon, it is incredibly easy to “Synthesize” to Rank 5 (R5). At R5, it increases Basic and Heavy Attack DMG by 32% for 10 seconds after an Intro Skill is used. For the first 20-30 hours of gameplay, an R5 Sword of Night often outperforms an R1 4-star weapon due to the ease of maxing its passive.
| Weapon Name | Rarity | Main Stat | Passive Effect (Rank 1) |
|---|---|---|---|
| Emerald of Genesis | 5-Star | Crit Rate | +12.8% Energy Regen; +6% ATK on Skill (2 stacks) |
| Commando of Conviction | 4-Star | ATK% | +15% ATK for 15s after Resonance Skill |
| Lumingloss | 4-Star | ATK% | +20% Basic/Heavy DMG after Resonance Skill |
| Sword of Night | 3-Star | ATK% | +16% Basic/Heavy DMG after Intro Skill |
| Lunar Cutter | 4-Star | ATK% | +ATK% stacks based on remaining HP |
Best Disks (Echoes)

In Wuthering Waves, “Disks” are officially called Echoes. These are the primary way to customize your character’s stats. Each Echo belongs to a “Sonata Effect” (set bonus) and has a “Cost” (1, 3, or 4). Your character has a maximum Echo Cost limit that increases with your Data Bank level, eventually capping at 12.
How the Echo System Works
Each character can equip five Echoes. The first slot is your “Main Echo,” which allows you to use that monster’s unique skill in combat. For example, equipping the Mourning Aix in the first slot allows you to transform into the Aix to deal Spectro damage.
Recommended Sonata Effects (Sets)
For a Spectro Rover build, there are two primary paths:
- Celestial Light (5-Piece Set): This is the high-damage choice.
- 2-Piece Bonus: Spectro DMG +10%.
- 5-Piece Bonus: Spectro DMG +30% for 15 seconds after using an Intro Skill.
- Moonlit Clouds (5-Piece Set): Best if you use Rover as a Sub-DPS or “Quick-swap” character.
- 2-Piece Bonus: Energy Regen +10%.
- 5-Piece Bonus: After using an Outro Skill, the next character’s ATK is increased by 22.5% for 15 seconds.
Main Stats and Sub-stat Priority
To maximize the 12-cost limit, use a 4-3-3-1-1 distribution. This means one 4-cost Echo (Boss), two 3-cost Echoes (Elite), and two 1-cost Echoes (Common).
- 4-Cost Main Stat: Crit Rate or Crit DMG.
- 3-Cost Main Stat: Spectro DMG Bonus (Priority) or ATK%.
- 1-Cost Main Stat: ATK%.
Sub-stat Priority: Crit Rate > Crit DMG > ATK% > Energy Regen > Resonance Liberation DMG.
The Tuning and Leveling Process
You must level up an Echo using Sealed Tubes before you can “Tune” it. Tuning requires Tuners (obtained from Tacet Fields) to reveal hidden sub-stats. Avoid using Tuners on 3-star or 4-star Echoes. Save your resources for 5-star (Gold) Echoes, as Tuners are one of the most limited resources in the late game.
Team Comp
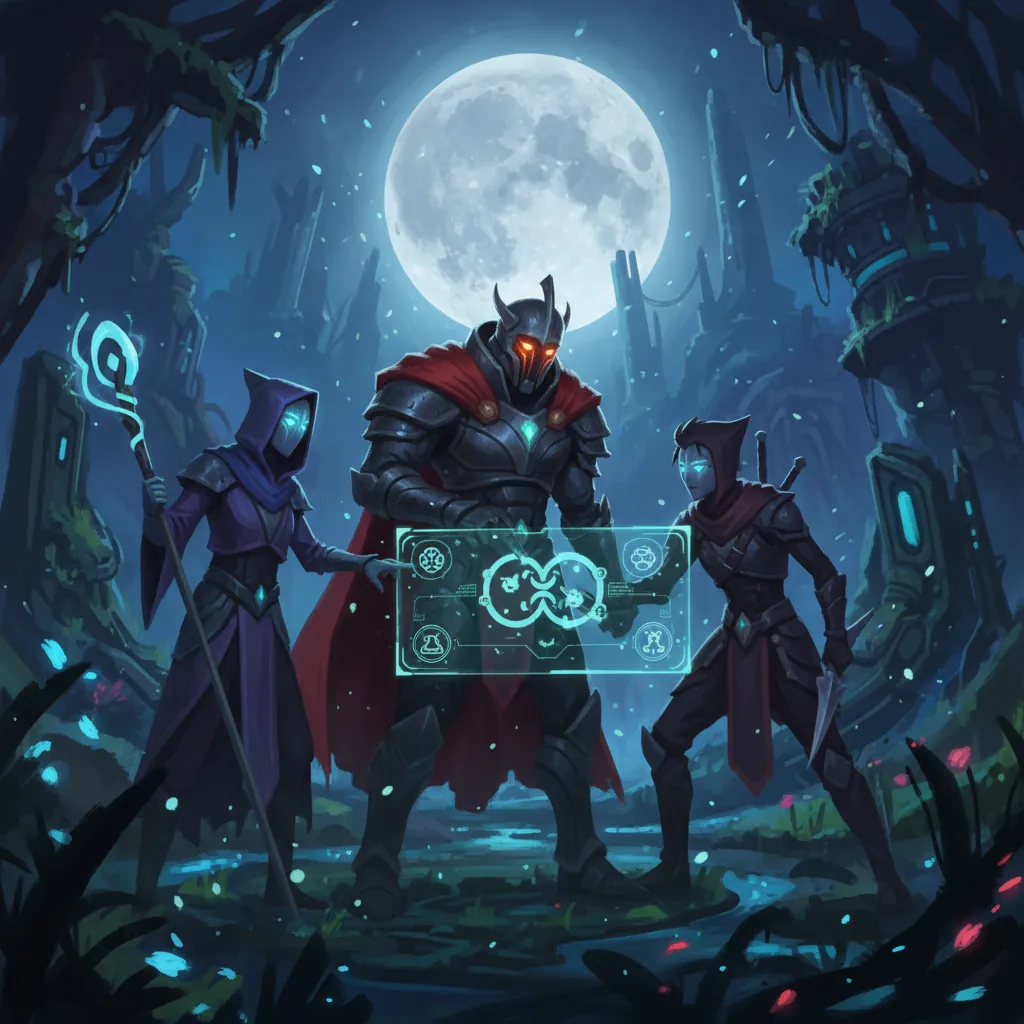
A balanced team in Wuthering Waves typically follows the “Main DPS / Sub-DPS / Support” triangle. This structure ensures you have high on-field damage, buffs to sustain that damage, and healing to survive boss encounters.
The F2P Friendly Core
The most effective starter team for all players is Spectro Rover, Sanhua, and Baizhi.
- Rover (Main DPS): Provides consistent Spectro damage and has a powerful Resonance Liberation (Ultimate).
- Sanhua (Sub-DPS): She is given for free via the 5-day login event. Her Outro Skill buffs the next character’s Basic Attack DMG by 38% for 14 seconds, which perfectly complements the Rover’s combo-heavy playstyle.
- Baizhi (Support/Healer): A free 4-star healer who provides HP recovery and an ATK buff through her Outro Skill.
Best Supports for Spectro Rover
If you are lucky with your pulls or use your 5-star selector, Verina is the absolute best support for any team. She provides global ATK buffs, healing, and a “cheat death” mechanic. For a more defensive or utility-focused team, Jianxin can provide powerful shields and crowd control (grouping enemies), which is helpful in the Depths of Illusive Realm or Tower of Adversary.
| Character | Role | Synergy Reason |
|---|---|---|
| Verina | Support | Best-in-slot healer; provides universal 15% All-Type DMG Deepen buff. |
| Sanhua | Sub-DPS | Massive Basic Attack DMG buff; fast Concerto energy generation. |
| Mortefi | Sub-DPS | Buffs Heavy Attack DMG; provides coordinated attacks during Rover’s field time. |
| Baizhi | Support | F2P healer; buffs the ATK of the character she swaps into. |
| Yangyang | Sub-DPS | Provides Energy Regen for the next character via her Outro Skill. |
Understanding Elemental Synergy
While elemental “reactions” like those in other RPGs don’t exist in the same way, “Concerto Effects” are triggered by swapping characters when the Concerto Gauge (the circle next to the health bar) is full. Swapping at full energy triggers an Intro Skill for the incoming character and an Outro Skill for the outgoing character. For example, swapping from Sanhua to Rover triggers Sanhua’s “Silvery Snow” Outro Skill, immediately boosting Rover’s damage output.
Rotation
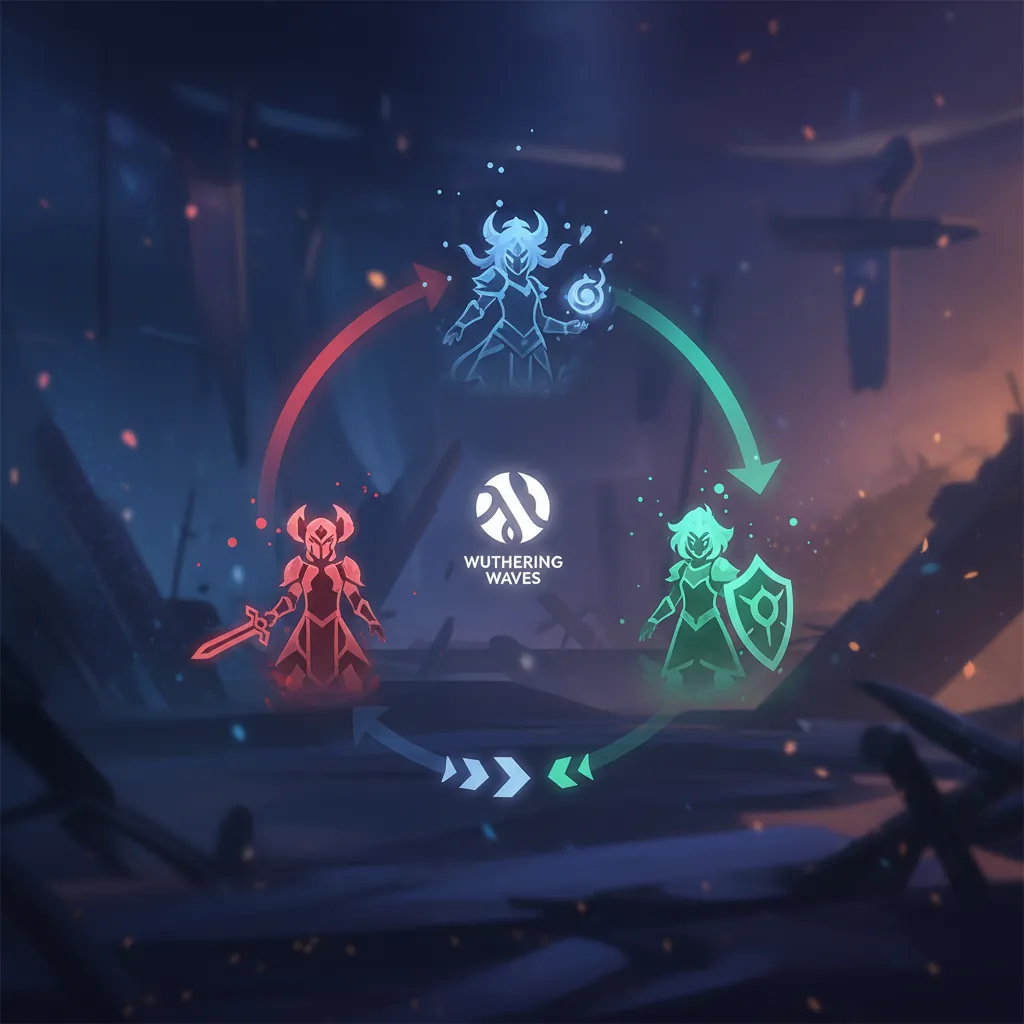
Combat in Wuthering Waves is built around the “Concerto Gauge” and the “Forte Circuit.” Efficient rotations involve filling these bars as quickly as possible to maximize damage windows.
Building Concerto Energy
Concerto Energy is generated by using Resonance Skills, Basic Attacks, and successful Parries or Dodges. You should never swap characters manually unless the Concerto Gauge is full, as you will miss out on the massive damage and buffs provided by Intro and Outro skills.
Rover’s Skill Priority and Combos
The Rover’s Forte Circuit is called “World in a Grain of Sand.” When the bar above your health is full, your Heavy Attack is enhanced into “Aftertune.”
Optimal Combat Loop:
- Intro Skill: Enter the field to deal initial Spectro DMG.
- Resonance Skill (Resonating Echoes): Use this immediately to start the cooldown and generate energy.
- Basic Attack Combo: Perform the full 4-hit string to fill the Forte Gauge.
- Heavy Attack (Aftertune): Once the Forte Gauge is full, hold the attack button to launch the enhanced attack.
- Resonance Liberation: Cast your Ultimate while the enemy is staggered or while buffs are active.
- Echo Skill: Use your Mourning Aix skill to gain the Spectro DMG buff.
- Outro Skill: Once the Concerto Gauge is glowing, swap to your next character.
Mastering Intro and Outro Skills
Successful combat relies on “Parrying.” Many boss attacks feature a “gold ring” indicator. Attacking during this window parries the enemy, dealing massive “Vibration Strength” (stagger) damage. Once an enemy’s white bar under their health is depleted, they enter a “Downed” state, taking increased damage. This is the optimal time to unleash your Resonance Liberation.
FAQ

Gacha and Pity System Explained
Wuthering Waves features a 80-pull pity system for character banners. If you do not pull a 5-star character within 79 pulls, the 80th pull is guaranteed to be a 5-star. On the limited character banner, there is a 50% chance the 5-star will be the featured unit. If you “lose” the 50/50, the next 5-star is guaranteed to be the featured unit. Weapon banners are more player-friendly, offering a 100% guarantee for the selected 5-star weapon at 80 pulls.
Character Progression Questions
Should I reroll? Rerolling is generally not recommended. A single reroll attempt takes roughly 30 minutes to reach the gacha unlock point. Since the game provides a free 5-star selector and a guaranteed 5-star beginner banner (discounted to 40 pulls), most players will obtain two or three 5-star characters within the first week of play regardless of luck.
How do I get more Echo EXP? Echo EXP (Sealed Tubes) is primarily farmed from Tacet Fields, which cost 60 Waveplates (stamina) to claim. You can also obtain EXP by completing the “Guidebook” milestones and exploring the world to find “Mewts” (cats) and supply chests.
Which 5-star should I pick from the selector? Verina is the most “future-proof” choice. Healers and buffers typically stay relevant much longer than damage dealers. If you already have Verina, Calcharo or Encore are excellent Main DPS choices.
Daily and Weekly Checklist
To maximize your progression, follow this routine:
- Spend Waveplates: Prioritize Boss Materials or Tacet Fields. Never let your Waveplates cap at 240.
- Daily Tasks: Complete the four daily activities in the Guidebook for Astrite and Union EXP.
- Data Bank Hunting: Track monsters you haven’t maxed out yet using the Echo Gallery “Track” feature.
- Weekly Bosses: Defeat the three weekly bosses (e.g., Scar or the Bell-Borne Geochelone) for advanced skill upgrade materials.
- Tower of Adversary: Check the “Stable Zone” and “Experiment Zone” for one-time Astrite rewards.
Sources
- Prydwen Wuthering Waves Guide — https://www.prydwen.gg/wuthering-waves/
- Wuthering Waves Official Wiki — https://wuthering.wiki/
- Game8 WuWa Beginner’s Guide — https://game8.co/games/Wuthering-Waves/archives/446270
- Wuthering Waves Data Bank Milestones — https://wuthering-waves.fandom.com/wiki/Data_Bank
- Official Wuthering Waves Website — https://wutheringwaves.kurogames.com/en/
Related Guides

Best Build for Mako (Nanally) in Neverness to Everness (NTE)

Best Mimi (Mint) Build in Neverness to Everness (NTE)

Best F2P Build in Neverness to Everness: Top Teams & Arcs

Best Healer in NTE: Top Builds, Espers & Arcs (June 2026)

Best Healer Build in Neverness to Everness (NTE): Edgar Guide

Best Kuro Build in Neverness to Everness: Weapons, Disks & Teams

Best Support Build for Mimi (Haniel) in Neverness to Everness

Loading comments…