Wuthering Waves Resonance Chain Explained: Full Guide & Best Build
Unlocking the full potential of your Resonators requires a deep understanding of the duplicate system that enhances their combat capabilities and stat ceilings.
📝 Editorial Note: This guide is AI-assisted and game data evolves rapidly. Please cross-reference with in-game information. Updated: 2026-05-13.
In Wuthering Waves, pulling a duplicate character is not just a secondary reward; it is the primary method for unlocking massive power spikes through the Resonance Chain system. Each character features a unique Resonance Chain consisting of six Sequence Nodes (S1 through S6). Activating these nodes can fundamentally change how a character plays, turning a sub-DPS into a main carry or adding utility like resistance shredding and cooldown resets. This guide breaks down the mechanics of Resonance Chains, how to farm Wavebands, and the definitive high-sequence build for Havoc Rover.
Overview
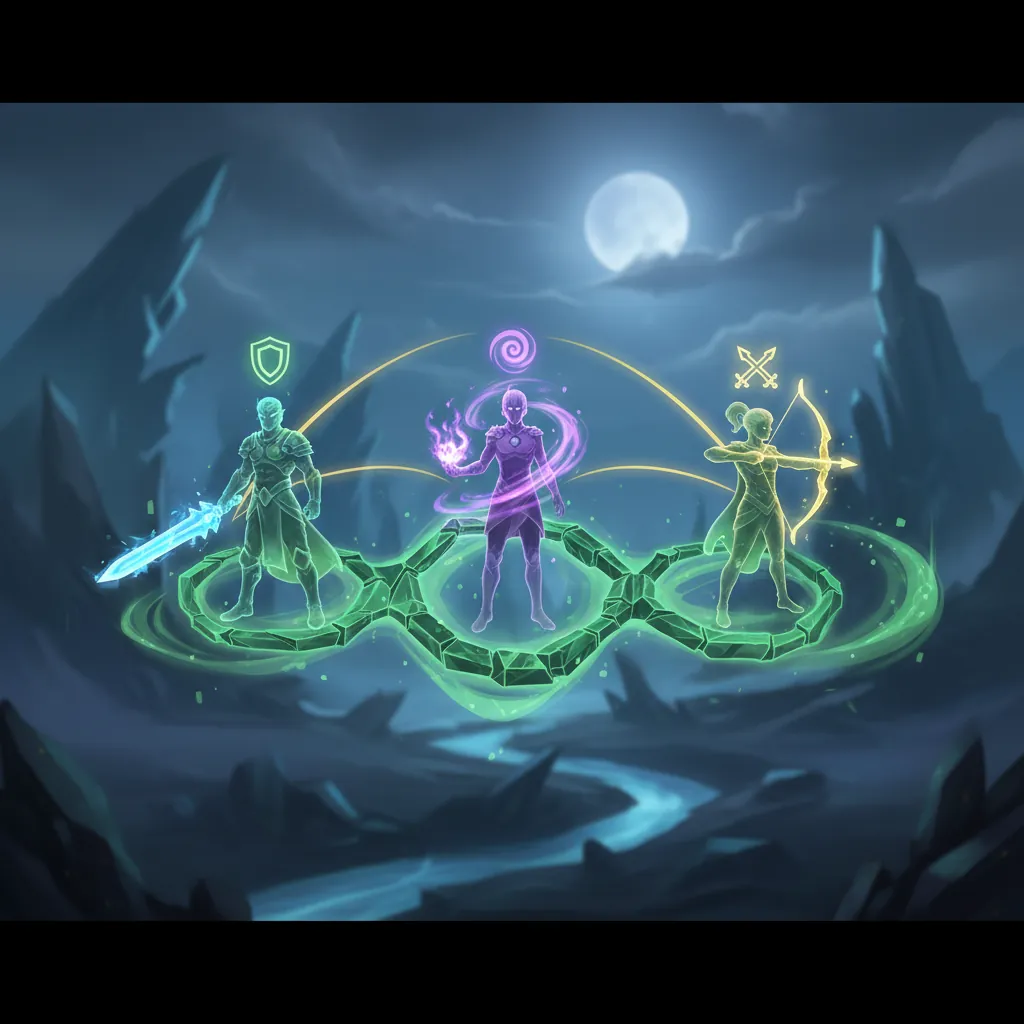
The Resonance Chain is a progression track unique to every Resonator. When you obtain a duplicate of a character you already own, it is converted into a specialized currency called a Waveband. These Wavebands are consumed to activate Sequence Nodes in a linear order from S1 to S6.
What is a Resonance Chain?
A Resonance Chain acts as a character’s “constellation” or “eidolon” system. Each of the six nodes provides a specific buff. Early nodes (S1–S2) typically offer numerical boosts to damage or energy regeneration, while middle nodes (S3–S4) often introduce new mechanics or utility. The final nodes (S5–S6) are designed to be “capstone” abilities that significantly increase the character’s damage ceiling or provide massive team-wide buffs.
The community uses the shorthand “SXRY” to describe a character’s investment level. “S0” refers to a character with no sequences unlocked, while “S6” means a fully maxed Resonance Chain. The “R” refers to the Rank of their weapon (e.g., S0R1 means a base character with a Rank 1 signature weapon).
How to Unlock Sequence Nodes
There are three primary ways to acquire the Wavebands needed to unlock Sequence Nodes:
- The Convene System (Gacha): Pulling a duplicate character on any banner automatically rewards you with that character’s Waveband.
- Afterglow Coral Store: This shop allows you to purchase Wavebands using Afterglow Coral, a currency earned by pulling 4-star and 5-star items.
- In-Game Rewards: Certain characters, specifically the Rover and some free 4-star units, receive Wavebands through quest progression or exploration milestones.
| Item Type | Afterglow Coral Cost | Availability |
|---|---|---|
| 5-Star Limited Waveband | 270 | Only during the character’s active banner |
| 5-Star Standard Waveband | 270 | Permanently available (Limit 2 per character) |
| 4-Star Resonator Waveband | 45 | Monthly rotation or specific character slots |
Resonance Chains for the Rover (Spectro & Havoc)
The Rover is unique because you do not pull for their duplicates. Instead, you collect “Rover’s Wavebands” by playing the game. Spectro Rover Wavebands are primarily found through the Casket Delivery system (turning in Sonance Caskets to Chenpi in Jinzhou) and reaching specific milestones in the Main Quest.
Havoc Rover Wavebands are more restricted. As of the current version, players can obtain Havoc Wavebands by completing the later acts of the Main Chapter and reaching higher levels of the Data Bank. Because Havoc Rover is one of the strongest DPS units in the game, unlocking their S6 is a priority for F2P players.
Havoc Rover Sequence Nodes:
- S1 (Cryptic Melee): Havoc DMG is increased by 20%.
- S2 (Waning Crescent): In the Dark Surge state, the Cooldown of Resonance Skill Wingblade is reduced by 1s when hitting a target with Basic Attack, up to once per second.
- S3 (Cloak of Night): Resonance Skill Wingblade DMG is increased by 30%.
- S4 (Nameless Fog): When casting Resonance Liberation Deadpan Echo, Havoc RES of the target is reduced by 20% for 20 seconds.
- S5 (Brave’s Verdict): Resonance Liberation Deadpan Echo DMG is increased by 50%.
- S6 (Timeless Night): In the Dark Surge state, Crit Rate is increased by 25%.
Best Weapons
Choosing the right weapon for a high-sequence Havoc Rover involves balancing Crit stats and ATK% scaling. Because S6 provides a massive 25% Crit Rate buff during the Dark Surge state, high-sequence builds can afford to focus more heavily on Crit DMG in their Echo sub-stats.
Top 5-Star Weapon: Emerald of Genesis
Emerald of Genesis is currently the best-in-slot option for Havoc Rover. It provides a high base ATK and a secondary stat of Crit Rate. Its passive increases Energy Regen by 12.8% and boosts ATK by 6% (stacking up to 2 times) whenever a Resonance Skill is used. Since Havoc Rover’s S2 allows for more frequent Skill uses, maintaining these ATK stacks is effortless.
Best 4-Star Weapon: Commando of Conviction
For players who haven’t pulled a 5-star sword, Commando of Conviction is the strongest 4-star alternative. It offers a significant ATK% boost and its passive increases ATK by an additional 15% for 15 seconds when the Intro Skill is triggered. This aligns perfectly with Havoc Rover’s playstyle, which relies on frequent swapping to trigger Intro Skills and build Concerto Energy.
F2P Alternatives
The Lumingloss (available from the Insider Channel/Battle Pass) is a strong choice for those who focus on Basic Attacks, as it increases Basic Attack DMG after using a Resonance Skill. If you are strictly F2P and have no gacha swords, the Sword of Night is a serviceable 3-star placeholder that increases ATK% after using an Intro Skill, though it should be replaced by a 4-star craftable weapon like the Lunar Cutter as soon as possible.
| Weapon Name | Rarity | Main Stat | Performance at S0 | Performance at S6 |
|---|---|---|---|---|
| Emerald of Genesis | 5-Star | Crit Rate | 100% (Baseline) | 124% |
| Commando of Conviction | 4-Star | ATK% | 88% | 94% |
| Lumingloss | 4-Star | ATK% | 85% | 91% |
| Lunar Cutter | 4-Star | ATK% | 82% | 87% |
Best Disks (Artifacts)

In Wuthering Waves, the gear system is known as Echoes. For Havoc Rover, the goal is to maximize Havoc DMG and capitalize on the burst windows provided by the Resonance Chain.
Best Echo Set: Sun-Sinking Eclipse
The 5-piece Sun-Sinking Eclipse set is the mandatory choice for Havoc Rover.
- 2-Piece Bonus: Havoc DMG +10%.
- 5-Piece Bonus: Havoc DMG +30% for 15 seconds after using a Basic Attack or Heavy Attack (stacks up to 4 times).
This set provides a total of 40% Havoc DMG, which scales exceptionally well with the S1 and S3 nodes.
Main Echo Choice: Dreamless vs. Crownless
The choice of the primary (Cost 4) Echo is critical for Havoc Rover.
- Dreamless: This is the superior choice for Havoc Rover. The Dreamless Echo skill deals massive Havoc DMG, and its damage is increased by 50% if used immediately after the Rover casts their Resonance Liberation. This synergy is the core of the Rover’s burst rotation.
- Crownless: While it provides a Havoc DMG and Resonance Skill DMG buff, its animation is long and cannot be canceled easily, making it less efficient for high-speed rotations.
Sub-stat Optimization
When building Echoes, prioritize the 4-3-3-1-1 Cost distribution. This means one Cost 4 Echo, two Cost 3 Echoes, and two Cost 1 Echoes.
Recommended Main Stats:
- Cost 4: Crit DMG (Since S6 provides 25% Crit Rate).
- Cost 3: Havoc DMG% / Havoc DMG%.
- Cost 1: ATK% / ATK%.
Sub-stat Priority:
- Crit Rate (until ~50-60% including S6 buff)
- Crit DMG
- ATK%
- Resonance Liberation DMG Bonus
- Energy Recharge (Target 115-125%)
Team Comp
Havoc Rover functions best as a hyper-carry or a dual-DPS setup. The Resonance Chain buffs, particularly the RES shred at S4, make Rover a potent team player who also deals selfish damage.
The Havoc Meta Team
The “Havoc Duo” is the strongest current composition for Rover:
- Main DPS: Havoc Rover
- Sub-DPS: Danjin
- Support: Verina or Baizhi
Danjin is essential because her Outro Skill provides a 23% Havoc DMG Deepen buff to the next character. When Danjin swaps into Rover, the Rover’s damage increases exponentially. Furthermore, Danjin can help build Concerto Energy quickly to trigger Rover’s Intro Skill.
F2P Friendly Compositions
If you do not have Danjin, Sanhua is an excellent F2P alternative. Her Outro Skill increases the Basic Attack DMG of the next character by 38%. Since Havoc Rover relies on Basic Attacks to generate the Umbra gauge and benefits from Basic Attack speed, Sanhua provides smooth gameplay and consistent DPS.
Sub-DPS Synergies
Mortefi can also work in a pinch, especially if you have his sequences unlocked, as he provides coordinated attacks that trigger during Rover’s Dark Surge state. However, the lack of Havoc-specific buffs makes him less optimal than Danjin.
Rotation

Maximizing Havoc Rover’s damage requires managing the “Umbra” gauge and timing the Resonance Liberation with the Dreamless Echo skill.
Standard Umbra Generation
The goal is to fill the Umbra gauge to enter the Dark Surge state.
- Start with Rover’s Intro Skill (triggers Havoc DMG).
- Use Resonance Skill (Wingblade).
- Execute Basic Attack strings to fill the gauge.
- Once the gauge is full, use a Heavy Attack to enter Dark Surge.
The Dark Surge Burst Window
Once in Dark Surge, your Basic Attacks are enhanced and deal Havoc DMG.
- S2 Optimization: Use your Resonance Skill immediately upon entering Dark Surge. Continue with Basic Attacks. Because of the S2 node, your Basic Attack hits will reduce the cooldown of your Skill, allowing you to cast it 2-3 times during a single Dark Surge window.
- The Dreamless Cancel: Before Dark Surge ends, cast Resonance Liberation (Deadpan Echo). Immediately follow this by activating the Dreamless Echo skill. The Resonance Liberation animation hides the Dreamless startup, and the 50% DMG bonus from the Rover’s kit will apply to the Echo.
Concerto Energy Management
Always ensure you swap back to Danjin or your support before the Rover’s Concerto Energy is wasted. The goal is to rotate through your support’s buffs, use Danjin’s Skill to build her Outro, and then swap back to Rover just as their Resonance Liberation is off cooldown.
FAQ
Are Resonance Chains necessary to clear the Tower of Adversity?
No, S0 characters can clear the Tower of Adversity with high-quality Echoes and correct rotations. However, Resonance Chains (especially S1 and S2) significantly lower the stat requirements and make achieving 3-star clears much easier.
Can you buy limited character Wavebands after their banner ends?
No. Limited character Wavebands only appear in the Afterglow Coral Store while their specific “Event Convene” banner is active. Once the banner expires, they are removed from the shop.
What is the maximum number of Resonance Chains (Sequences)?
The maximum is six (S6). Obtaining further duplicates after S6 grants a higher amount of Afterglow Coral and Oscillation Coral but provides no further mechanical upgrades to the character.
How do I get more Rover Wavebands in Version 1.0+?
Spectro Rover Wavebands are obtained via the Souvenir Shop in Jinzhou and the Casket Delivery system. Havoc Rover Wavebands are rewarded for completing the “Grand Warstorm” questline and subsequent story updates. undisclosed regarding future element Waveband locations.
Is it better to pull for a signature weapon or S1 Resonance Chain?
Generally, a signature weapon (R1) provides a larger power spike than an S1 sequence for most 5-star characters. Weapons provide a massive base stat increase that benefits all skills, whereas S1 is often a specific utility or niche damage boost.
Sources
- Wuthering Waves Official Site — https://wutheringwaves.kurogames.com/en/
- Prydwen Institute Wuthering Waves — https://www.prydwen.gg/wuthering-waves/
- Game8 Wuthering Waves Guide — https://game8.co/games/Wuthering-Waves
- Wuthering Waves Wiki — https://wuthering.wiki/
- Wuthering Waves Official Discord — https://discord.com/invite/wutheringwaves
Related Guides

Best Build for Mako (Nanally) in Neverness to Everness (NTE)

Best Mimi (Mint) Build in Neverness to Everness (NTE)

Best F2P Build in Neverness to Everness: Top Teams & Arcs

Best Healer in NTE: Top Builds, Espers & Arcs (June 2026)

Best Healer Build in Neverness to Everness (NTE): Edgar Guide

Best Kuro Build in Neverness to Everness: Weapons, Disks & Teams

Best Support Build for Mimi (Haniel) in Neverness to Everness

Loading comments…