NTE Weapon Leveling Guide: Best Mint Build & Arc Upgrades
Optimizing your damage output in Hethereau starts with mastering the Arc system, the core of character progression in Neverness to Everness. This guide breaks down the essential weapon leveling mechanics and the best build for the Anima DPS, Mint, to ensure you can clear urban anomalies with ease.
Overview
In Neverness to Everness (NTE), characters do not use traditional swords or guns; instead, they utilize “Arcs.” Arcs are manifestations of supernatural energy categorized into five distinct types: Liquid, Solid, Gas, Plasma, and Synthesis. Matching the correct Arc type to your character’s elemental affinity is the most basic requirement for building a powerful team. For beginners, focusing on Mint—a guaranteed A-Rank Anima DPS—is the most efficient way to progress through the early story chapters and the City Tycoon management systems.
Weapon progression in NTE is built upon three pillars: Enhancement, Ascension, and Mixing. Enhancement refers to the standard leveling process where you increase the base stats of an Arc. Ascension allows you to break through level caps at specific intervals, while Mixing is the process of consuming duplicate Arcs to improve the unique passive intensity of the weapon.
Managing your resources is vital. You will primarily use Dye and Beetle Coins for basic levels. Dye acts as the experience material for Arcs, while Beetle Coins serve as the standard currency for all transactions in Hethereau. For Ascension, you must venture into specialized zones to collect materials from the Bubble Can Factory.
Your maximum weapon level is tied directly to your Appraisal Level (AL). Your AL is essentially your Hunter Rank or Account Level; you cannot level an Arc to 80 if your AL is only at 2. This system prevents players from over-leveling before they have experienced the corresponding world challenges.
Arc Leveling Materials (Level 1-80)
| Level Range | Required Materials | Beetle Coin Cost |
|---|---|---|
| 1 - 20 | Dye (Common), [Quantity not yet publicly available] | — |
| 21 - 40 | Dye (Uncommon), Bubble Can Materials | — |
| 41 - 50 | Dye (Rare), Bubble Can Materials | — |
| 51 - 60 | Dye (Rare), Advanced Bubble Can Materials | — |
| 61 - 70 | Dye (Epic), Advanced Bubble Can Materials | — |
| 71 - 80 | Dye (Epic), Premium Bubble Can Materials | — |
Appraisal Level Milestones for Weapon Ascension
| Appraisal Level (AL) | Max Arc Level |
|---|---|
| AL 1 | Level 20 |
| AL 2 | Level 40 |
| AL 3 | Level 50 |
| AL 4 | Level 60 |
| AL 5 | Level 70 |
| AL 6 | Level 80 |
How to Enhance Arcs with Dye
Enhancement is the most frequent activity you will perform in the weapon menu. Dye comes in various rarities, providing different amounts of experience. While you can use lower-tier Arcs as experience fodder, it is generally recommended to save them for Mixing or recycling. To enhance an Arc, navigate to the character screen, select the equipped Arc, and choose “Enhance.” Always aim to level your Main DPS (like Mint) first, as their base ATK scaling determines how quickly you can finish combat encounters.
Ascension: Breaking the Level Cap
Once an Arc reaches its current maximum level (such as Level 20 or Level 40), you must perform an Ascension. This process requires specific materials found in the Bubble Can Factory stages. Ascension not only raises the level cap but often provides a significant jump in base stats. If you find yourself struggling with timed challenges in the Houdinii’s Magic Stage, check if your Arcs are capped and ready for Ascension.
Mixing: Maximizing Passive Intensity
Mixing is the NTE equivalent of refinement or “superimposing.” By feeding a duplicate copy of an Arc into the one you are using, you increase the “Intensity” of its passive effect. For example, if an Arc provides a 10% Anima DMG boost at Intensity 1, Mixing it with a duplicate might raise that boost to 12.5%. For F2P players, A-Rank Arcs at Intensity 5 often outperform S-Rank Arcs at Intensity 1.
Best Weapons
Choosing the right Arc for Mint is a matter of balancing her Anima-type requirements with her role as an on-field DPS. Mint excels with Liquid-type Arcs, which typically focus on fluidity in combat and rapid stat stacking.
S-Rank Signatures vs. A-Rank Alternatives
The gold standard for Mint is the S-Rank Liquid Arc, Fluff of Fleetness. This weapon is designed for on-field playstyles, providing massive ATK stacking every time the active character lands a hit. Since Mint relies on her tornado-style spin and rapid strikes, she can reach maximum stacks within seconds of entering the field.
For players who haven’t pulled an S-Rank yet, Mind Royale is the premier A-Rank alternative. It features a high base ATK and a secondary stat focused on Break Intensity. This makes it particularly effective against elite enemies and bosses that have heavy shields, allowing Mint to trigger the “Broken” state faster.
In the very early game, the Clear Skies Arc is a reliable budget pick. It is given away during the initial story chapters and provides a straightforward increase to Anima DMG for Redirect Skills and Ultimates. While it lacks the raw power of Fluff of Fleetness, it is easy to Maximize through Mixing since duplicates are common rewards.
Top 5 Arcs for Mint
| Arc Name | Rarity | Type | Substat | Passive Effect |
|---|---|---|---|---|
| Fluff of Fleetness | S | Liquid | CRIT Rate | Increases ATK by [Information unavailable]% after hitting an enemy, stacks up to 5 times. |
| Mind Royale | A | Liquid | Break Intensity | Increases DMG against Broken enemies by [Information unavailable]%. |
| Clear Skies | A | Liquid | Anima DMG% | Increases Redirect Skill DMG by [Information unavailable]%. |
| Day Off | S | Synthesis | ATK% | Provides a [Information unavailable]% DMG buff when character is above 80% HP. |
| [Name Pending] | B | Liquid | ATK% | Basic DMG increase. |
Understanding Arc Type Synergy
While you can technically equip a Gas-type or Solid-type Arc on a Liquid-type character like Mint, doing so is highly inefficient. Most Arcs have a “Type-Specific Activation” clause in their passive description. If the types do not match, the character only receives the base stats (ATK, HP, DEF) and the substat (CRIT, Break, etc.), but the unique passive effect remains inactive. Always ensure Mint is using a Liquid-type Arc to unlock her full potential.
Best Disks (Artifacts)
The Disk system in NTE is more complex than standard gear systems in other games. It is divided into two parts: Cartridges and Modules. Cartridges provide set bonuses, while Modules are Tetris-style blocks that you fit into a grid to provide raw stats.
Cartridge Set Bonuses Explained
For Mint, the Fireflies and the Forest set is the undisputed best-in-slot option. The 4-piece bonus provides up to 56% CRIT DMG when nearby enemies take Anima DMG. Since Mint is constantly dealing Anima DMG, this buff has nearly 100% uptime.
If you are still farming for the perfect Fireflies set, Shadow Creed is a fantastic alternative. The 2-piece bonus gives a flat ATK boost, while the 4-piece bonus grants a 25% ATK buff for a short duration after casting a Skill. This synergizes well with Mint’s short skill cooldowns.
Recommended Cartridge Sets
| Set Name | 2-Pc Bonus | 4-Pc Bonus |
|---|---|---|
| Fireflies and the Forest | Anima DMG +15% | +56% CRIT DMG when enemies take Anima DMG. |
| Shadow Creed | ATK +15% | +25% ATK for 10s after using a Skill. |
| [Set Name Pending] | Energy Regen +20% | Reduces Ultimate Cooldown by [Information unavailable]s. |
The Tetris System: Optimizing Modules
Modules are where you fine-tune Mint’s stats. Each Module has a shape (L-shape, T-shape, square, etc.) and must be placed on a limited grid. Mint has a “Specialization Bonus” with Type 3 Modules. When you place a Type 3 Module on her grid, she gains an additional 8% CRIT Rate per module.
Module Stat Priority:
- Main Stats: Anima DMG Bonus (Type 1), CRIT Rate (Type 2), ATK% (Type 3).
- Substats: CRIT DMG > ATK% > Break Intensity > Energy Recharge.
Team Comp
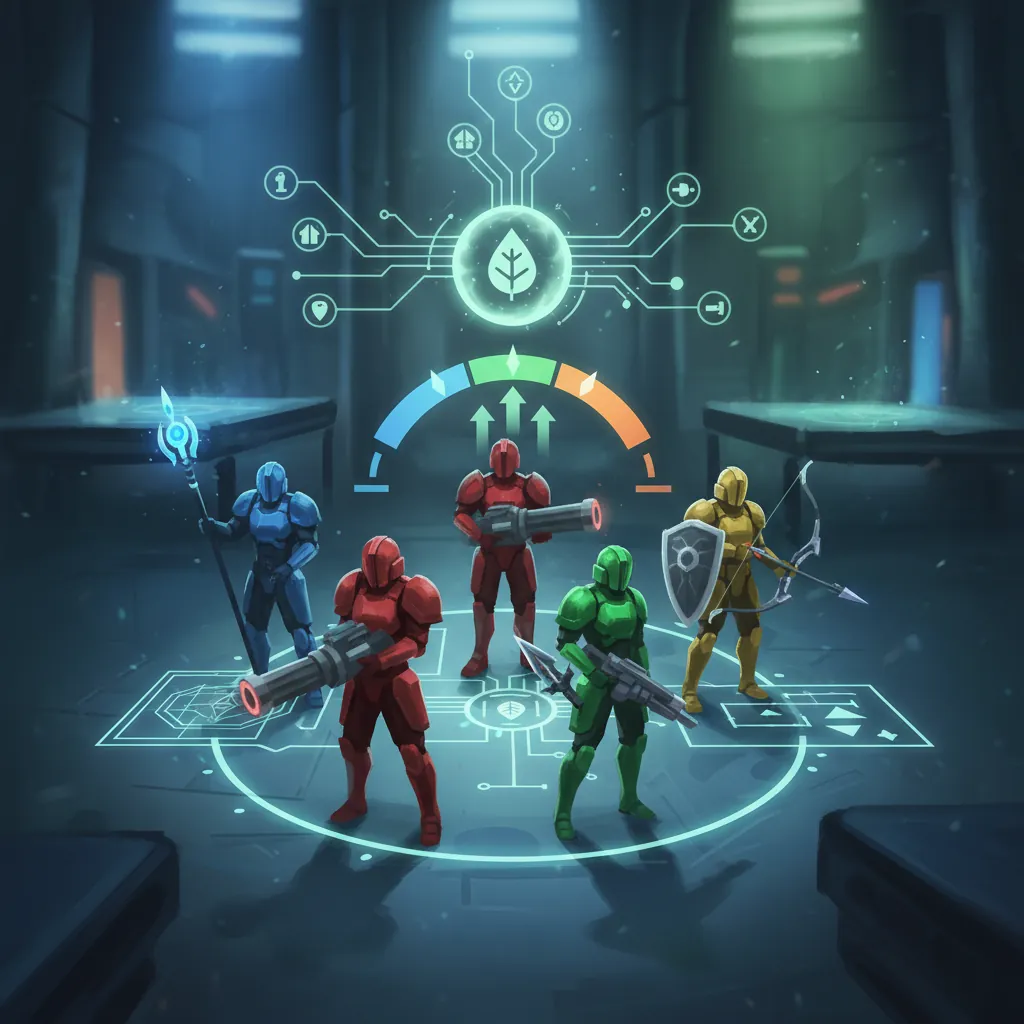
Mint functions as the primary damage dealer in a “Blossom” core. This team archetype focuses on triggering Esper Cycles and Vita Buds, which are unique reactions that occur when Anima energy interacts with other elements or specific character abilities.
The Blossom Meta: Mint + Jiuyuan
The most powerful team for Mint currently includes Jiuyuan and Sakiri. Jiuyuan acts as a Sub-DPS, providing off-field Anima application and grouping enemies together. Sakiri serves as the Support, offering massive ATK buffs and healing. Together, they create a “Blossom field” where Mint can deal astronomical damage through her “Perfect Containment” mechanic.
F2P Starter Team for Hethereau Exploration
For players who are just starting and haven’t pulled premium units, a highly effective team consists of:
- Mint (Main DPS): Your primary source of damage.
- Esper Zero (Support): Provides shields and basic energy regeneration to help Mint use her Ultimate more frequently.
- Edgar (Cosmos/Reaction): Helps clear anomalies and triggers Cosmos reactions which can stun smaller enemies, giving Mint a safe window to use her charged attacks.
Rotation
To maximize Mint’s damage, you must follow a specific combat sequence that layers buffs before she takes the field.
Standard Combat Sequence
- Opener: Start with Sakiri to cast her ATK-buffing field.
- Setup: Swap to Jiuyuan and use her Skill to group enemies and apply the initial Anima debuff.
- The Swap: Switch to Mint. This will often trigger the Blossom or Hexed reaction immediately depending on the enemies’ current status.
- Skill Spam: Use Mint’s Skill whenever it is off cooldown. This charges her “Perfect Containment” meter and builds energy for her Ultimate.
- The Finisher: Once the enemy is in a “Broken” state and your buffs are active, trigger Ultimate: Thunderous Whirlwind Slash. This is a massive AOE clear that benefits from all the CRIT and ATK stacking you have built up.
Maximizing Mint’s Critical Riposte
Mint has a unique mechanic called “Critical Riposte.” When an enemy is about to strike, using her Redirect Skill at the precise moment allows her to parry the attack and counter with a high-damage Anima burst. This does not consume stamina and significantly contributes to breaking the enemy’s posture. Practice the timing on common street thugs in Hethereau to master this before taking on world bosses.
FAQ
Where do I farm Dye? Dye can be farmed in the Kaleidoscope stage located within Houdinii’s Magic Stage. These stages consume energy but provide a consistent stream of enhancement materials.
Can I use a Gas-type Arc on a Liquid-type character? Yes, you can equip it for the base stats, but you will lose the Type-specific passive activation. This usually results in a 30-40% loss in total damage potential, so it is not recommended.
What is the max level for Arcs? The current maximum level for Arcs is Level 80. This is unlocked once you reach Appraisal Level 6.
How do I get the ‘Day Off’ S-Rank Arc for free? You can obtain the “Day Off” S-Rank Arc by completing the hidden “Naked Ghost Tour” quest chain. This quest involves finding several urban legends hidden throughout the back alleys of Hethereau.
Sources
- mobalytics.gg
- sportskeeda.com — https://www.sportskeeda.com/esports/neverness-to-everness-characters-everything-known-far
- official NTE website — https://nte.perfectworld.com/
- game8.co — https://game8.co/games/Neverness-to-Everness/archives/mint-build-guide
Related Guides

Best Build for Mako (Nanally) in Neverness to Everness (NTE)

Best Mimi (Mint) Build in Neverness to Everness (NTE)

Best F2P Build in Neverness to Everness: Top Teams & Arcs

Best Healer in NTE: Top Builds, Espers & Arcs (June 2026)

Best Healer Build in Neverness to Everness (NTE): Edgar Guide

Best Kuro Build in Neverness to Everness: Weapons, Disks & Teams

Best Support Build for Mimi (Haniel) in Neverness to Everness

Loading comments…