NTE Disks Farming Guide: Best Sets & Locations for Beginners
Optimizing your Espers in Neverness to Everness (NTE) requires a deep understanding of the equipment system that powers their supernatural abilities.
📝 Editorial Note: This guide is AI-assisted and game data evolves rapidly. Please cross-reference with in-game information. Updated: 2026-05-24.
The gear system in Neverness to Everness, colloquially referred to by the community as the “Disk” system, is the primary method for scaling your characters into the endgame. Unlike traditional RPG gear, NTE uses a modular “Console” board where you fit Tetris-style pieces to unlock massive stat bonuses and elemental synergies. For beginners, the learning curve lies in balancing the raw stats of individual Modules with the powerful set bonuses provided by Cartridges. This guide covers the most efficient farming routes in the New Herland District and how to build the perfect Console for your team.
Overview
The “Disk” system is officially divided into three core components: the Console, the Cartridge, and the Modules. Every Esper has a unique Console board with a specific grid layout. This grid acts as a puzzle board where you must strategically place Modules of varying shapes to fill the space.
The Console itself serves as the central hub. While it doesn’t provide stats on its own, it dictates the total capacity for your gear. To activate its potential, you must equip a Cartridge. The Cartridge defines the “Set Bonus” you are targeting (such as Anima DMG or CRIT DMG) and sets the requirements for which Module shapes are needed to unlock those bonuses.
Understanding the Console Grid
Each character’s Console grid is different. For example, Nanally’s grid might favor long, vertical shapes, while Mint’s grid is more compact. This means you cannot simply move a perfectly optimized set from one character to another if their grid shapes don’t align. The “Tetris” mechanic involves three primary Module types:
| Module Type | Shape Description | Typical Stat Efficiency | Best Use Case |
|---|---|---|---|
| Type 2 | 2-square blocks (Line or Diagonal) | High flexibility, lower raw stats | Filling small gaps to complete 4-piece sets. |
| Type 3 | 3-square blocks (L-shape or T-shape) | Balanced stats and space | Standard building block for most DPS units. |
| Type 4 | 4-square blocks (Square or Z-shape) | Highest raw stat concentration | Maximizing ATK and CRIT on main DPS boards. |
How the Rewind System Works
Acquiring Modules is handled through the Rewind system. You do not find Modules as direct drops from enemies in the open world; instead, you farm a currency called Carrota Coins. You then spend these coins in the Rewind menu (accessed via the bottom-left corner of any character’s Console screen) to “pull” for Modules.
The Rewind system features a customizable “By Module” mode for higher difficulties, allowing you to select up to eight preferred shapes. This significantly reduces the RNG involved in finding that one specific L-shaped piece needed to finish a 4-piece set bonus.
Rarity Tiers: From Common to Legendary
Modules and Cartridges follow a standard rarity progression:
- Easy Mode (Bronze Carrota): Yields B-Class (Blue) gear. These are early-game placeholders.
- Normal Mode (Silver Carrota): Yields A-Class (Purple) gear. Unlocks at Hunter Level 20.
- Hard Mode (Gold Carrota): Yields S-Class (Gold/Legendary) gear. Unlocks at Hunter Level 30.
The primary goal for any beginner is to reach Hunter Level 30 as quickly as possible to begin spending Gold Carrota Coins, as S-Class Modules provide nearly double the stat growth of A-Class variants.
Best Weapons
In Neverness to Everness, weapons are known as Arcs. These are the primary source of Base ATK and unique passive effects that scale with your Disk sets. Arcs are categorized by their compatibility types: Solid, Liquid, Gas, Plasma, and Synthesis.
Top Tier S-Rank Arcs
For players looking to maximize their damage output in Version 1.0, these S-Rank Arcs are the gold standard:
- Ready-Ready (S-Rank, Plasma): This is Nanally’s signature Arc. It provides a massive 15% ATK boost and increases Basic Attack and Critical Riposte damage by 15% for 15 seconds after using a Redirect Skill or Ultimate. It also features the “Commander Tiger Talisman” effect, which grants an additional 10% damage bonus against Bosses.
- Clear Skies (S-Rank, Liquid): Mint’s best-in-slot Arc. It focuses on boosting Anima DMG for Redirect Skills and Ultimates. At maximum mixing (refinement), it can increase Anima DMG by up to 35%, making it essential for Mint’s tornado-focused playstyle.
- Fluff of Fleetness (S-Rank, Synthesis): A versatile Battle Pass weapon. It stacks ATK percentage the longer an Esper remains on the active field, making it ideal for “Hypercarry” setups where one character does 90% of the work.
Best F2P and Farmable Arcs
You do not need to rely solely on the gacha to get powerful Arcs. Several S-Rank options are farmable through world bosses and specific side quests:
- Day Off (S-Rank, Solid): This is the hidden signature weapon for Esper Zero (the Main Character). It is obtained by completing the “Naked Ghost Tour of the City” quest chain, which involves finding the Eclipse NPC in five specific locations across Hethereau.
- Raging Flames (S-Rank, Plasma): Dropped by the Headless Rider world boss. It provides the “Flaming Bite” effect, which is excellent for Plasma-element units that rely on sustained damage over time.
- Song of the Whale (S-Rank, Liquid): A powerful reward for defeating the Sea Prisoner in the Nautili Tunnel. It is widely considered the best F2P option for Jiuyuan or Mint if you haven’t pulled their signature Arcs.
Arc Mixing and Refinement
Mixing is the process of consuming duplicate copies of an Arc to increase the power of its passive ability. For example, a base “Ready-Ready” might offer a 15% ATK buff, but at Mixing Level 5, that value can climb significantly. Beginners should focus on fully mixing their A-Rank Arcs (like the “Oraora!” set) before transitioning to un-mixed S-Rank Arcs, as a Max-Mixed A-Rank often outperforms a base S-Rank.
| Arc Name | Rarity | Substat | Primary Passive Effect |
|---|---|---|---|
| Ready-Ready | S-Rank | CRIT Rate | +15% ATK; +15% Basic/Riposte DMG; Boss DMG bonus. |
| Clear Skies | S-Rank | Anima DMG | +20-35% Redirect & Ultimate DMG. |
| Day Off | S-Rank | Energy Regen | Boosts Esper Cycle Meter gain by [information unavailable]. |
| Raging Flames | S-Rank | ATK% | Triggers “Flaming Bite” for extra Plasma splash damage. |
| Fluff of Fleetness | S-Rank | CRIT DMG | Stacking ATK buff based on on-field time. |
Best Disks (Artifacts)
The synergy between your Cartridge and your Modules determines your Esper’s final power level. While Modules provide the raw numbers, the Cartridge set bonuses provide the multipliers.
Top Cartridge Sets for Version 1.0
The current meta revolves around elemental damage and CRIT scaling. The “Fireflies and the Forest” set is the most contested set in the game due to its prevalence in Anima-based teams.
- Fireflies and the Forest (Anima Set):
- 2-Piece Bonus: +10% Anima DMG.
- 4-Piece Bonus: Increases CRIT DMG by 8% whenever an enemy takes Anima DMG. This effect can stack up to 7 times (56% total CRIT DMG), making it the premier choice for Mint and Nanally.
- Song of the Whale (Cosmos Set):
- 2-Piece Bonus: +10% Cosmos DMG.
- 4-Piece Bonus: Increases ATK by 12% for 10 seconds after triggering a “Blossom” reaction.
- Epic/Legendary Generalist Sets: If you haven’t farmed a specific elemental set yet, look for Cartridges that provide flat ATK% or CRIT Rate bonuses as 2-piece fillers.
Optimal Module Layouts
When placing Modules, your priority should be filling the grid completely. Any empty square on your Console is a wasted stat opportunity.
- Main DPS (Nanally/Mint): Focus on Modules with CRIT Rate and CRIT DMG substats. Use Type 4 pieces for the largest stat gains, then use Type 2 “filler” pieces to hit your 4-piece Cartridge requirement.
- Cyclers (Esper Zero): Focus on Energy Recharge and Cycle Efficiency. These characters need to fill the Esper Meter as fast as possible to trigger team rotations.
- Supports (Sakiri/Haniel): Focus on HP and DEF if they are tanks (Adler), or ATK if their buffs scale with their own stats (Sakiri).
Where to Farm: New Herland and Anomalous Zones
The New Herland District is the primary hub for all gear progression.
- The Rabbit Hole: Located near Cape Square, this is the instance zone where you farm Carrota Coins and Cartridges. Each run costs 40 Character Pixels (stamina).
- Anomalous Zones: These are high-risk areas in the open world containing world bosses.
- Sea Prisoner (Nautili Tunnel): Farm this for “Song of the Whale” components.
- Nestbomb Bird: Located high up on the construction towers, this boss drops S-Rank gear for Psyche and Incantation units.
- Headless Rider: Spawns at night in the Davidia Avenue tunnel; essential for Plasma-type Modules.
Team Comp
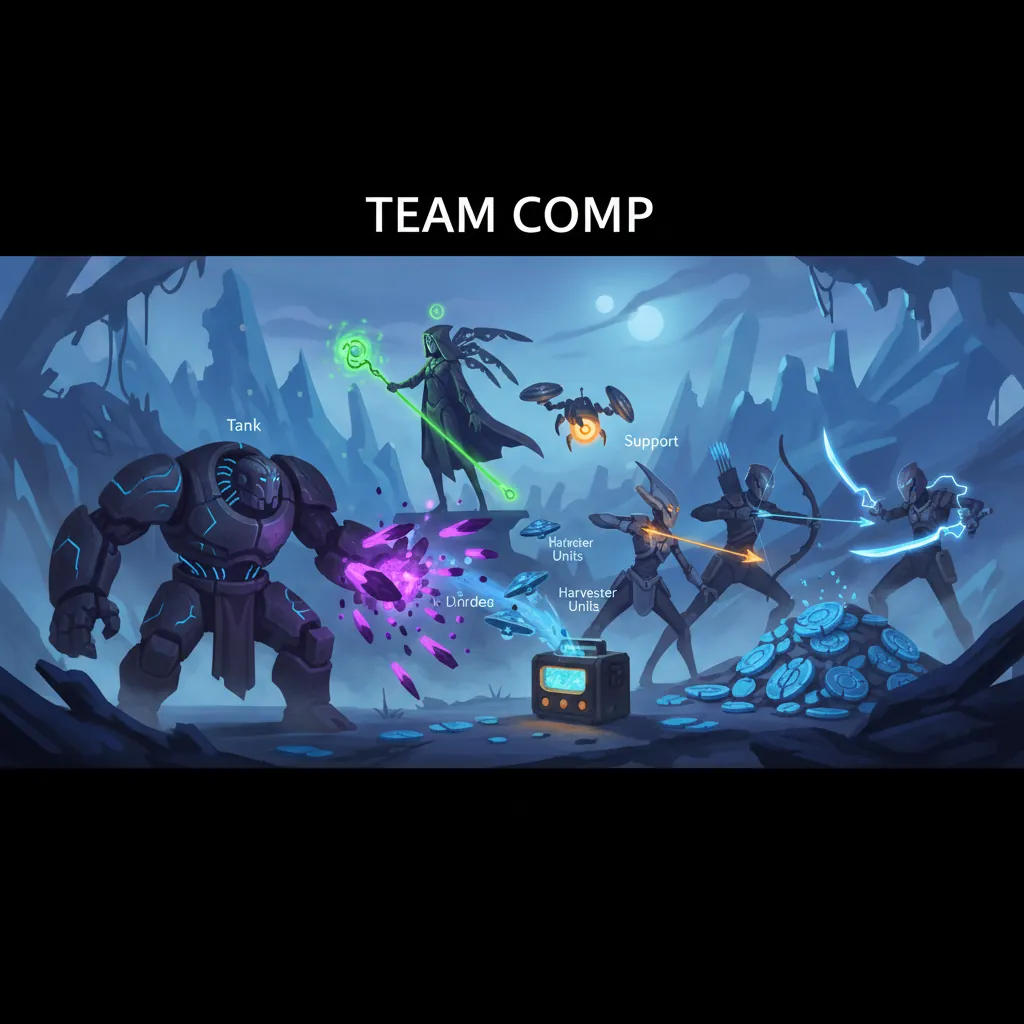
Building a team in NTE isn’t just about picking your favorite characters; it’s about the Esper Cycle. Every team should consist of one Main DPS, one Cycler to build the meter, and one or two Supports.
The Nanally Blossom Team
This is currently the highest-performing premium team in the game. It relies on the “Blossom” reaction, which occurs when Anima and Cosmos elements interact.
- Main DPS: Nanally (Anima/Plasma).
- Cycler: Esper Zero (Cosmos/Solid).
- Buffer/CC: Sakiri (Incantation/Gas).
- Healer/Sub-DPS: Jiuyuan (Anima/Solid).
In this comp, Zero builds the meter, Sakiri groups enemies with her “Hex” pull, and Nanally enters the field to trigger Blossom AoE turrets that shred enemy armor.
Mint F2P Starter Team
For players who didn’t pull for Nanally, Mint provides an excellent alternative that is easier to gear.
- Main DPS: Mint (Anima/Liquid).
- Cycler: Esper Zero (Cosmos/Solid).
- Tank/Shield: Adler (Psyche/Solid).
- Buffer: Haniel (Psyche/Solid).
This team focuses on survivability and consistent Anima chip damage. Adler provides a shield that prevents Mint from being interrupted during her tornado spin.
Elemental Reaction Guide
Understanding how elements interact is key to clearing high-level Anomaly Commissions:
| Reaction Name | Elements Involved | Effect |
|---|---|---|
| Blossom | Anima + Cosmos | Summons flower turrets that fire seeking bolts at nearby enemies. |
| Hex | Anima + Incantation | Triggers a follow-up hit that reduces enemy Break bars by 20%. |
| Scorch | Incantation + Chaos | Applies a stacking Burn effect that deals damage based on the trigger’s ATK. |
| Nova | Psyche + Cosmos | Creates a gravitational well that pulls enemies toward the center. |
Rotation
Mastering your rotation is the difference between a 5-minute boss fight and a 60-second clear. The flow of combat in NTE is dictated by the teammate icons on the right side of the screen.
Mastering the Esper Cycle
- Opening Sequence: Always start with your Cycler (usually Esper Zero). Use their Skill and Basic Attack combo to fill the Esper Cycle Meter. Do not use your Ultimate yet.
- Buffing Phase: Once the meter is 50% full, swap to your Support (Sakiri or Haniel). Cast their buffing skills. If using Sakiri, use her crowd control to group enemies.
- Reaction Trigger: Swap to your Sub-DPS to apply the secondary element. For a Blossom team, this means ensuring Cosmos or Incantation is active on the enemy.
- DPS Window: When the Main DPS (Nanally or Mint) icon begins to glow/pulse, swap them in. This triggers a “Switch-In Attack” that automatically procs the elemental reaction. Unleash your Ultimate and Redirect Skills during this window.
- Stagger Management: Every boss has a white “Break” bar. Save your highest damage Arcs and Ultimates for when this bar is empty. While a boss is “Broken,” they take 50% increased damage and remain stationary.
Perfect Dodge and Parry Timing
Neverness to Everness heavily rewards defensive play. A Critical Dodge (perfect dodge) slows down time and instantly resets the cooldown of your character’s Redirect Skill. For Mint, a perfect dodge allows her to immediately enter her “Caramel Crisp” riposte, dealing massive AoE damage.
FAQ

How do I get Gold Carrota Coins? Gold Carrota Coins are primarily rewarded from Hard Mode dungeons in the New Herland District (Rabbit Hole Difficulty III and above). You can also earn them by completing S-Rank Anomaly Commissions and reaching Hunter Level 30.
Can I reuse Modules? Yes. Modules can be unequipped and swapped between different characters’ Consoles at no cost. However, because every character has a different grid shape, a Module that fits perfectly on Nanally might not fit on Mint.
What is the best way to farm Fons? The “Pink Paws Heist” (located at the Pink Claw Bank) is the most efficient way to farm currency. By completing the bi-weekly vault challenges, you can earn up to 1 million Fons, which is essential for leveling up your S-Class Cartridges.
Is there a 50/50 in the gacha? No. NTE uses the “Scarborough Fair” system. Once you land on an S-Class tile on the board, you are guaranteed the featured character. There is no risk of losing a 50/50 to a standard pool character on the limited banner.
What does “Mixing” do for Arcs? Mixing is the refinement system. By consuming a duplicate copy of the same Arc, you increase the percentage values of its passive effect. Most S-Rank Arcs can be mixed up to five times to reach their maximum potential.
Sources
- neverness.gg
- games.gg
- thegamer.com
- dotesports.com
- icy-veins.com — https://www.icy-veins.com/neverness-to-everness/mint-build-guide
- u7buy.com
- gamerant.com
Related Guides

Best Build for Mako (Nanally) in Neverness to Everness (NTE)

Best Mimi (Mint) Build in Neverness to Everness (NTE)

Best F2P Build in Neverness to Everness: Top Teams & Arcs

Best Healer in NTE: Top Builds, Espers & Arcs (June 2026)

Best Healer Build in Neverness to Everness (NTE): Edgar Guide

Best Kuro Build in Neverness to Everness: Weapons, Disks & Teams

Best Support Build for Mimi (Haniel) in Neverness to Everness

Best Support Build in Neverness to Everness (NTE Guide)
Sources (19)
- vertexaisearch.cloud.google.comvertexaisearch.cloud.google.com
- vertexaisearch.cloud.google.comvertexaisearch.cloud.google.com
- vertexaisearch.cloud.google.comvertexaisearch.cloud.google.com
- vertexaisearch.cloud.google.comvertexaisearch.cloud.google.com
- vertexaisearch.cloud.google.comvertexaisearch.cloud.google.com
- vertexaisearch.cloud.google.comvertexaisearch.cloud.google.com
- vertexaisearch.cloud.google.comvertexaisearch.cloud.google.com
- vertexaisearch.cloud.google.comvertexaisearch.cloud.google.com
- vertexaisearch.cloud.google.comvertexaisearch.cloud.google.com
- vertexaisearch.cloud.google.comvertexaisearch.cloud.google.com
- vertexaisearch.cloud.google.comvertexaisearch.cloud.google.com
- vertexaisearch.cloud.google.comvertexaisearch.cloud.google.com
- vertexaisearch.cloud.google.comvertexaisearch.cloud.google.com
- vertexaisearch.cloud.google.comvertexaisearch.cloud.google.com
- vertexaisearch.cloud.google.comvertexaisearch.cloud.google.com
- vertexaisearch.cloud.google.comvertexaisearch.cloud.google.com
- vertexaisearch.cloud.google.comvertexaisearch.cloud.google.com
- vertexaisearch.cloud.google.comvertexaisearch.cloud.google.com
- vertexaisearch.cloud.google.comvertexaisearch.cloud.google.com
Loading comments…