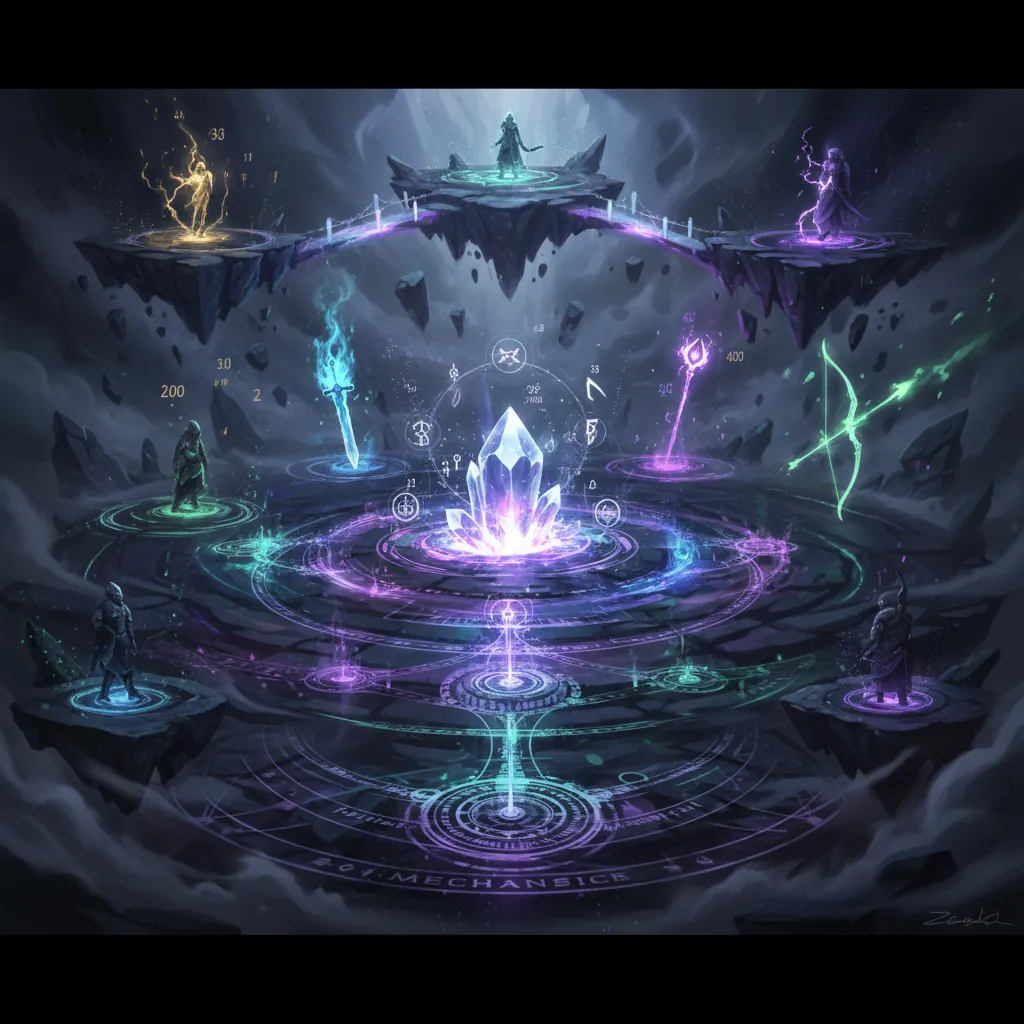
NTE Combat Tips for Beginners: Best Builds & Mechanics Guide
Mastering the fast-paced urban combat of Neverness to Everness requires a deep understanding of elemental synergy and precise timing. This guide breaks down the core systems, from the Esper Cycle to top-tier character builds, to help you dominate the streets of Hethereau.
📝 Editorial Note: This guide is AI-assisted and game data evolves rapidly. Please cross-reference with in-game information. Updated: 2026-05-21.
Overview
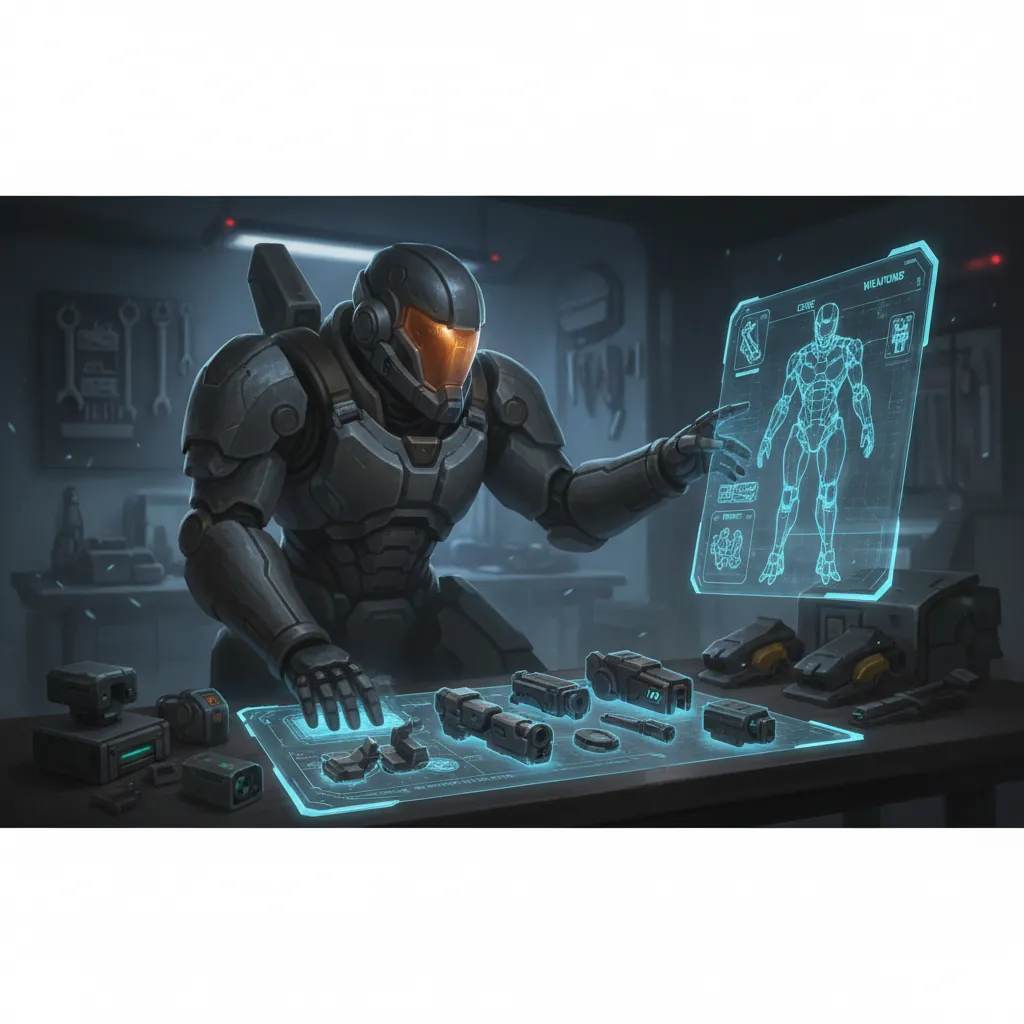
Combat in Neverness to Everness (NTE) is built around the “Esper Cycle,” a high-speed character swapping system that rewards players for managing a shared energy resource. Unlike traditional action RPGs where characters act independently, NTE focuses on how your active Esper interacts with the teammates waiting in the wings. Success depends on your ability to read enemy telegraphs, manage the Break Meter, and trigger devastating elemental reactions through perfectly timed swaps.
The Esper Cycle Explained
The Esper Cycle is the heart of NTE’s combat flow. As you deal damage and use skills with your active character, you fill the Esper Gauge located at the bottom of the screen. Once this meter is full, swapping to another character triggers an “Esper Entry” attack. This entry doesn’t just bring a new unit onto the field; it discharges the accumulated energy to trigger elemental reactions based on the elements of the exiting and entering characters.
To maximize efficiency, you must focus on “Cycle Intensity,” a stat that dictates how quickly your team generates energy. High-tier “Cycler” characters like Zero are specifically designed to fill this meter rapidly, allowing your Main DPS to enter the fray with maximum impact.
Mastering the Elements
There are six core attributes in NTE: Anima, Chaos, Cosmos, Incantation, Lakshana, and Psyche. Each character is attuned to one of these elements, and combining them via the Esper Cycle produces unique reactions.
| Reaction Name | Elements Involved | Primary Effect |
|---|---|---|
| Blossom | Anima + Cosmos | Massive AOE Burst damage and increased Crit Rate for 10s. |
| Scorch | Incantation + Chaos | High Damage-over-Time (DoT) and reduces enemy Defense. |
| Discord | Psyche + Lakshana | High Stun/Break damage and slows enemy movement. |
| Resonance | Cosmos + Lakshana | Generates additional Energy and reduces Skill Cooldowns. |
| Blight | Chaos + Anima | Spreads debuffs to nearby enemies and reduces Attack. |
| Aether | Incantation + Psyche | High single-target damage with a chance to reset Dash charges. |
Breaking and Staggering Enemies
Every elite enemy and boss possesses a white “Break Meter” located directly beneath their health bar. Attacking an enemy depletes this bar. Once it reaches zero, the enemy enters a “Staggered” state. In this window, the enemy is completely immobilized and takes significantly increased damage from all sources.
Certain characters, such as Baicang or Daffodill, excel at “Break Damage,” meaning their kits are specifically tuned to shred these white bars faster than pure DPS units. Saving your Ultimate skills for the Stagger window is the most effective way to clear difficult content.
Perfect Dodge and Parry Timing
Defense is just as important as offense in the urban sprawl. NTE utilizes a “Critical Dodge” mechanic. If you dash just before an attack hits, you trigger a “Critical Riposte,” which slows down time for a brief moment and allows for a powerful counter-attack.
For heavy attacks, keep an eye out for the “Double Red Circle” indicator. This is your cue to perform a Parry. Successfully parrying a heavy attack deals massive Break damage and often interrupts the enemy’s entire combo string.
[Image Placeholder: Screenshot of the NTE combat interface highlighting the Esper Cycle meter and the white Break bar under an enemy’s health.]
Best Weapons
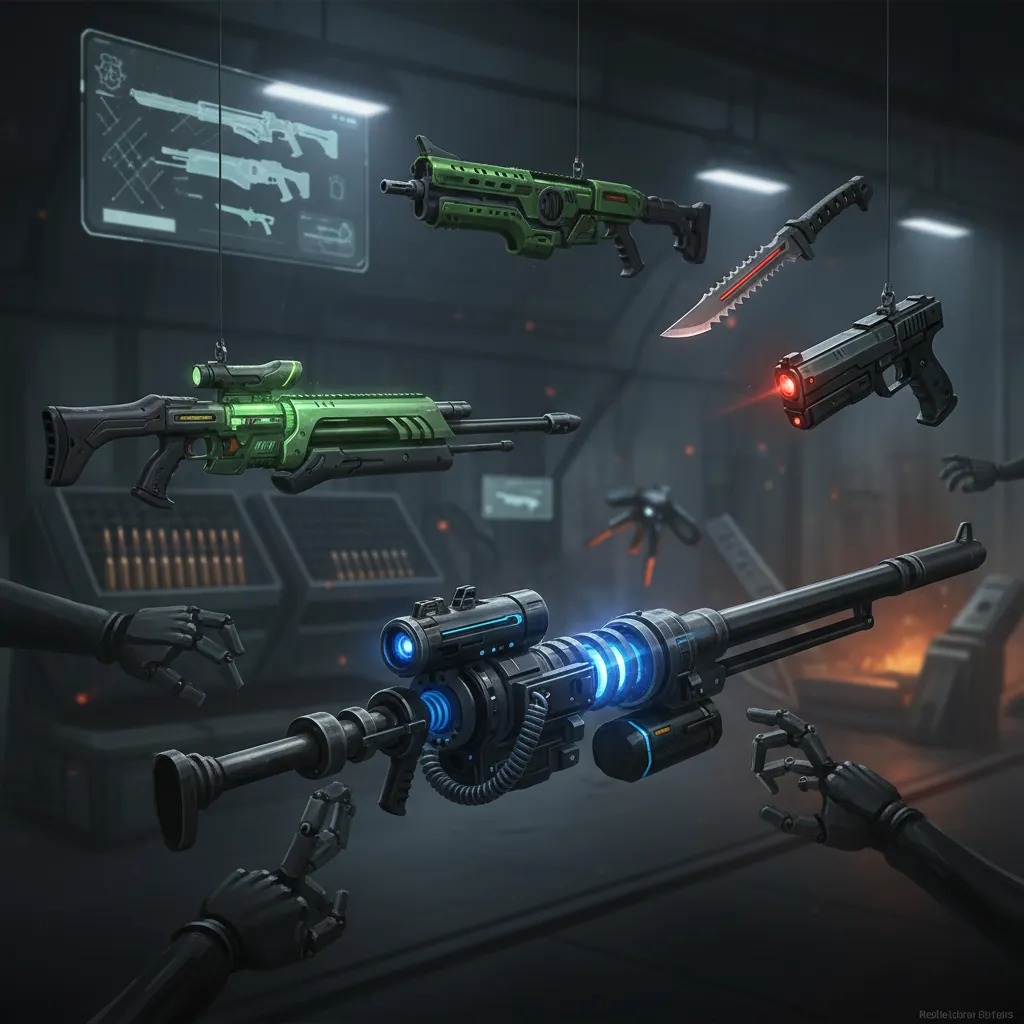
In Neverness to Everness, weapons are known as Arcs. These are categorized by rarity (S-Rank being the highest) and compatibility types such as Solid, Plasma, and Liquid. Equipping an Arc that matches your character’s compatibility type is essential for unlocking its full potential.
Top-Tier S-Rank Arcs
For players lucky enough to pull S-Rank Arcs, these provide the highest base stats and unique passive effects that can define a build.
- ‘Ready’ (Plasma): This is the signature Arc for Nanally. It provides a massive boost to Anima Damage and increases the damage of Esper Entry attacks. Its unique effect, “Ichi-daime’s Resolve,” grants a stacking Attack (ATK) buff every time an elemental reaction is triggered.
- ‘Fluff of Fleetness’ (Liquid): Designed for Mint, this Arc focuses on Cosmos damage and movement speed. It allows the wielder to ignore a portion of the enemy’s defense after a Critical Dodge, making it perfect for high-skill ceiling playstyles.
Best F2P and A-Rank Alternatives
If you are playing on a budget, several A-Rank Arcs provide excellent value and are easier to refine (ascend) to maximum level.
- ‘The Day Off’ (Solid): A versatile Arc often used on Zero (MC). It provides a balanced mix of ATK and Energy Regeneration, ensuring your Esper Cycle remains consistent.
- ‘Clear Skies’ (Plasma): An excellent choice for any Anima-based DPS. It increases Crit Rate based on the number of enemies on the field, making it ideal for clearing mob waves in District exploration.
Arc Compatibility and Stats
When choosing an Arc, prioritize stats in the following order for damage dealers:
- Elemental Damage Bonus: Matches the character’s specific element.
- CRIT Rate / CRIT DMG: Essential for late-game scaling.
- Attack (ATK%): The foundation of all damage.
- Cycle Intensity: Helps fill the Esper Gauge faster.
| Arc Name | Rarity | Base ATK (Lvl 1) | Unique Effect |
|---|---|---|---|
| Ready | S-Rank | 48 | Increases Anima DMG by 20%; stacks ATK on Reaction. |
| Fluff of Fleetness | S-Rank | 46 | Increases Cosmos DMG; grants DEF ignore after Dodge. |
| The Day Off | A-Rank | 38 | Boosts Energy Regeneration by 15% after using a Skill. |
| Clear Skies | A-Rank | 40 | Increases Crit Rate by 2% for every enemy nearby (max 5). |
[Image Placeholder: Infographic comparing the stats and effects of the ‘Ready’ and ‘Fluff of Fleetness’ S-rank Arcs.]
Best Disks (Artifacts)
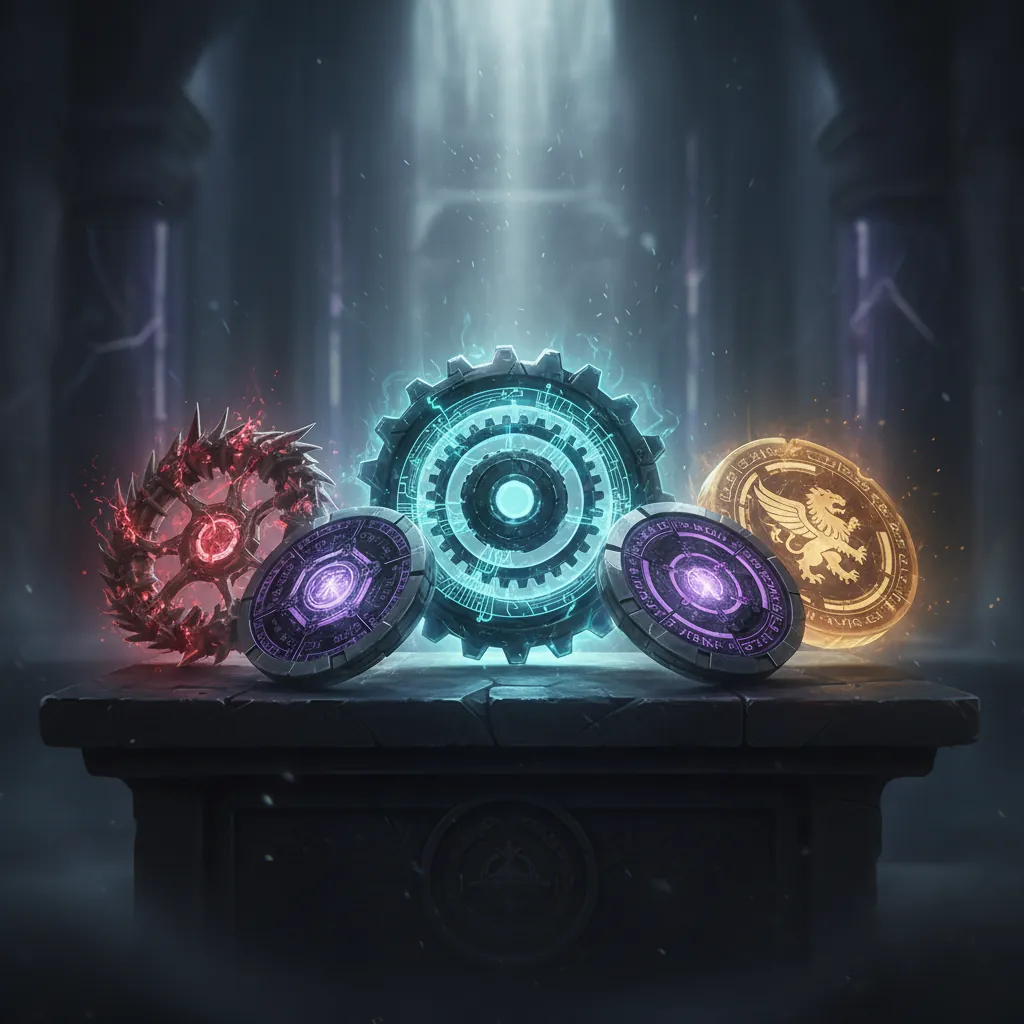
Disks, officially referred to as Cartridges, are the primary gear system in NTE. They provide set bonuses when you equip 2 or 4 of the same type. Finding the right Cartridge set is the difference between a struggling build and a meta-defining powerhouse.
Top Cartridge Sets for Damage Dealers
- ‘Fireflies and the Forest’ (4-Piece): The premier set for Anima characters like Nanally. The 2-piece bonus increases Anima DMG, while the 4-piece bonus grants a 30% damage multiplier to the “Blossom” reaction.
- ‘Lost Radiance’ (4-Piece): A universal set for Cosmos or high-crit builds. It provides a flat Crit DMG boost and allows attacks to ignore 15% of the enemy’s Defense when the Esper Gauge is above 50%.
Essential Support and Utility Sets
- ‘Speedy Hedgehog’ (4-Piece): Ideal for Cyclers like Zero or Haniel. It focuses on Cycle Intensity and provides a team-wide ATK buff for 12 seconds after the wearer exits the field via an Esper Entry.
- ‘Kingdom’s Guard’ (4-Piece): The go-to set for defensive supports like Adler. It increases Shield Strength and provides a small heal to the active character whenever a Parry is successfully performed.
Main Stat and Sub-stat Priority
Each Cartridge slot has a primary stat. You should aim for the following:
- Slot 1 (Fixed): HP
- Slot 2 (Fixed): ATK
- Slot 3 (Variable): ATK% or Cycle Intensity
- Slot 4 (Variable): Elemental DMG Bonus
- Slot 5 (Variable): CRIT Rate or CRIT DMG
For sub-stats, always look for “Cycle Intensity” on your support characters and “CRIT” stats on your Main DPS.
[Image Placeholder: UI showcase of the Cartridge (Disk) menu showing a 4-piece ‘Fireflies and the Forest’ set activation.]
Team Comp
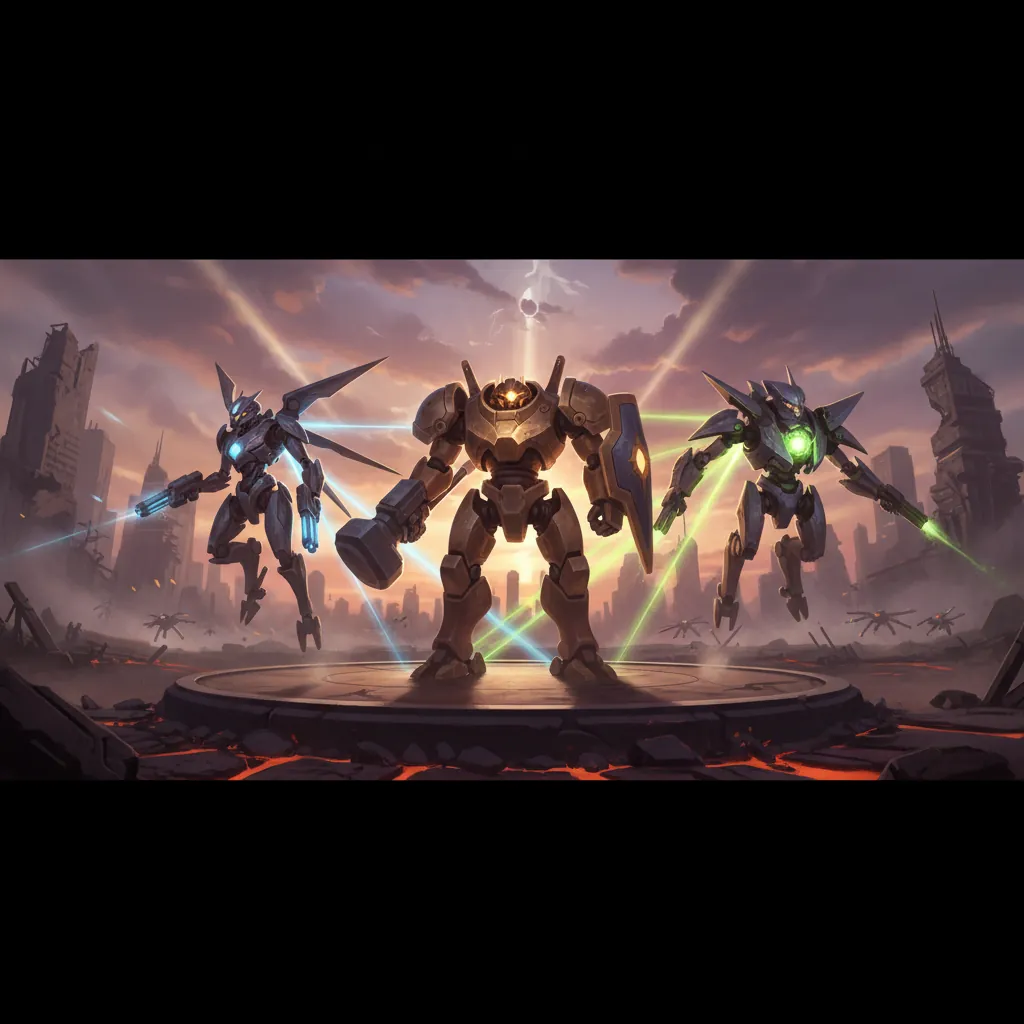
Building a team in NTE isn’t just about picking your favorite characters; it’s about ensuring their elements and roles synergize to keep the Esper Cycle moving. A standard team consists of a Main DPS, a Cycler (Sub-DPS), and a Support (Healer/Buffer).
The Blossom Burst Team (Nanally Meta)
This is currently the most popular high-damage composition. It revolves around triggering the Blossom reaction (Anima + Cosmos) as frequently as possible.
- Main DPS: Nanally (Anima). She provides the bulk of the damage, especially during her Ultimate.
- Cycler: Zero (Cosmos). Zero generates energy quickly and sets up the Cosmos half of the Blossom reaction.
- Amplifier: Jiuyuan (Anima). She provides Anima resistance shred and buffs Nanally’s Crit Damage.
- Support: Sakiri (Lakshana). Provides shields and additional survivability for the team.
The Scorch & Discord Break Team
This team focuses on aggressive “Breaking” and sustained DoT damage.
- Main DPS: Baicang (Incantation). A heavy hitter who shreds Break bars.
- Cycler: Daffodill (Chaos). Triggers Scorch for defense reduction and DoT.
- Sub-DPS: Haniel (Psyche). Adds Psyche to the mix to trigger Discord (Stun damage) when paired with Lakshana supports.
- Support: Edgar (Anima). A reliable healer who ensures the team stays healthy during long boss fights.
Best F2P Starter Lineup
New players can clear most early-game content with the free characters provided through the story.
- Zero (Cosmos): Your primary energy generator and field driver.
- Edgar (Anima): Your main healer.
- Haniel (Psyche): Provides utility and crowd control.
| Character | Role | Element | Key Synergy |
|---|---|---|---|
| Nanally | Main DPS | Anima | Blossom Reaction / High Burst |
| Zero | Cycler | Cosmos | Energy Gen / Universal Compatibility |
| Jiuyuan | Amplifier | Anima | Res Shred / ATK Buffs |
| Baicang | Breaker | Incantation | High Break DMG / Scorch Enabler |
| Sakiri | Support | Lakshana | Shielding / Damage Mitigation |
[Image Placeholder: Team formation screen showing the Blossom Meta team: Nanally, Zero, Jiuyuan, and Sakiri.]
Rotation
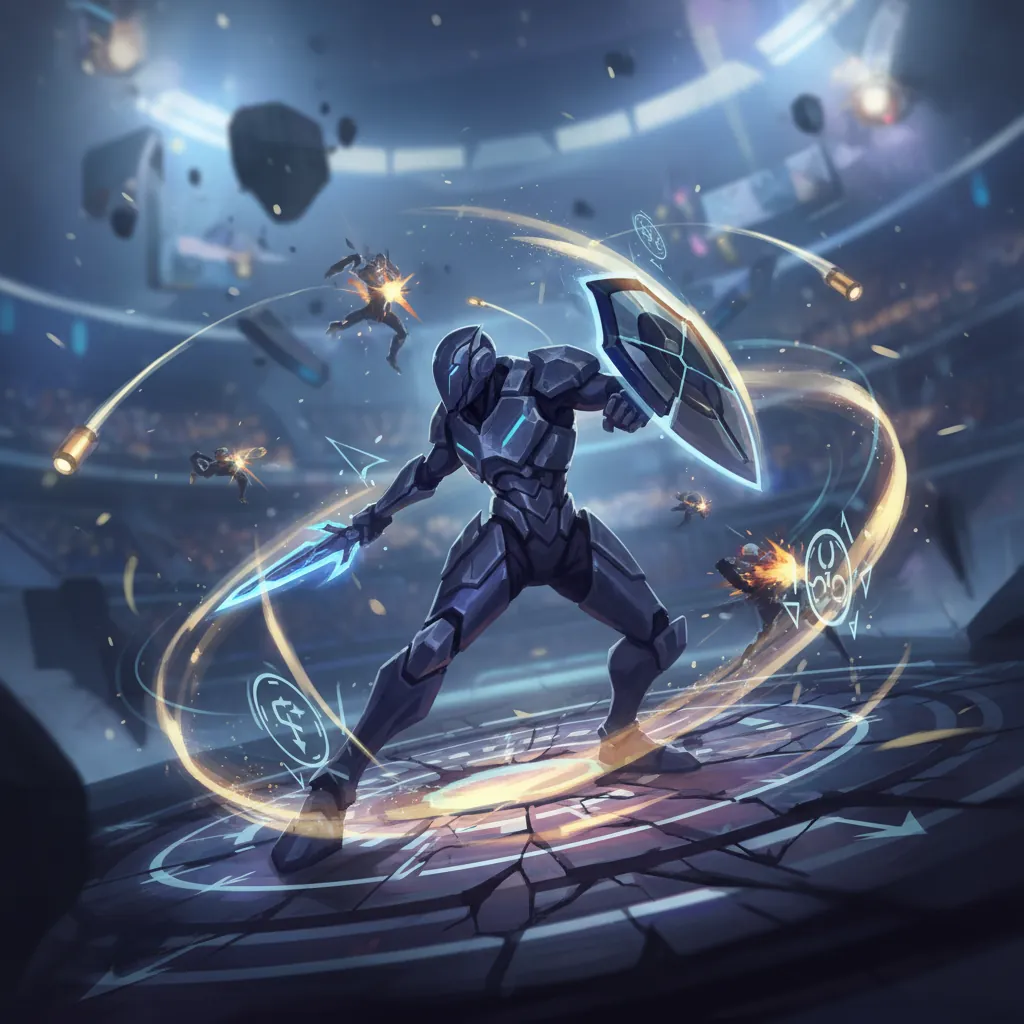
An optimized rotation ensures that you are always dealing maximum damage and never waiting for cooldowns. The goal is to spend as little time as possible on your supports and as much time as possible in the “Burst Window” of your Main DPS.
Standard Combat Flow
- Opening: Start with your Support (e.g., Sakiri or Adler). Drop their skill to provide a shield or an ATK buff to the team.
- Filling: Swap to your Cycler (e.g., Zero). Use their Basic Attack combo and Skill to fill the Esper Gauge to 100%.
- The Swap: Once the meter is full and the enemy is ideally near a “Break” state, swap to your Main DPS (e.g., Nanally). This triggers the Esper Entry and the corresponding elemental reaction (like Blossom).
- Burst Window: Unleash your Main DPS’s Skill and Ultimate while the reaction buffs are active.
- Reset: Once the buffs expire or the Esper Gauge is empty, swap back to your Support or Cycler to begin the loop again.
Optimizing the Blossom Rotation
To maximize Nanally’s damage, follow this specific sequence:
- Use Jiuyuan’s skill to shred Anima resistance.
- Swap to Zero and use his “Cosmos Shift” skill to fill the meter.
- Swap to Nanally. The Anima + Cosmos reaction triggers Blossom.
- Activate Nanally’s Ultimate immediately to benefit from the Blossom Crit Rate buff.
- Perform Nanally’s enhanced basic attack string until the gauge is depleted.
Managing Cooldowns and Energy
If you find yourself with a full Esper Gauge but your Main DPS’s skills are still on cooldown, stay on your Cycler for a few extra seconds. Using an Esper Entry when skills are on cooldown is a waste of a burst window. “Cycle Intensity” stats on your Cartridges will help reduce these awkward gaps in your rotation.
FAQ
Is Neverness to Everness F2P friendly?
Yes. NTE features a 90-pull pity system for S-Rank characters and Arcs. Notably, there is no “50/50” mechanic on the featured character banners, meaning if you hit an S-Rank on Nanally’s “The Ichi-daime” banner, you are guaranteed to get her.
How do I get more Cartridges (Disks)?
Cartridges are primarily obtained through District exploration, completing Anomaly Commissions, and farming specific high-level “Simulation Nodes” that unlock as you progress the main story.
What is the best element for beginners?
Cosmos and Anima are highly versatile. Zero (Cosmos) is a fantastic starter unit because Cosmos reacts well with almost every other element, making him a staple in almost any team composition.
Can I change the MC’s (Zero) element?
undisclosed
Sources
- kaiden.gg — https://kaiden.gg
- pockettactics.com — https://pockettactics.com
- oslink.io — https://oslink.io
- beebom.com — https://beebom.com
- sportskeeda.com — https://sportskeeda.com
- enjoygm.com — https://enjoygm.com
- mobalytics.gg — https://mobalytics.gg
- neverness.gg — https://neverness.gg
- games.gg — https://games.gg
Related Guides

Best Build for Mako (Nanally) in Neverness to Everness (NTE)

Best Mimi (Mint) Build in Neverness to Everness (NTE)

Best F2P Build in Neverness to Everness: Top Teams & Arcs

Best Healer in NTE: Top Builds, Espers & Arcs (June 2026)

Best Healer Build in Neverness to Everness (NTE): Edgar Guide

Best Kuro Build in Neverness to Everness: Weapons, Disks & Teams

Best Support Build for Mimi (Haniel) in Neverness to Everness

Loading comments…