NTE Character Leveling Guide: How to Level Up Fast & Best Nanally Build
Mastering the urban sprawl of Hethereau requires a powerful team, and understanding the progression systems in Neverness to Everness is the first step toward dominating high-level Anomaly Hunts.
Efficient progression in Neverness to Everness (NTE) relies on a dual-leveling system that balances your account’s global standing with the individual strength of your Hunters. Because world difficulty scales alongside your rewards, a disorganized approach to leveling can lead to a “progression wall” where enemies become too durable for your current gear. This guide outlines the most efficient path to Hunter Level 60 and provides a definitive build for Nanally, the premier Anima DPS currently dominating the meta.
Overview
In Neverness to Everness, character progression is gated by two primary metrics: Hunter Level and Appraisal Level. Hunter Level represents your overall account experience, gained from almost every activity in the city. Appraisal Level acts as the “World Level,” determining the difficulty of open-world enemies and the quality of loot dropped in instances like Houdinii’s Magic Stage.
The relationship between these two is fixed. As you reach specific Hunter Level milestones, you must complete an Appraisal Level Test—a combat trial—to ascend your world. Increasing your Appraisal Level is mandatory for uncapping character levels, as Ascension materials only drop from enemies at higher world tiers.
How to Farm Hunter EXP Fast
To reach the endgame quickly, prioritize activities that offer the highest Hunter EXP-to-time ratio.
- Episode Missions (Main Story): These provide the largest chunks of Hunter EXP and are necessary to unlock new districts of Hethereau.
- Side Quests (Spinoffs): Often overlooked, Spinoffs provide substantial EXP and often introduce you to NPC vendors who sell rare upgrade materials.
- Daily Tasks in the Exploration Guide: These are the most consistent source of EXP. Completing your daily checklist takes roughly 10–15 minutes and provides enough EXP to bridge the gap between main story chapters.
- Anomaly Commissions: These short combat encounters scattered across the map offer a quick way to burn remaining time for incremental EXP gains.
The Level 30 Milestone
Hunter Level 30 is the most significant turning point for any new player. At this level, you unlock the ability to farm Legendary (Gold) Cartridges and Modules. Before Level 30, it is advised to spend as few resources as possible on upgrading Purple (Epic) gear. Save your “Character Pixels” (stamina) for Hunter EXP and Ascension materials, then pivot to intensive gear farming once the Gold tier becomes available.
Character EXP Materials and Costs
Characters do not gain significant experience from combat. Instead, you must use Hunter Guides. These come in three tiers, each with a fixed EXP value and a corresponding Beetle Coin cost for application.
| Material | EXP Value | Beetle Coin Cost (per unit) |
|---|---|---|
| Rising Hunter Guide | 1,000 | 200 |
| Senior Hunter Guide | 5,000 | 1,000 |
| Elite Hunter Guide | 20,000 | 4,000 |
The Ascension System
Every character faces a level cap that can only be broken through Ascension. This process requires Beetle Coins and specific boss drops from Anomaly Hunts.
- Level 20 Ascension: Requires basic regional materials and low-tier Anomaly drops.
- Level 40 Ascension: Unlocks the first major Passive Talent for most characters.
- Level 50/60 Ascension: Requires “High-Density” materials found only in Appraisal Level 4+ zones.
Managing Character Pixels (Stamina)
Character Pixels are your most valuable resource. They regenerate over time and are capped at [exact value pending official confirmation]. To level fast, never let your Pixels sit at the maximum cap. If you are short on time, quickly dump them into “Houdinii’s Magic Stage” to stockpile Hunter Guides or Beetle Coins.
The Importance of Appraisal Level Tests
Do not delay your Appraisal Level Tests. While a higher Appraisal Level makes the world harder, it also increases the drop rate of high-tier Arcs and Cartridges. If you find the tests too difficult, focus on upgrading your Main DPS’s Arc (weapon) to its current maximum before attempting the trial again.
Best Weapons
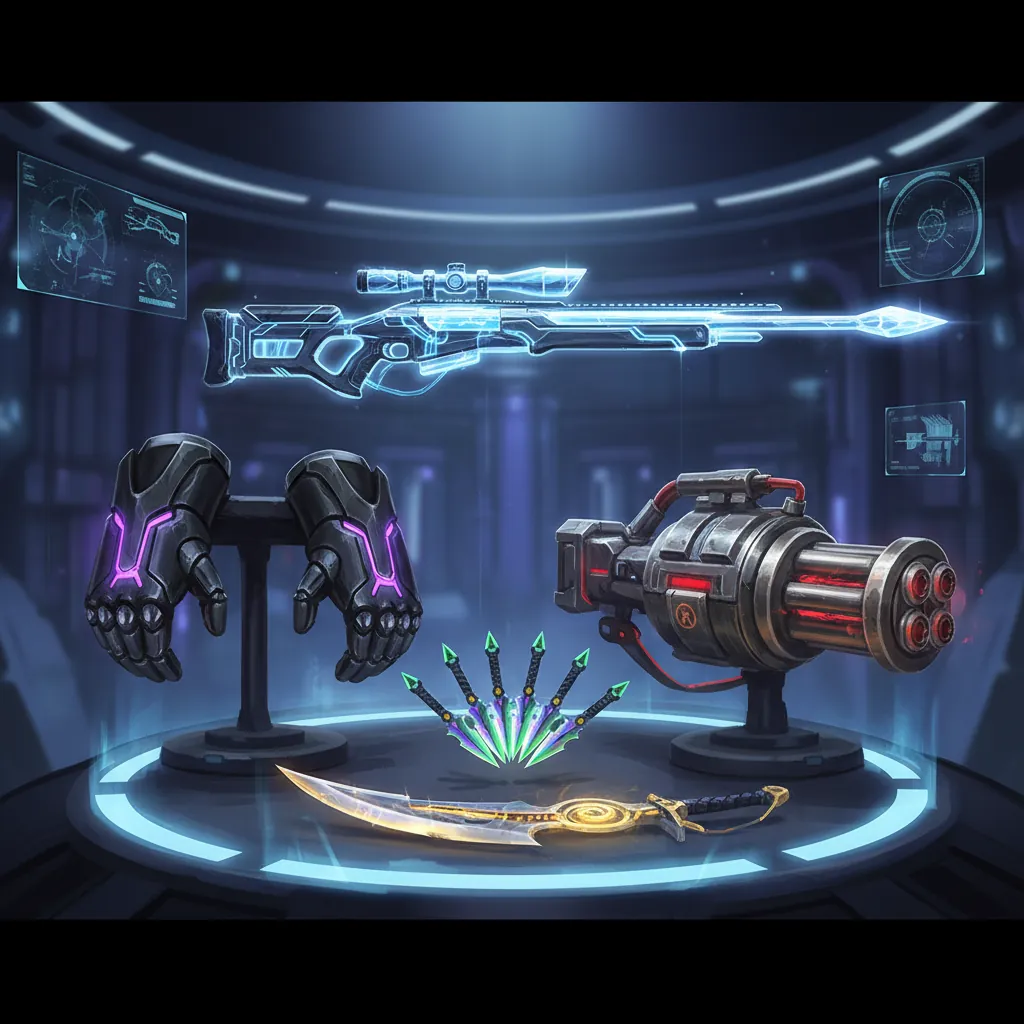
In the NTE system, weapons are known as Arcs. These are categorized by their physical state: Plasma, Solid, Gas, and Liquid. Each character is compatible with only one type of Arc. Nanally, for instance, utilizes Plasma Arcs to channel her high-energy Anima attacks.
Top Tier Arcs for Main DPS
For a Main DPS like Nanally, the goal is to maximize CRIT stats and Basic Attack multipliers.
- Ready-Ready (S-Rank Plasma Arc): This is Nanally’s Best-in-Slot (BiS) weapon. It provides a massive CRIT Rate substat, which is essential for triggering her “Fair Duel” follow-up attacks. Its unique passive increases Basic Attack DMG by [information unavailable] and grants a stacking ATK buff every time a Charged Attack hits an enemy.
- Fluff of Fortitude (S-Rank Plasma): A powerful alternative that focuses on execution. It grants bonus damage against enemies with less than 50% HP, making it ideal for clearing elite mobs in the Hethereau subway tunnels.
- Day Off (S-Rank Solid): While not compatible with Nanally, this is the premier choice for Solid-type DPS characters, providing significant Ultimate Energy restoration whenever an enemy is defeated.
Best F2P Arcs for Early Progression
If you haven’t pulled an S-Rank Arc yet, look for A-Rank options that provide “ATK%” or “Anima DMG” substats. “Refining” these Arcs to R5 (using five copies of the same weapon) can often make them outperform a base R1 S-Rank Arc in the early game.
| Arc Name | Rank | Type | Key Substat | Primary Passive Effect |
|---|---|---|---|---|
| Ready-Ready | S | Plasma | CRIT Rate | Increases Basic/Charged DMG; stacks ATK on hit. |
| Fluff of Fortitude | S | Plasma | ATK % | Increases DMG dealt to enemies below 50% HP. |
| [Name Pending] | A | Plasma | Energy Regen | Restores Pixels on Skill use. |
Best Disks (Artifacts)
NTE uses a “Console” system for gear, which is more complex than standard artifact systems. The Console consists of a grid where you place Cartridges (which provide set bonuses) and Modules (which provide individual stats).
Cartridge Set Recommendations
For Nanally, the “Fireflies and the Forest” set is undisputed.
- 2-Piece Bonus: Increases Anima DMG by 15%.
- 4-Piece Bonus: When a Basic Attack deals a CRIT hit, CRIT DMG is increased by 8% for 6 seconds, stacking up to 7 times (56% total).
This set perfectly complements Nanally’s high attack speed, allowing her to reach maximum stacks within the first few seconds of her “Ichi-daime’s Authority” state.
Module Stat Priority & Grid Optimization
The Console uses a Tetris-style grid. Each Module has a specific shape, and you must fit them into the grid to activate your Cartridge bonuses.
- Module Type Priority: Nanally’s unique Console passive grants a 6% CRIT Rate bonus for every Type-2 Module equipped. Prioritize these shapes even if their sub-stats are slightly inferior.
- Main Stat Priority:
- Cartridge Slot: Anima DMG Bonus.
- Modules: CRIT Rate (until 75%), then CRIT DMG.
- Secondary: ATK% and Flat ATK.
- Sub-stat Goals: Aim for a 1:2 ratio. For endgame content, you should strive for at least 75% CRIT Rate and 150% CRIT DMG.
Team Comp

Team building in NTE revolves around elemental reactions and energy generation. Nanally functions as a “Hypercarry,” meaning the other two slots in the team should be dedicated to buffing her damage or providing off-field elemental application.
The Meta ‘Hypercarry’ Team
- Nanally (Main DPS): Deals the bulk of the damage through Anima-infused attacks.
- Sakiri (Support/Buffer): Sakiri is essential for any high-level team. Her Ultimate provides a flat 30% ATK buff to the entire team for 12 seconds.
- Haniel (Sub-DPS/Support): Haniel provides off-field Psyche damage. More importantly, her presence triggers the “Blossom” reaction when combined with Nanally’s Anima attacks, which causes enemies to take increased damage from follow-up hits.
Best F2P Team for New Players
- Nanally (Main DPS): Obtained through her featured banner, “The Ichi-daime.”
- Esper Zero (Protagonist): Provides Cosmos damage and is highly versatile for breaking enemy shields.
- Chiz (Support): Can be obtained for free through the City Tycoon progression rewards. Chiz provides consistent healing and minor energy restoration, which is vital for early-game survivability.
Elemental Reactions: The Blossom Effect
Focusing on the Blossom reaction is key for Nanally. When Anima and Psyche elements interact, they trigger a “Blossom” state on the enemy. While an enemy is Blossomed, Nanally’s “Fair Duel” passive has a 100% chance to trigger a follow-up claw attack, effectively doubling her attack frequency.
Rotation

To maximize Nanally’s damage, you must follow a specific sequence to ensure all buffs are active during her burst window.
Opening Sequence
- Switch to Sakiri: Immediately use her Elemental Skill to generate energy, followed by her Ultimate to activate the 30% ATK buff.
- Switch to Haniel: Cast her off-field Psyche field. This ensures that every hit Nanally lands will trigger a reaction.
- Switch to Nanally: Use her Skill, “Overdrive: Super Claw.” This puts Nanally into the “Ichi-daime’s Authority” state, converting her physical damage to Anima damage and increasing her attack speed.
Maximizing the Underboss Window
Once Nanally is in her Overdrive state, cast her Ultimate: “Colucci Ultimate Technique.” This summons the Underboss, a spectral entity that mimics Nanally’s moves.
- The Heavy Hitter Combo: Perform 3 Basic Attacks followed by a Charged Attack (Hold Basic). Repeat this three times. The 3-hit Basic combo builds “Authority Stacks,” which the Charged Attack consumes to deal massive AoE Anima damage.
- Follow-up Management: If the enemy is Blossomed, the Underboss will perform additional “Coordinated Strikes.” Do not dodge unless necessary, as interrupting the 3-hit string significantly lowers your total DPS.
FAQ
Q: Where do I farm Hunter Guides? A: The most efficient source is Houdinii’s Magic Stage, located in the Exploration Guide menu. Higher Appraisal Levels unlock stages that drop Elite Hunter Guides (20,000 EXP).
Q: How do I unlock the City Tycoon rewards? A: Participate in city activities like shop management and street racing. Reaching Tycoon Level 45 grants you the 4-star character Chiz and her signature weapon for free.
Q: What are Character Pixels? A: This is the NTE stamina system. You consume Pixels to claim rewards from Anomaly Hunts, boss battles, and training stages. They regenerate at a rate of [exact value pending official confirmation] per hour.
Q: Can I level characters past 20 without the story? A: No. You must progress the main “Episode” missions to unlock the Appraisal Level Tests. Without passing these tests, your characters will remain capped regardless of how many Hunter Guides you have.
Q: What is the best way to earn Beetle Coins? A: While Anomaly Commissions give small amounts, the most consistent income comes from City Tycoon activities. Managing your properties in Hethereau generates passive Beetle Coin income that you can collect daily.
Sources
- Neverness to Everness Official Site — https://nte.perfectworld.com/
- ldplayer.net — https://www.ldplayer.net/blog/neverness-to-everness-beginner-guide-and-tips.html
- Game8 NTE Database — https://game8.co/games/Neverness-to-Everness
- Prydwen Institute NTE Section
- Reddit r/NTE_Official — https://www.reddit.com/r/NTE_Official/
Related Guides

Best Build for Mako (Nanally) in Neverness to Everness (NTE)

Best Mimi (Mint) Build in Neverness to Everness (NTE)

Best F2P Build in Neverness to Everness: Top Teams & Arcs

Best Healer in NTE: Top Builds, Espers & Arcs (June 2026)

Best Healer Build in Neverness to Everness (NTE): Edgar Guide

Best Kuro Build in Neverness to Everness: Weapons, Disks & Teams

Best Support Build for Mimi (Haniel) in Neverness to Everness

Loading comments…