NTE Character Build Guide for Beginners: Best Arcs & Disks
Surviving the supernatural anomalies of Hethereau requires more than just quick reflexes; it demands a deep understanding of how to synchronize your Espers with the right equipment.
Overview

Neverness to Everness (NTE) transports players to the sprawling, neon-soaked metropolis of Hethereau, a city where the mundane and the supernatural collide. As a Hunter, you manage a team of Espers—individuals capable of wielding extraordinary abilities to contain anomalies. Building a character in NTE is a multi-layered process that goes beyond simple leveling. To maximize your efficiency in combat, you must master the three core pillars of character progression: Character Level/Ascension, Arcs (the game’s weapon system), and the Console (the artifact and stat-customization interface).
The progression in NTE is governed by two distinct systems: Hunter Level and Appraisal Level. Your Hunter Level represents your overall account progress and unlocks new story chapters, features, and city management options. In contrast, the Appraisal Level dictates the world difficulty and the quality of rewards dropped by anomalies. High-tier building only becomes truly relevant once your Appraisal Level scales to a point where standard attacks no longer suffice against elite entities.
For beginners, Mint stands out as the premier Free-to-Play (F2P) build choice. She is guaranteed to all players early in the narrative and possesses a kit centered on high skill-spam potential and reliable Anima damage. Understanding her role, alongside other starters, is essential for a smooth launch experience.
Understanding Esper Types and Elements
Every Esper in Hethereau is categorized by an Elemental Type, which dictates their interactions within the Esper Cycle. The primary elements include:
- Anima: Focused on high-frequency hits and elemental resonance.
- Cosmos: Often utilized for crowd control and gravitational effects.
- Incantation: Typically associated with debuffs, defense shred, and status ailments.
- Psyche: Generally reserved for support and healing roles.
Efficiency in NTE is not found in a single character’s raw power but in how their elements interact to trigger reactions.
Hunter Level vs. Appraisal Level
While Hunter Level is your “gate” to content, Appraisal Level is your “gate” to power. You should prioritize increasing your Hunter Level through daily commissions and the “City Tycoon” management system to unlock higher Appraisal tiers. Once you reach higher Appraisal levels, the drop rates for S-Rank Modules and Cartridges increase significantly, making your “stamina” (Energy) usage more efficient.
Beginner-Friendly Character Roster
| Name | Element | Role | How to Obtain |
|---|---|---|---|
| Mint | Anima | Main DPS | Story Progression (Guaranteed) |
| Esper Zero | Cosmos | Sub-DPS | Starting Character |
| Sakiri | Incantation | Support/Buffer | Early Gacha / Event |
| Haniel | Psyche | Healer/Sustain | Beginner Banner |
| Nanally | Anima | Main DPS | Limited Banner (The Ichi-daime) |
Best Weapons
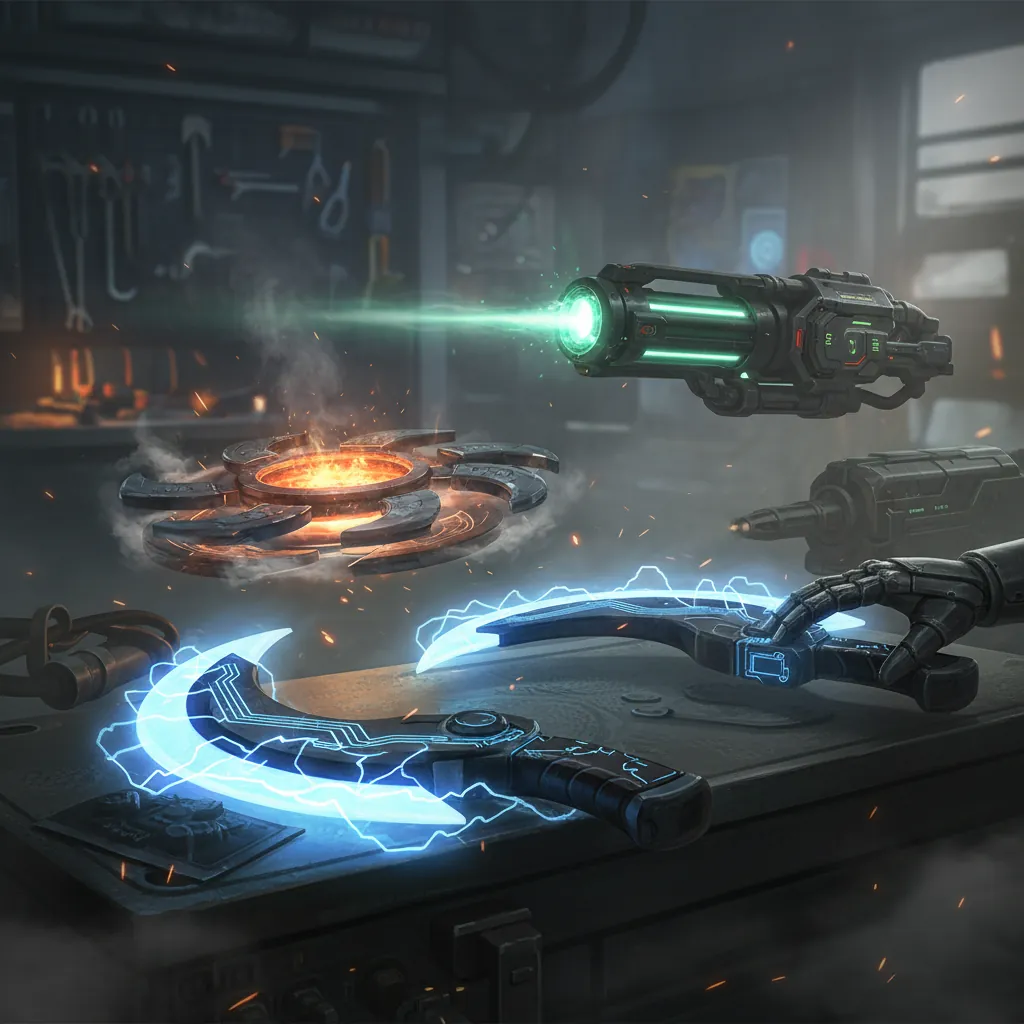
In Neverness to Everness, weapons are referred to as Arcs. These are equippable digital “disks” that provide base stats and unique passive abilities. Arcs are classified into five distinct types: Plasma, Liquid, Gas, Solid, and Synthesis. Matching the Arc type to an Esper’s combat style is the first step in optimizing a build. For example, an Esper whose kit relies on fluid, multi-hit combos will typically benefit most from a Liquid-type Arc, while a heavy hitter might require a Solid-type Arc.
Matching Arc Types to Espers
Each Esper has a “Preferred Style” listed in their profile. Equipping an Arc that matches this style often unlocks secondary passive bonuses that are otherwise inactive. For beginners, the goal is to secure S-Rank Arcs, but A-Rank alternatives are highly effective for clearing the early chapters of the Hethereau storyline.
Best F2P Arcs for Early Game
While premium banners offer powerful options, you can obtain free S-Rank Arcs through Anomaly Commissions and by progressing through the City Tycoon property management system. Investing time into the city’s economy pays off by providing high-tier gear without spending Anulith (the premium currency).
Top-Tier Arcs for Beginners
| Arc Name | Rank | Type | Best For | Key Passive |
|---|---|---|---|---|
| — | S | Liquid | Mint | Increases Anima DMG after dodging. |
| — | S | Plasma | Nanally | Boosts CRIT Rate for ranged attacks. |
| Clear Skies | A | Gas | Esper Zero | Increases Energy Regeneration. |
| Oraora! | A | Solid | Any DPS | Flat ATK increase after using a Skill. |
Best Disks (Artifacts)
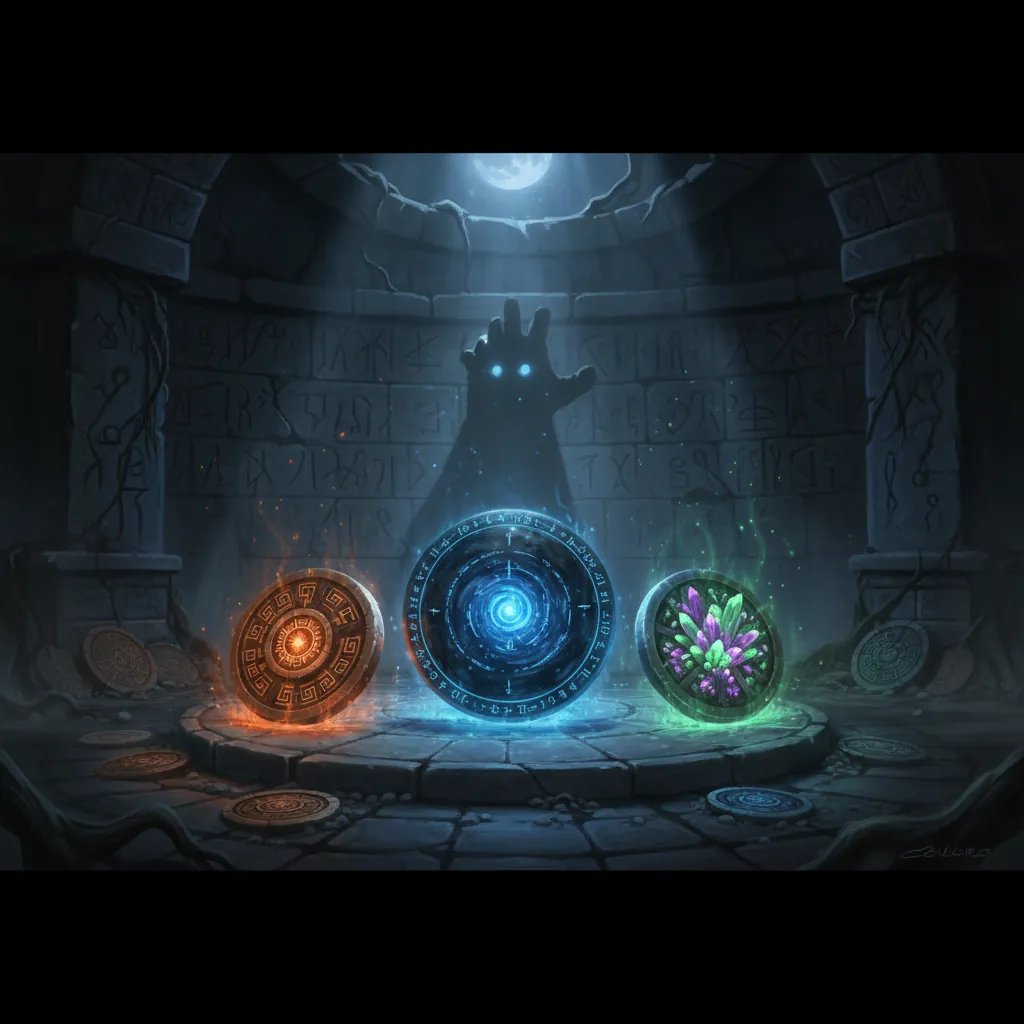
The most complex part of an NTE build is the Console System. This interface allows you to equip Cartridges (Disks) and Modules (Tetris-like pieces) to your Espers. Think of Cartridges as “Set Bonuses” and Modules as the “Individual Stats” that fill the gaps.
The Console: Cartridges and Modules Explained
Cartridges function as the foundation of your build. They come in sets, and equipping 2 or 4 of the same set triggers powerful utility or damage buffs. However, the Console has a limited grid. This is where Modules come in. Modules are geometric shapes (similar to Tetris blocks) that you must manually slot into the Console grid. Each Module carries main stats (like ATK or HP) and sub-stats (like CRIT DMG).
The challenge for beginners is “fitting” the best Modules around your Cartridges. Higher-rarity Modules often have awkward shapes, requiring you to play a mini-game of spatial management to maximize your stat gains.
Top Artifact Sets for DPS and Support
For Anima DPS characters like Mint and Nanally, the priority is maximizing their elemental output and critical hits. Support characters, on the other hand, focus on Cycle Intensity—a stat that increases the speed at which you can trigger elemental reactions.
Cartridge Set Bonuses for Beginners
- undisclosed: (2-Piece) Increases Anima DMG by 15%. (4-Piece) Increases CRIT Rate by 10% for 8 seconds after an Elemental Skill.
- undisclosed: (2-Piece) Increases Cycle Intensity by 20%. (4-Piece) Swapping characters grants the incoming Esper a 15% ATK buff.
Module Stat Priority by Role
| Role | Primary Stat Priority | Secondary Stat Priority |
|---|---|---|
| Main DPS | CRIT Rate / CRIT DMG | Elemental DMG % > ATK % |
| Sub-DPS | Elemental DMG % | Cycle Intensity > ATK % |
| Support | Cycle Intensity | Energy Regen > HP % |
| Sustain (Healer) | HP % or DEF % | Energy Regen > Cycle Intensity |
Team Comp
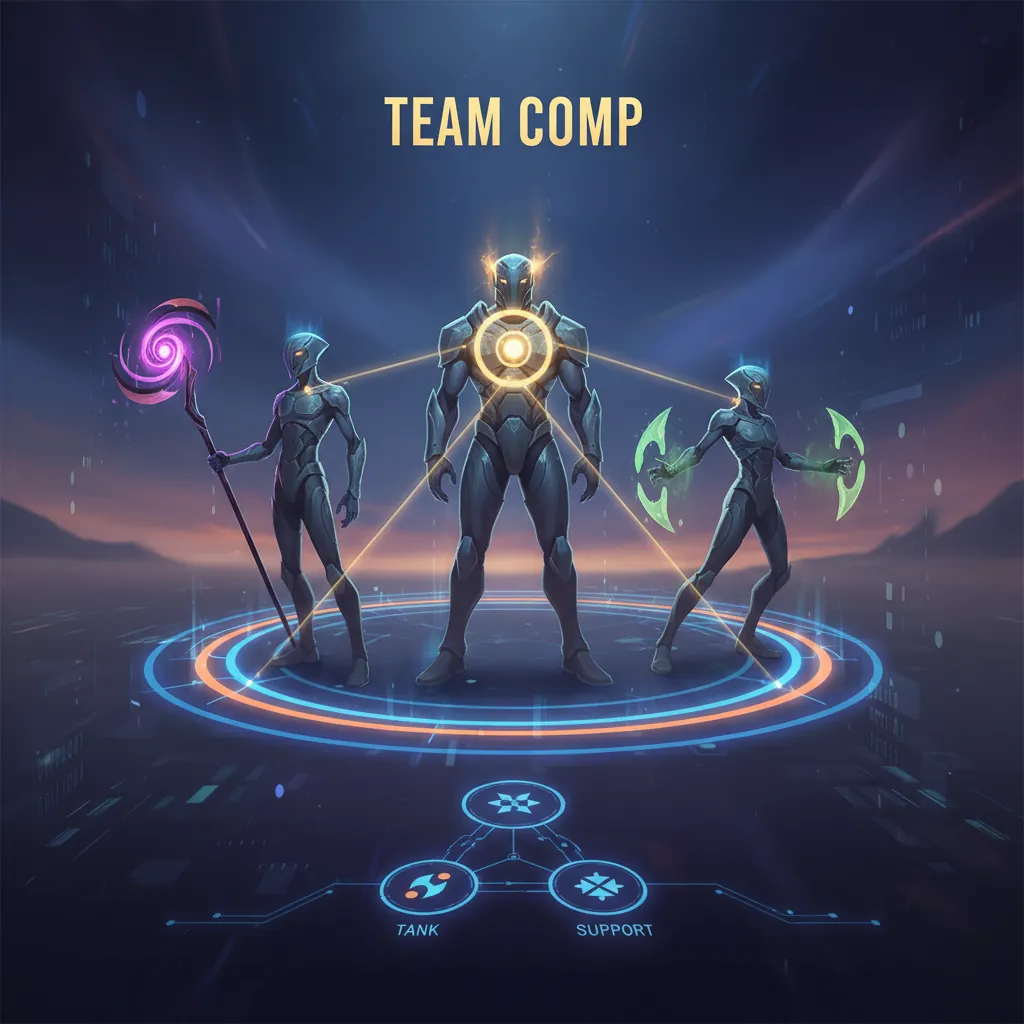
NTE combat revolves around the “Esper Cycle.” This system encourages players to constantly swap between four characters to trigger elemental reactions. Staying on one character for too long is a common beginner mistake that leads to significantly lower damage output.
Mastering the Esper Cycle
When elements interact, they produce unique effects. Two of the most important reactions for beginners are:
- The Blossom Reaction: Triggered by pairing Anima (Mint/Nanally) with Cosmos (Esper Zero). This creates a localized gravitational bloom that pulls enemies in and deals massive AoE Anima damage.
- The Hexed Reaction: Triggered by combining Anima with Incantation (Sakiri/Adler). This applies a “Hex” to enemies, shredding their defense and making them susceptible to crowd control.
The Best F2P Team for Launch
The standard beginner team is designed to cover all bases: damage, utility, and survival.
- Mint (Main DPS): Your primary source of field time and damage.
- Esper Zero (Sub-DPS/Cosmos): Used to trigger Blossom and group enemies.
- Sakiri (Buffer/Incantation): Used to shred enemy armor and buff Mint’s damage.
- Haniel (Healer/Psyche): Keeps the team alive during high-intensity anomaly fights.
Recommended Beginner Team Compositions
| Team Name | Slot 1 (Main) | Slot 2 (Sub) | Slot 3 (Support) | Slot 4 (Sustain) |
|---|---|---|---|---|
| F2P Blossom | Mint | Esper Zero | Sakiri | Haniel |
| Premium Anima | Nanally | Esper Zero | Adler | Haniel |
| Incantation Shred | Mint | Sakiri | Adler | [info unavailable] |
Rotation
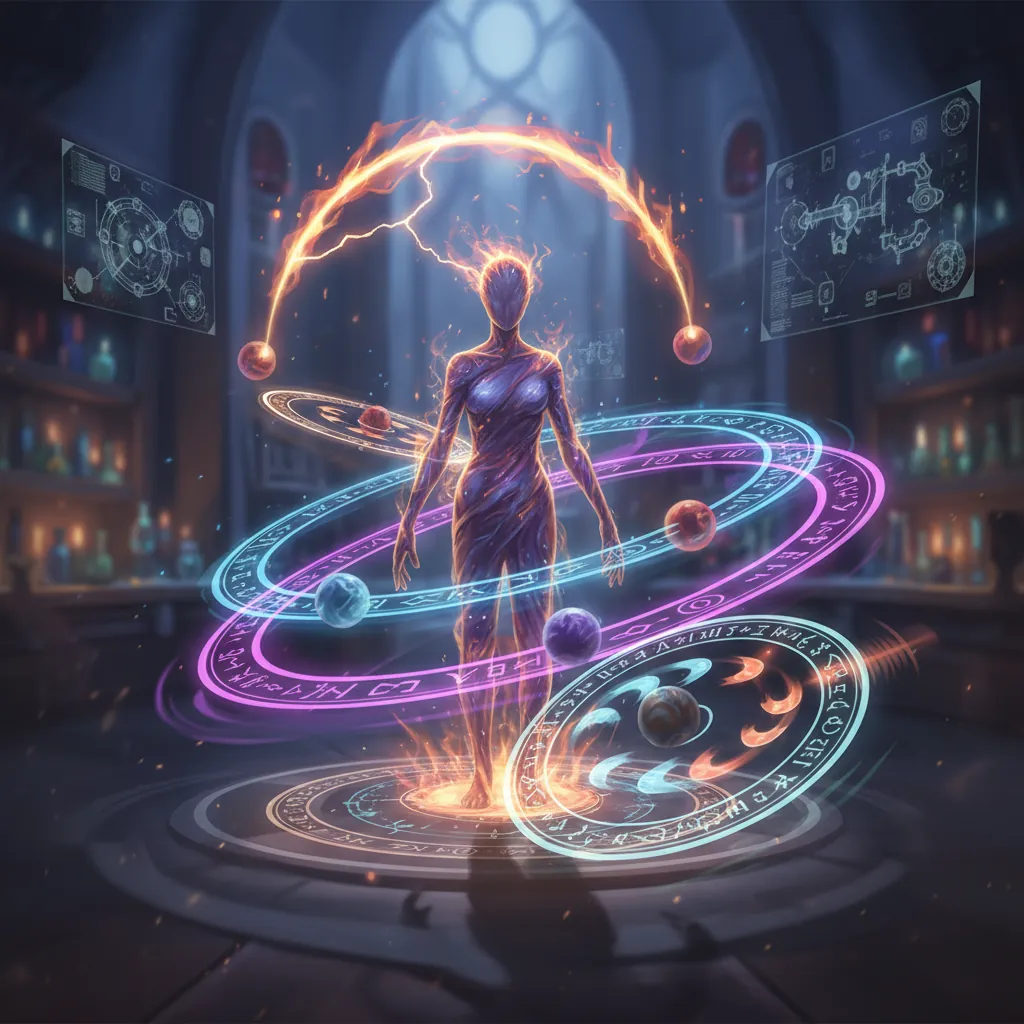
The “Quick-Swap” meta defines NTE. Your goal is to keep the Esper Meter full and trigger reactions as frequently as possible. A typical rotation focuses on setting up the environment with supports before bringing in your Main DPS to “detonate” the reactions.
Executing the Blossom/Hexed Combo
A standard rotation for a Mint-focused team follows this flow:
- Start with Sakiri: Use her Skill (e.g., “Devour Whole”) to apply Incantation marks and build initial Cycle Energy.
- Swap to Esper Zero: Use his Cosmos ability to group enemies together. This sets the stage for a multi-target reaction.
- Swap to Mint: This is the “Swap Trigger.” When Mint enters the field while Cosmos and Incantation marks are active, she procs Blossom and Hexed simultaneously.
- Mint’s Core Combo: Activate her Skill (Perfect Containment), follow up with a Critical Riposte after a successful dodge, and finish with her Ultimate (Thunderous Whirlwind Slash).
- Reset: Once Mint’s skills are on cooldown, swap back to your supports to restart the cycle.
Managing Cooldowns and Energy
Stamina management is crucial. Mint’s most powerful attacks often require holding the attack button, which consumes stamina. You must balance these high-pressure moves with well-timed dodges. If you run out of stamina, you become vulnerable to “Anomaly Instability,” a state where enemies can easily interrupt your combos.
Standard Blossom Team Rotation Flowchart
- Step 1: Support (Sakiri) -> Apply Debuff
- Step 2: Sub-DPS (Esper Zero) -> Crowd Control / Apply Cosmos
- Step 3: Main DPS (Mint) -> Trigger Blossom Reaction
- Step 4: Main DPS (Mint) -> Execute Full Skill/Ultimate Combo
- Step 5: Sustain (Haniel) -> Heal if necessary -> Repeat Step 1
FAQ

Is there a 50/50 system in NTE? No. One of the most player-friendly aspects of NTE is that it features a 100% guarantee on limited character banners. If you reach the pity threshold on a banner like Nanally’s “The Ichi-daime,” you are guaranteed to receive the featured character.
How do I get the free S-Rank character Chiz? Chiz is obtained by progressing through the City Tycoon property management system. By upgrading your businesses and increasing your influence in Hethereau, you will eventually unlock her as a playable Esper.
What should I spend my Anulith on first? As a beginner, your Anulith is best spent on limited character banners or high-value Arcs. Avoid spending premium currency on standard banners, as you will receive standard recruitment tickets through regular gameplay and events.
Can I reset my character’s Awakening nodes? Yes. NTE allows for the free re-speccing of Awakening selections. If you find that a certain build path isn’t working for your playstyle, you can reset the nodes and reallocate your resources without any penalty.
Where do I farm the best Modules? The highest rarity Modules (the “Tetris pieces”) are found in high-level anomaly domains. These typically become efficient to farm once you reach Hunter Level 30 or higher, as the drop rate for S-Rank geometric pieces increases at that threshold.
Sources
- mobalytics.gg
- neverness.gg
- pcgamer.com
- games.gg
- ldplayer.net — https://www.ldplayer.net/blog/neverness-to-everness-beginner-guide-tips-and-tricks.html
- bluestacks.com — https://www.bluestacks.com/blog/game-guides/neverness-to-everness/nte-tier-list-en.html
Related Guides

Best Build for Mako (Nanally) in Neverness to Everness (NTE)

Best Mimi (Mint) Build in Neverness to Everness (NTE)

Best F2P Build in Neverness to Everness: Top Teams & Arcs

Best Healer in NTE: Top Builds, Espers & Arcs (June 2026)

Best Healer Build in Neverness to Everness (NTE): Edgar Guide

Best Kuro Build in Neverness to Everness: Weapons, Disks & Teams

Best Support Build for Mimi (Haniel) in Neverness to Everness

Loading comments…