NTE Beginner Character Leveling Guide: Build Your Best Team
Getting your team ready for the supernatural challenges of Hethereau City requires a clear understanding of how character progression functions in Neverness to Everness (NTE). Since its release on April 29, 2026, players have discovered that leveling up is not just about raw power; it is a multi-layered system involving account-wide ranks, elemental synergies, and a unique “Tetris-style” gear interface.
📝 Editorial Note: This guide is AI-assisted and game data evolves rapidly. Please cross-reference with in-game information. Updated: 2026-05-23.
Overview
Character progression in Neverness to Everness is defined by the development of Espers—individuals with unique supernatural abilities. To increase an Esper’s level, you primarily use Hunter’s Manuals to provide experience points and Shell Credits as the base currency for every transaction. However, you cannot simply grind a single character to the maximum level immediately. The game employs a gated progression system that ties your characters’ maximum potential to your account’s overall standing.
Understanding Hunter Rank & Appraisal Levels
Your Hunter Rank is your account-wide level, which increases as you complete story missions, side quests, and daily activities. As your Hunter Rank reaches specific milestones, your Appraisal Level (the world level) will increase. This raises the difficulty of enemies in the open world and Anomaly Zones but also increases the quality of the loot you receive.
Crucially, your Appraisal Level acts as the “cap” for your Esper levels. For example, you cannot level a character past 20 until you reach the first major milestone.
| Hunter Rank | Appraisal Level | Character Level Cap |
|---|---|---|
| Rank 1-9 | Level 0 | 20 |
| Rank 10-19 | Level 1 | 30 |
| Rank 20-29 | Level 2 | 40 |
| Rank 30-39 | Level 3 | 50 |
| Rank 40-49 | Level 4 | 60 |
| Rank 50+ | Level 5 | 70+ |
How to Farm Character EXP (Hunter’s Manuals)
The primary method for obtaining Hunter’s Manuals is clearing Anomaly Zones, specifically the “Kaleidoscope” stages. These stages require Character Pixels to claim rewards.
- Character Pixels: This is your primary combat stamina. It regenerates over time and is spent on character EXP, Ascension materials, and gear.
- City Tycoon Stamina: Unlike combat stamina, this is used for “Life Skills” and management tasks within the City Tycoon system. While it doesn’t help level characters directly, it is vital for earning Fons (money) and unlocking certain free characters like Chiz.
Ascension: Breaking the Level Cap
Once a character reaches their current level cap (e.g., Level 20), you must perform an “Ascension” to unlock the next ten levels. Ascension requires specific materials dropped from Anomaly Hunts and world bosses. These materials are element-specific, meaning an Anima character like Nanally will require different drops than a Cosmos character like Zero.
For beginners, the most efficient strategy is to focus all resources on a single “Main Carry” (your primary DPS) until they reach level 40. Spreading your Hunter’s Manuals too thin across a full team of four early on will result in a squad that struggles to clear time-limited Anomaly challenges.
Best Weapons
In Neverness to Everness, weapons are known as “Arcs.” These are not merely stat sticks; they provide unique passive abilities that can fundamentally change an Esper’s combat loop. Arcs are divided into five distinct types: Plasma, Solid, Gas, Liquid, and Synthesis. A character can only equip an Arc that matches their specific compatibility type.
Arc Types and Scaling
- Plasma: Generally focused on offensive scaling, CRIT stats, and burst damage.
- Solid: Balanced Arcs that often provide defense, HP, or utility summons.
- Gas: Often tailored toward support roles, energy regeneration, and utility.
- Liquid: Focused on skill-based play and elemental reaction efficiency.
- Synthesis: Hybrid Arcs that offer conditional buffs based on specific combat triggers.
Top S-Rank and A-Rank Recommendations
The most sought-after weapon for the early game is the S-Rank Plasma Arc “Ready-Ready.” This is the signature weapon for Nanally and provides a massive 24% CRIT Rate substat. Its passive effect increases ATK and provides a “Tiger Talisman” buff that significantly boosts damage against bosses.
For players who haven’t pulled an S-Rank weapon yet, the A-Rank “Oraora!” is an exceptional alternative for Plasma characters. It features the “Ora Puncher” effect, which stacks Basic Attack damage every time you strike an enemy, making it perfect for sustained DPS.
| Arc Name | Type | Rarity | Primary Benefit | Best For |
|---|---|---|---|---|
| Ready-Ready | Plasma | S | CRIT Rate & Boss DMG | Nanally, Hathor |
| Raging Flames | Plasma | S | CRIT DMG & Skill DMG | Hathor, Zero |
| Day Off | Solid | S | ATK % & Utility | Zero, Fadia |
| Fluff of Fortitude | Plasma | S | DMG % vs Low HP | F2P DPS |
| Oraora! | Plasma | A | Basic ATK Stacking | Nanally, Hathor |
| Clear Skies | Gas | A | Energy Regen | Haniel, Support |
Free-to-Play Weapon Alternatives
The “Fluff” series of Arcs (such as Fluff of Fortitude or Fluff of Fleetness) serves as the primary F2P S-Rank option. These are often obtainable through specific in-game events or high-level Anomaly rewards. While they may not match the specialized power of a signature weapon like “Ready-Ready,” their high base stats make them reliable placeholders for any character of the matching type.
To upgrade your Arcs, you will need EXP Dyes (found in the Bubble Can Factory) and Pigments for Ascension. Much like character leveling, Arcs are capped by your Appraisal Level, so keep your Hunter Rank climbing to ensure your weapons stay competitive.
Best Disks (Artifacts)
The most complex part of an NTE build is the Console System. Instead of traditional armor slots, each Esper has a “Console”—a handheld device with a Tetris-like grid. You customize this grid using two types of items: Modules and Cartridges.
The Console System: Modules vs. Cartridges
- Cartridges: These are the “base” of your build. They determine your “Sonata Effects” (set bonuses). A 2-piece set might grant 10% Cosmos damage, while a 4-piece set could provide a massive defense shred after using an Ultimate.
- Modules: These are the individual blocks you place onto the grid. They provide raw stats like Flat ATK, HP, and CRIT Rate. Modules come in different shapes and sizes (Type II, III, and IV).
How to Optimize Your Tetris Grid
To activate a Cartridge’s set bonus, you must fill a specific pattern on the Console grid with Modules. This means building a character is a puzzle; you must fit the right shapes together to “light up” the Sonata Effects.
For beginners, the “Blossom” and “Scorch” sets are the highest priority.
- Blossom Set: Increases Anima and Cosmos synergy, spawning “Vita Buds” that deal AoE damage.
- Scorch Set: Enhances Incantation and Chaos damage, applying a powerful Damage-over-Time (DoT) effect to enemies.
Stat Priority for Early Game Modules:
- ATK % / Flat ATK: Essential for clearing early story content.
- CRIT Rate: Vital once you reach Level 40 and start finding S-Rank Arcs.
- Cycle Intensity: This stat determines how fast your “Esper Meter” fills, allowing for more frequent character swaps.
A hidden gem for early players is the “Day Off” S-Rank Arc Disk. This is obtained by completing the “Naked Ghost Tour of the City” secret quest. This quest involves finding an NPC named Eclipse at various locations across Hethereau (such as the BaC Headquarters and the Film Orbit Studio roof) during specific sunny weather conditions.
Team Comp
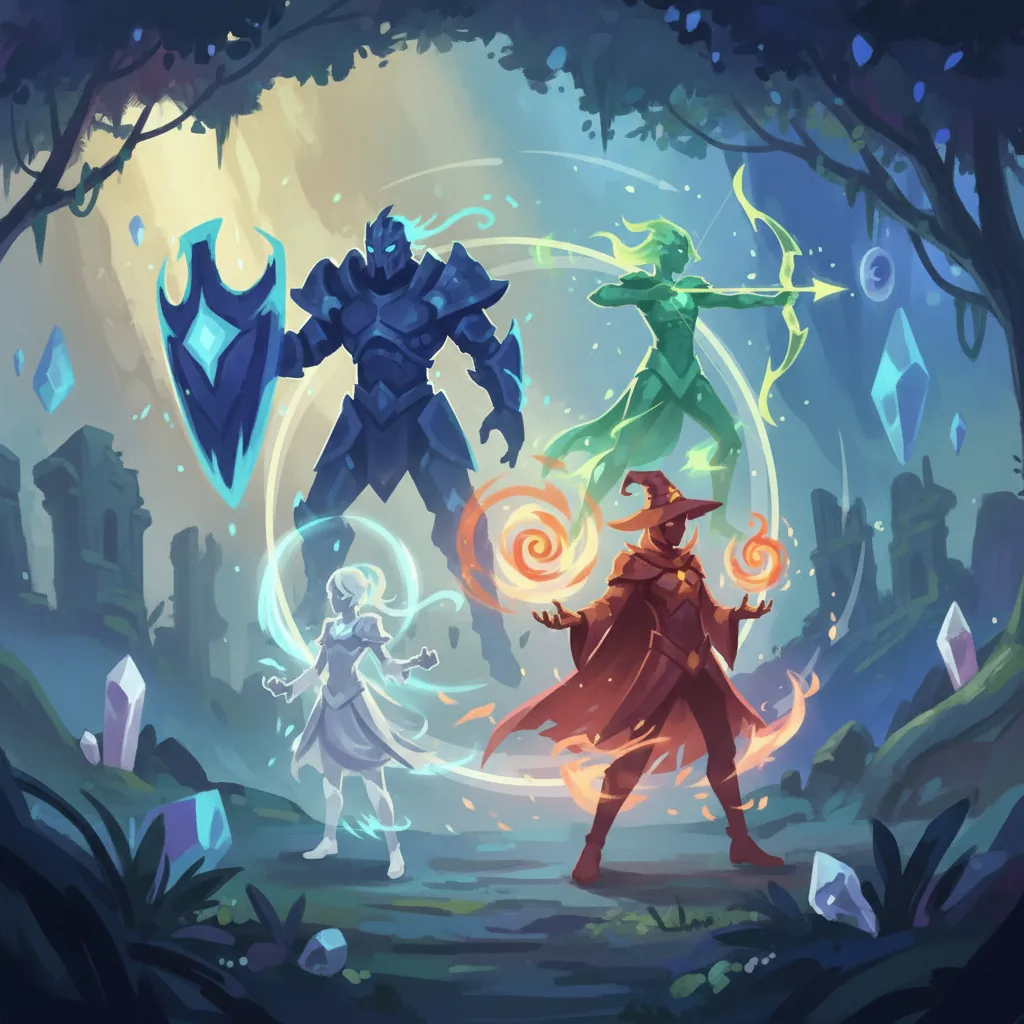
Success in NTE combat relies on the “Esper Cycle.” This is the game’s elemental reaction system. Every character belongs to one of six elements: Cosmos, Anima, Incantation, Chaos, Psyche, or Lakshana.
Understanding Elemental Reactions
When you deal damage with one element and then swap to a character with an “adjacent” element on the Esper Wheel, you trigger a reaction.
- Blossom (Anima + Cosmos): The current meta-favorite. It creates Vita Buds that fire homing projectiles at enemies.
- Scorch (Incantation + Chaos): Applies a 15-second burn that melts high-HP targets.
- Discord (Chaos + Psyche + Incantation): A “Trio Reaction” that occurs when you chain three specific elements. This is the premier “Break” reaction, used to deplete a boss’s stagger bar instantly.
Top F2P and Low-Investment Teams
You do not need a full roster of S-Rank characters to succeed. The game provides a very capable starter team for free.
| Team Name | Characters | Core Reaction | Role |
|---|---|---|---|
| Starter Blossom | Zero, Mint, Haniel | Blossom | Balanced / AoE |
| F2P Burn | Adler, Zero, Haniel | Scorch / Nova | Boss Killing |
| The Blossom Nuke | Nanally, Zero, Jiuyuan | Advanced Blossom | High-End Meta |
The Role of Flex Picks: Characters like Adler and Fadia are excellent “flex” options. Adler provides shields and Incantation application, making him a staple for survival. Fadia, a Psyche user, is often used to trigger “Nova” reactions, which deal massive mental damage after a short delay.
Rotation
Mastering your rotation is the difference between struggling against a boss for five minutes and deleting it in thirty seconds. The goal of every rotation is to fill the Esper Meter as quickly as possible.
Mastering the Esper Cycle
- Build Energy: Start with your Support or Sub-DPS. Use their Skills and Basic Attacks until their portrait on the right side of the screen begins to glow.
- The Quickswap: When a teammate’s icon glows, press their hotkey to swap them in. They will perform a “Cycle Entry” attack, dealing elemental damage and triggering a reaction.
- The Main Carry Window: Once the reactions (like Scorch or Blossom) are active, swap to your Main DPS (e.g., Nanally) to capitalize on the debuffed enemies.
Specific Nanally Rotation Tips
If you are lucky enough to have Nanally, her rotation follows a specific “Authority” loop:
- Step 1: Use her Skill (Ichi-daime’s Authority) to enter an empowered state for 12 seconds.
- Step 2: Immediately cast her Ultimate to summon the Underboss.
- Step 3: Perform a combo of three Basic Attacks followed by a Charged Attack (hold the button). This triggers follow-up strikes from the Underboss and maximizes her Anima damage output.
Maximizing Damage During Stagger Windows
Every boss has a white “Break Meter” under their health bar. Use reactions like Discord or heavy attacks from characters like Daffodill to deplete this bar. Once the boss is “Broken,” they take significantly increased damage and remain stationary. Save your most powerful Ultimates for this specific window to ensure no damage is wasted.
FAQ
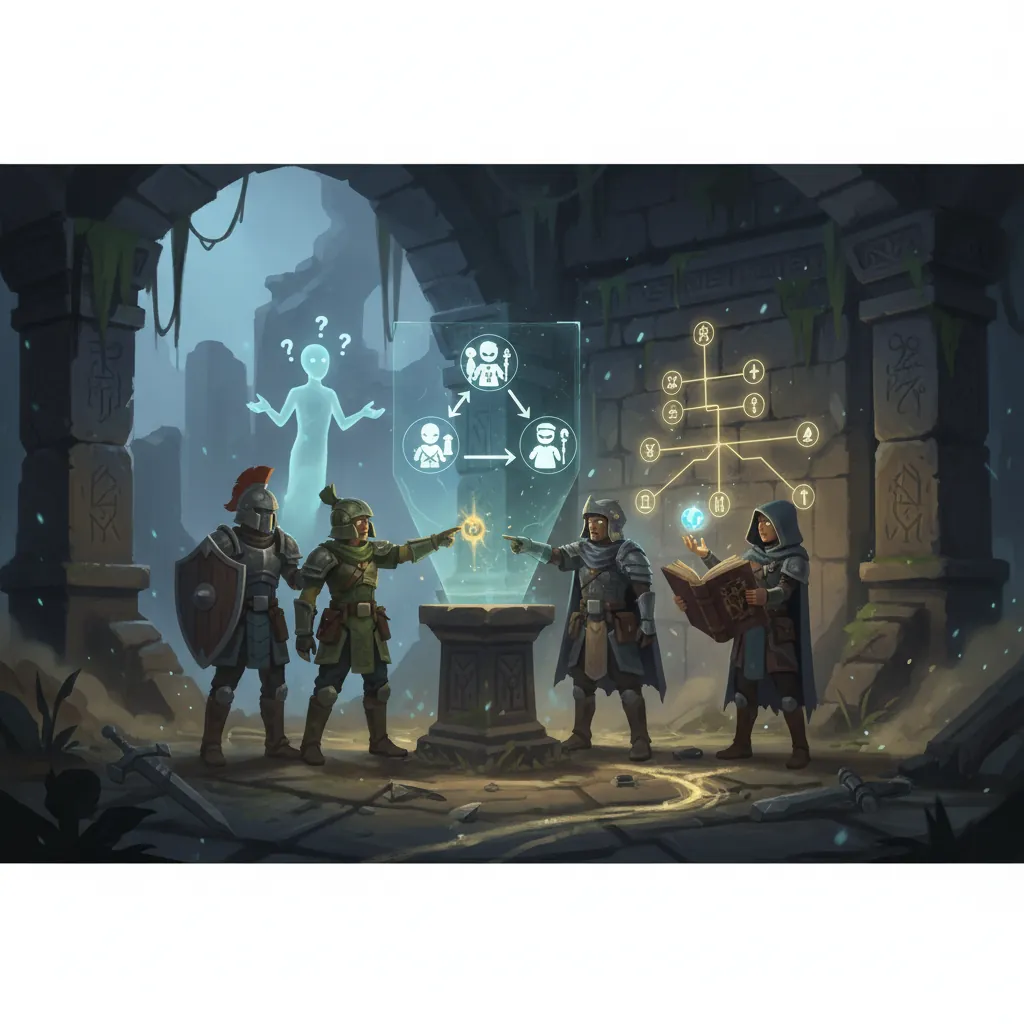
Should I reroll for Nanally or Jiuyuan? Nanally is the strongest AoE DPS currently available, making her the primary target for rerolling. However, Jiuyuan is the best support for Anima teams. If you manage to get both, your early game will be trivialized.
Where can I get Chiz for free? Chiz is unlocked automatically once you reach City Tycoon Level 18. You can level up your Tycoon rank by managing cafes, buying property, and completing “Odd Jobs” around Hethereau. She is a powerful Cosmos DPS and earns you extra Fons (money) just by attacking enemies.
How do I unlock more character slots in the Console? The size of your Console grid expands as you increase your Esper’s level and perform Ascensions. A Level 1 character has a very small grid, while a Level 60 character has a large enough area to fit multiple Type IV Modules and full 4-piece Cartridge sets.
What is the best way to spend Character Pixels daily? Prioritize “Anomaly Hunts” for Ascension materials until your main team is capped. After that, spend all remaining Pixels on “Rabbit Hole” domains to farm Cartridges. Never let your Pixels sit at the cap, as they represent your primary source of Hunter Rank EXP.
Sources
- Neverness to Everness Official Site — https://nte.world/
- neverness.gg
- NTE Wiki - Fandom — https://neverness-to-everness.fandom.com/wiki/Arc
- Mobalytics NTE Database — https://mobalytics.gg/neverness-to-everness/characters
- GameRant NTE Guides
- Icy Veins NTE — https://www.icy-veins.com/nte/nanally-build-guide
- BlueStacks NTE Tier List — https://www.bluestacks.com/blog/game-guides/neverness-to-everness/nte-weapon-tier-list-en.html
- Sportskeeda NTE — https://www.sportskeeda.com/esports/nte-city-tycoon-guide-free-chiz-rewards
Related Guides

Best Build for Mako (Nanally) in Neverness to Everness (NTE)

Best Mimi (Mint) Build in Neverness to Everness (NTE)

Best F2P Build in Neverness to Everness: Top Teams & Arcs

Best Healer in NTE: Top Builds, Espers & Arcs (June 2026)

Best Healer Build in Neverness to Everness (NTE): Edgar Guide

Best Kuro Build in Neverness to Everness: Weapons, Disks & Teams

Best Support Build for Mimi (Haniel) in Neverness to Everness

Best Support Build in Neverness to Everness (NTE Guide)
Sources (11)
- vertexaisearch.cloud.google.comvertexaisearch.cloud.google.com
- vertexaisearch.cloud.google.comvertexaisearch.cloud.google.com
- vertexaisearch.cloud.google.comvertexaisearch.cloud.google.com
- vertexaisearch.cloud.google.comvertexaisearch.cloud.google.com
- vertexaisearch.cloud.google.comvertexaisearch.cloud.google.com
- vertexaisearch.cloud.google.comvertexaisearch.cloud.google.com
- vertexaisearch.cloud.google.comvertexaisearch.cloud.google.com
- vertexaisearch.cloud.google.comvertexaisearch.cloud.google.com
- vertexaisearch.cloud.google.comvertexaisearch.cloud.google.com
- vertexaisearch.cloud.google.comvertexaisearch.cloud.google.com
- vertexaisearch.cloud.google.comvertexaisearch.cloud.google.com
Loading comments…