Neverness to Everness Leveling Guide: Best Builds & Progression
Maximizing your progression in Neverness to Everness requires a strategic approach to resource management and a deep understanding of the Hunter Level system. This guide provides the essential builds and rotation strategies to help you dominate the urban supernatural landscape of Hethereau.
📝 Editorial Note: This guide is AI-assisted and game data evolves rapidly. Please cross-reference with in-game information. Updated: 2026-05-16.
Overview
Progression in Neverness to Everness (NTE) is split between your account-wide growth and your individual Esper development. To advance efficiently, you must balance the pursuit of Hunter Experience with the tactical upgrading of your main combat team. The game rewards consistent daily engagement, particularly through the management of urban properties and the clearing of high-intensity anomalies.
Hunter Level vs. Appraisal Level
The Hunter Level (HL) represents your overall account progress. It dictates the maximum level your Espers and Arcs can reach. As you gain Hunter EXP from missions, daily activities, and the City Tycoon system, you will hit specific milestones that require an “Appraisal” to proceed. Completing an Appraisal mission increases your Appraisal Level, which raises the world difficulty, improves the quality of loot drops, and unlocks higher level caps for your roster.
| Hunter Level | Appraisal Level | Key Unlocks |
|---|---|---|
| 20 | 1 | Level 40 Cap, Basic Cartridge Farming |
| 30 | 2 | Level 50 Cap, Advanced Anomaly Zones |
| 40 | 3 | Level 60 Cap, S-Rank Cartridge Drops |
| 45 | 4 | Level 70 Cap, High-Tier Boss Rewards |
| 50 | 5 | Level 80 Cap, Elite Module Slotting |
| 55 | 6 | Level 90 Cap, End-game “Deep Dive” Content |
The current Hunter Level cap is 60. It is highly recommended to prioritize leveling a single Main DPS, such as Nanally or Hotori, to level 50 before you begin spreading your resources across your support staff. A single high-level carry can clear content much faster than a balanced but under-leveled team.
Resource Priority
Managing resources is the most significant hurdle in the early game. Following a specific upgrade order ensures you are not wasting “Character Pixels” (the game’s stamina resource) on marginal gains.
- Character Level: Provides the base stats necessary to survive world bosses.
- Arc (Weapon) Level: The primary source of Attack (ATK) and Critical (Crit) stats.
- Skill Level: Increases the multipliers for your Esper’s active and passive abilities.
- Cartridges (Artifacts): These should be leveled last, as the RNG involved in sub-stats can drain resources quickly.
The City Tycoon Income Stream
Unlike many other urban RPGs, NTE features a robust management system called City Tycoon. By managing the Cafe and various properties across Hethereau, you generate a steady stream of passive income and Hunter EXP. Upgrading your properties increases the “Revenue per Hour” and provides unique materials used for Arc enhancement. Ensure you check your management console at least once every 24 hours to claim your accumulated rewards and avoid the storage cap.
Anomaly Hunting for Fast EXP
To increase your Hunter Level quickly, you must spend your Character Pixels daily. The most efficient way to do this is through Anomaly Zones. These domains offer concentrated combat encounters that reward significant Hunter EXP, character ascension materials, and Cartridge sets. If you find yourself stuck at a specific Hunter Level milestone, clearing these zones is the fastest way to bridge the gap.
Best Weapons
In Neverness to Everness, weapons are referred to as Arcs. These are categorized into five distinct types: Plasma, Solid, Gas, Liquid, and Synthesis. Each type aligns with specific combat roles and Esper archetypes. Matching the Arc type to your Esper’s combat style is essential for maximizing synergy bonuses.
S-Tier Meta Arcs
The current meta is dominated by Arcs that provide high offensive utility or off-field assistance.
- Ready-Ready (S-Rank, Plasma): This is the premier choice for any Main DPS. It offers massive flat ATK bonuses and a scaling Crit Rate boost that triggers upon using an Elemental Skill. For characters like Nanally, the “Overcharge” effect of this Arc significantly shortens the time required to reach peak damage output.
- Hethereau’s Keeper (S-Rank, Solid): This Arc is unique because it summons a spectral “Officer Whisker” to provide off-field support. While the user is on the field, Officer Whisker deals coordinated physical damage; when the user swaps out, the summon provides a damage reduction shield to the incoming Esper. It is excellent for sustained damage dealers who need extra survivability.
Best F2P and Farmable Weapons
For players who are saving their premium currency, several lower-rarity Arcs provide exceptional value and can be refined easily.
- Oraora! (B-Rank, Plasma): Do not let the rarity fool you. At Max Refinement (Rank 5), Oraora! provides a significant percentage increase to Basic Attack damage. This makes it a top-tier early-game choice for Nanally, whose primary damage source is her rapid-fire basic string.
- Steady Rhythm (A-Rank, Gas): A fantastic choice for supports like Sakiri. It provides Energy Recharge and grants a small ATK buff to the next character that swaps in via the Esper Cycle.
| Arc Name | Rarity | Type | Best For |
|---|---|---|---|
| Ready-Ready | S-Rank | Plasma | Main DPS (Nanally, Hotori) |
| Hethereau’s Keeper | S-Rank | Solid | Bruisers / Off-field Support |
| Whispering Wind | S-Rank | Gas | Elemental Burst Spammers |
| Oraora! | B-Rank | Plasma | F2P Basic Attackers |
| Iron Resolve | A-Rank | Solid | Defensive Supports (Adler) |
Arc Enhancement and Refinement
Enhancing an Arc requires “Arc EXP chips” and currency. Every 10 levels, you will need specific materials found in the world or purchased through the City Tycoon shop to “Ascend” the weapon and continue leveling. Refinement, on the other hand, involves consuming a duplicate copy of the same Arc to increase the power of its unique passive ability. For F2P players, a Rank 5 B-Rank Arc is often stronger than a Rank 1 S-Rank Arc due to these refinement bonuses.
Best Disks (Artifacts)
Artifacts in NTE are known as Cartridges and Modules. Cartridges provide set bonuses (2-piece and 4-piece), while Modules are individual stat-sticks that are slotted into the Cartridges to provide sub-stats.
Top DPS Cartridge Sets
Selecting the right set bonus can increase your damage output by over 40% in some cases.
- Lost Radiance: This is currently the universal S-tier set for any late-game DPS. The 4-piece bonus provides essential DEF-ignore, which becomes increasingly valuable as enemies gain higher armor values at Appraisal Levels 4 and 5.
- Fireflies and the Forest: This is the best-in-slot set for Anima-element characters like Nanally and Mint. It focuses on stacking Critical Damage (up to a maximum of 56% Crit DMG) through successful elemental reactions.
Support and Utility Disks
Supports require sets that focus on team-wide utility rather than personal damage.
- Speedy Hedgehog: This is the go-to set for supports like Sakiri or Zero. The 4-piece bonus accelerates team-wide Energy Recharge and provides a flat ATK buff to the entire party whenever the wearer uses their ultimate ability.
- Urban Sentinel: Ideal for defensive supports like Adler, this set increases Shield Strength and provides a small heal-over-time effect to the active character.
The Module Grind: What to Prioritize
Modules are divided into different shapes (Triangle, Square, Circle). You must match the Module shape to the corresponding slot on the Cartridge. When farming for Modules, prioritize the “Main Stat” first. For a DPS, you want Anima DMG (or your specific element) on the Circle slot and Crit Rate on the Triangle slot. Once you have the correct main stats, you can begin the long process of min-maxing sub-stats like ATK%, Crit DMG, and Break Intensity.
Team Comp
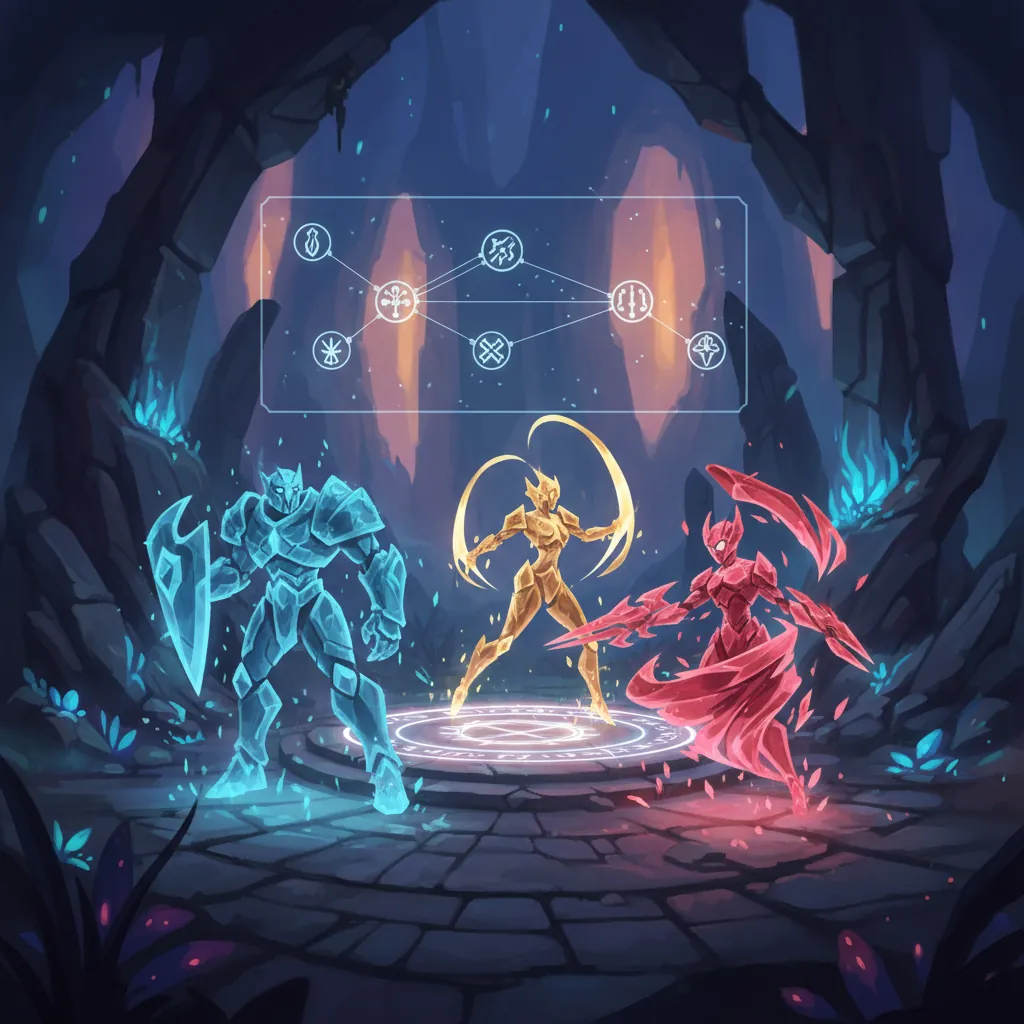
Building a team in Neverness to Everness is about more than just picking high-tier characters; it is about managing “Elemental Lanes.” Characters belong to elements such as Anima, Cosmos, Incantation, and Psyche. Triggering reactions between these elements is the key to clearing high-difficulty content.
The Nanally Hypercarry Team
This is currently the most popular meta team for bossing and high-level Anomaly Hunts.
- Nanally (Main DPS): The primary damage dealer who uses her Anima-infused attacks to shred enemy health bars.
- Zero (Cycle Support): Zero excels at generating “Cycle Meter” quickly. Her role is to enter the field, use her rapid-fire skills, and swap out to trigger the Esper Cycle.
- Sakiri (CC/Buffer): Sakiri provides crowd control and applies debuffs to enemies, making them more susceptible to Nanally’s Blossom reactions.
Best F2P Progression Team
For players just starting, the “Starter Trio” is surprisingly effective and can carry you through most of the main story content.
- Zero (DPS): While she is a support in the meta, her early-game damage is high enough to act as a primary carry.
- Edgar (Healer): A reliable healer who ensures your team survives long boss fights.
- Haniel (Sub-DPS): Provides consistent off-field damage and helps trigger elemental reactions.
Elemental Reactions and Synergy
The two most important reactions to master are:
- Blossom: Triggered when Anima meets Cosmos. This causes a massive explosion of area-of-effect (AoE) damage and applies a “Petal Mark” that increases the damage of the next follow-up attack.
- Scorch: Triggered when Incantation meets any other element. This deals damage over time and reduces the enemy’s “Break Bar” more quickly.
Characters like Fadia (Psyche support) are essential for high-difficulty content because they can redirect incoming damage, protecting your squishy DPS characters. Additionally, ensure your team includes at least one character with high Break Intensity, such as Daffodill, to stagger bosses and create damage windows.
Rotation
The core of NTE combat is the “Esper Cycle.” As you fight, you fill a meter through skills and successful parries. Once full, it triggers a character swap signal.
Mastering the Esper Cycle
A standard rotation should always follow a specific order to maximize buffs.
- Start with Supports: Deploy characters like Adler (for shields) or Sakiri (for CC). Use their skills to apply debuffs or DoT effects like Scorch.
- Generate Meter with Sub-DPS: Swap to your Sub-DPS (like Zero). Use instant-cast skills to fill the Cycle Meter as quickly as possible.
- Enter Main DPS: Once the swap signal appears, bring in Nanally. If the supports have done their job, she will enter during a “Blossom” reaction window, allowing her follow-up attacks to deal maximum damage.
Triggering Scorch and Blossom Reactions
To optimize your damage, you must time your swaps to coincide with elemental applications. If Sakiri has applied a Cosmos mark, you must swap to Nanally immediately to trigger Blossom. Failing to time these swaps results in a significant loss of DPS.
Optimizing Stagger Windows
Every major boss has a “Break Bar” below their health. Using characters with high Break Intensity (like Daffodill) will eventually deplete this bar, putting the boss into a “Staggered” state. During this window, the enemy takes a 200% damage multiplier. You should save your most powerful Ultimates for this specific moment to end the fight quickly.
FAQ
Progression FAQs
How do I increase my Hunter Level fast? The fastest way to gain Hunter EXP is by completing the Main Story missions followed by daily Anomaly Hunts. Additionally, upgrading and managing your properties in the City Tycoon system provides a steady stream of passive EXP.
What are “Character Pixels”? Character Pixels are the stamina resource in Neverness to Everness. They are consumed when you claim rewards from Anomaly Zones or world bosses. They regenerate over time, so ensure you use them daily to avoid hitting the cap.
Can I reset character levels? undisclosed. Currently, there is no known mechanic to refund resources spent on character levels, so choose your upgrades carefully.
Combat and Build FAQs
What is the best way to get more Arcs? The primary method for obtaining S-Rank Arcs is through the gacha banners. However, you can also farm specific world bosses and anomalies for A-Rank and B-Rank Arcs, which are very effective when refined.
Is Nanally worth pulling for a new player? Yes. Nanally is the current DPS benchmark for the 1.0 patch. Her banner, “The Ichi-daime,” provides a strong foundation for any new account, and she remains relevant across all types of content.
What is the difference between Hunter Level and Appraisal Level? Hunter Level is your account’s experience level, while Appraisal Level is the “World Level.” Increasing your Appraisal Level makes enemies harder but significantly improves the quality of the loot you receive.
Sources
- Neverness to Everness Official Site — https://nte.perfectworld.com/
- neverness.gg
- bluestacks.com — https://www.bluestacks.com/blog/game-guides/neverness-to-everness/nte-beginners-guide-en.html
- mobalytics.gg
- memuplay.com
Related Guides

Best Build for Mako (Nanally) in Neverness to Everness (NTE)

Best Mimi (Mint) Build in Neverness to Everness (NTE)

Best F2P Build in Neverness to Everness: Top Teams & Arcs

Best Healer in NTE: Top Builds, Espers & Arcs (June 2026)

Best Healer Build in Neverness to Everness (NTE): Edgar Guide

Best Kuro Build in Neverness to Everness: Weapons, Disks & Teams

Best Support Build for Mimi (Haniel) in Neverness to Everness

Loading comments…