Neverness to Everness Combat Tips Guide: Best Builds & Teams
Efficiently clearing high-level Anomalies in Neverness to Everness (NTE) requires a deep understanding of the Esper Cycle and the specific gear sets that maximize elemental reactions. This guide breaks down the optimal Arcs, Cartridges, and team compositions to help you master Version 1.0 combat.
Overview
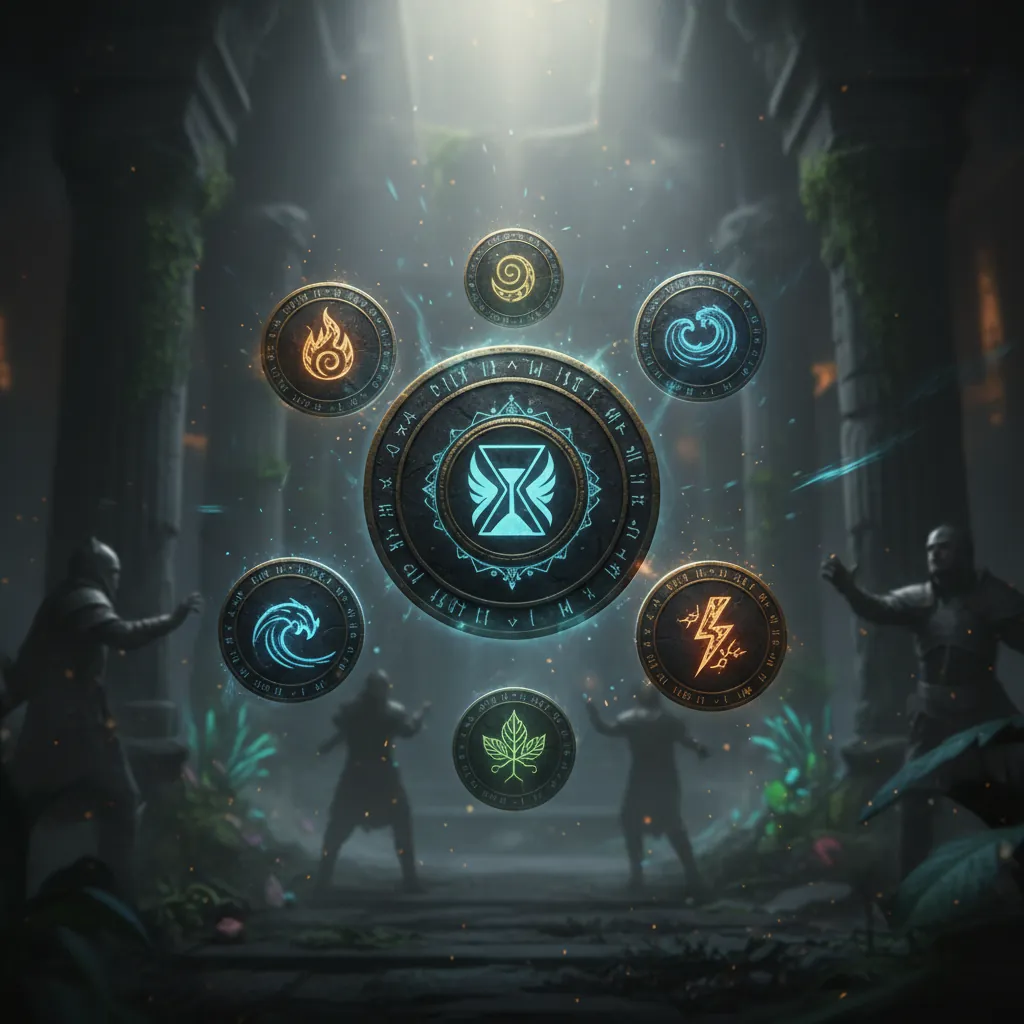
Combat in Neverness to Everness (NTE) revolves around a fast-paced, four-character swap system known as the “Esper Cycle.” Unlike traditional action RPGs where characters are swapped primarily for cooldowns, NTE requires players to rotate characters based on their elemental adjacencies to trigger powerful reactions. Success in combat is determined by how quickly you can fill the Esper Meter and exploit the “Stagger Window” of your enemies.
The Esper Cycle Explained
The core of the system is the Esper Meter, a circular icon located next to each character’s portrait. This meter fills as you deal damage, successfully parry, or perform perfect dodges. When a character’s portrait glows, swapping them onto the field triggers an “Entry Skill” and initiates an elemental reaction based on the previous character’s element.
Reactions only occur between neighboring elements on the Esper Ring. The six elements are arranged in a specific sequence: Lakshana, Cosmos, Anima, Incantation, Chaos, and Psyche. If you swap between elements that are not adjacent on this ring, no reaction will occur, significantly lowering your total damage output.
Breaking and Staggering Enemies
Underneath an enemy’s HP bar is a white “Break Meter.” Dealing damage and triggering specific reactions—most notably Discord—shreds this bar. Once the meter is depleted, the enemy enters a “Stagger Window.” During this period, the enemy is immobilized and takes significantly increased damage from all sources. This is the optimal time to unleash Ultimates and high-damage Redirect Skills.
Perfect Dodges vs. Parries
Defensive play in NTE is inherently offensive.
- Perfect Dodge: When an enemy attack flashes red, dodging at the exact moment of impact triggers a “Perfect Dodge.” This provides invulnerability frames (I-frames) and enables a “Critical Riposte,” a high-damage counter-attack that quickly builds the Esper Meter.
- Parry: Certain heavy attacks are indicated by “Double Red Circles” that overlap. Timing an attack or a character swap as these circles meet triggers a “Parry.” A successful parry instantly fills the active character’s Esper Meter, allowing for an immediate reaction swap.
Elemental Reaction Table
| Reaction Name | Element A | Element B | Effect |
|---|---|---|---|
| Blossom | Cosmos | Anima | Spawns a turret that deals AoE damage every 2 seconds. |
| Hexed | Anima | Incantation | Triggers bonus damage based on damage taken by the target. |
| Scorch | Incantation | Chaos | Applies a Damage-over-Time (DoT) effect for 15 seconds. |
| Nova | Chaos | Psyche | Marks the target for a massive burst of damage after 5 seconds. |
| Stain | Psyche | Lakshana | Increases Psyche and Lakshana damage taken by 50%. |
| Remora | Lakshana | Cosmos | Slows enemy movement and attack speed for 5 seconds. |
Trio Reactions (Advanced)
| Trio Reaction | Required Duo Reactions | Effect |
|---|---|---|
| Discord | Scorch + Nova | Massive reduction to the target’s Break Meter. |
| Charge | Blossom + Remora | Grants the active character Ultimate Energy on every hit. |
Best Weapons
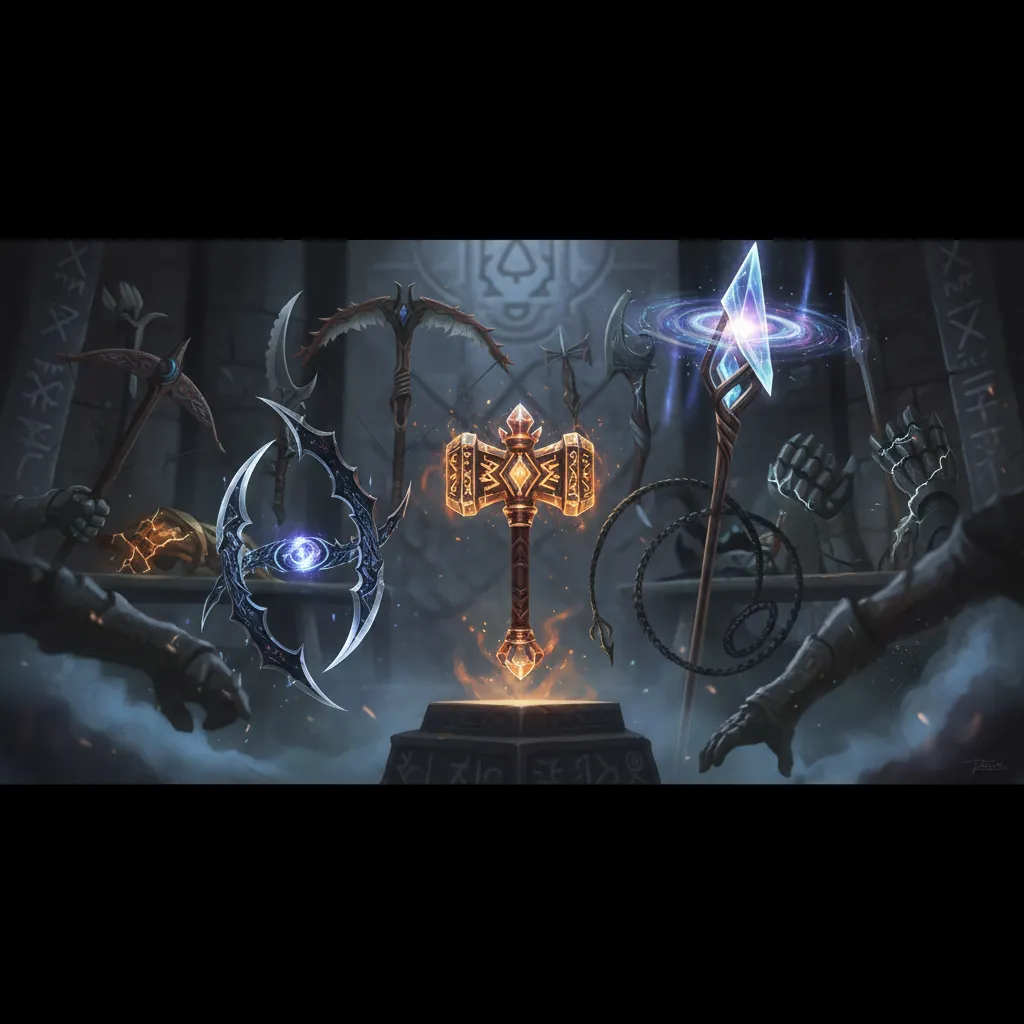
In Neverness to Everness, weapons are referred to as “Arcs.” These are categorized by their physical state: Plasma, Solid, Gas, Liquid, and Synthesis. Matching the correct Arc to an Esper’s playstyle is critical for maximizing their “Cycle Rate” and damage potential.
Top Tier S-Rank Arcs
S-Rank Arcs provide the highest base stats and unique passives that can define a character’s meta-relevance. For example, Ready-Ready is the signature Arc for Nanally and is currently considered the best-in-slot (BiS) option for Anima-based DPS. It provides a significant CRIT Rate substat and a passive that increases Basic Attack and Critical Riposte damage by 15% after using a Redirect Skill or Ultimate.
For Cosmos characters like Zero or Hotori, Day Off is a powerful choice often obtained through story progression or early-game exploration. It focuses on ATK and Charge Efficiency, allowing for high Ultimate uptime.
Best A-Rank and F2P Arcs
F2P players should prioritize Arcs that offer universal utility. Oraora! is a standout A-Rank option for characters who rely on high-frequency Basic Attacks, such as Nanally or Chiz. It provides a stacking damage bonus that is easy to maintain. Another strong F2P option is Song of the Whale, which can be obtained as a drop from world bosses and provides consistent damage scaling for sustained fights.
Recommended Arcs for Top Characters
| Character | Recommended Arc | Type | Key Benefit |
|---|---|---|---|
| Nanally | Ready-Ready | Plasma | 24% CRIT Rate; boosts Basic Attack/Riposte damage. |
| Zero (MC) | Day Off | Solid | Increases Charge Efficiency and grants energy on kills. |
| Sakiri | — | Synthesis | Buffs team ATK when enemies are crowd-controlled. |
| Hotori | Marching Beyond Time | Solid | High CRIT Rate and ATK scaling for Cosmos nuking. |
| Daffodil | — | Gas | Increases Chaos DMG and Break Intensity. |
Best Disks (Cartridges)
Cartridges are the primary gear pieces in NTE, functioning as set-based artifacts. They are equipped in the “Console” and require specific “Modules” (secondary gear pieces) to activate their 2-piece and 4-piece bonuses.
Top Cartridge Sets for DPS
The Lost Radiance set is the premier choice for Cosmos DPS characters like Zero or Chiz. Its 4-piece bonus allows the wearer to ignore 25% of the enemy’s DEF for 20 seconds after casting an Ultimate. For Anima DPS like Nanally, Fireflies and the Forest is essential, as it stacks CRIT DMG (up to 56%) whenever the team deals Anima damage.
Essential Support and Utility Sets
Support characters should prioritize the Speedy Hedgehog set. Its 4-piece bonus grants the entire team a 15% ATK buff for 20 seconds after the wearer uses an Ultimate. This is particularly effective on characters with low energy costs or high Charge Efficiency. For defensive supports, Kingdom’s Guard provides a 20% increase to shield strength, which is vital for high-difficulty boss encounters.
Best Cartridge Sets Summary
| Set Name | 2-Piece Bonus | 4-Piece Bonus | Best Users |
|---|---|---|---|
| Lost Radiance | Cosmos DMG +10% | Ignores 25% DEF after Ultimate. | Zero, Chiz, Hotori |
| Speedy Hedgehog | Charge Efficiency +12% | All allies ATK +15% after Ultimate. | Sakiri, Haniel, Edgar |
| Fireflies and the Forest | Anima DMG +10% | Stacks CRIT DMG on Anima hits. | Nanally, Jiuyuan |
| Devil’s Blood: Curse | Psyche DMG +10% | Increases DMG vs Nova/Stain states. | Fadia, Baicang |
| Diabolos | Chaos DMG +10% | Ignores Chaos RES after reactions. | Daffodil, Adler |
How to Optimize Module Sub-Stats
Modules slot into the Cartridge grid and provide the raw stats needed to reach high performance. Prioritize sub-stats in the following order for DPS:
- CRIT Rate / CRIT DMG
- Elemental DMG Bonus (matching the character’s type)
- ATK%
- Cycle Intensity (increases Esper Meter gain)
For supports, focus on Charge Efficiency and HP% or DEF% depending on their skill scaling.
Team Comp
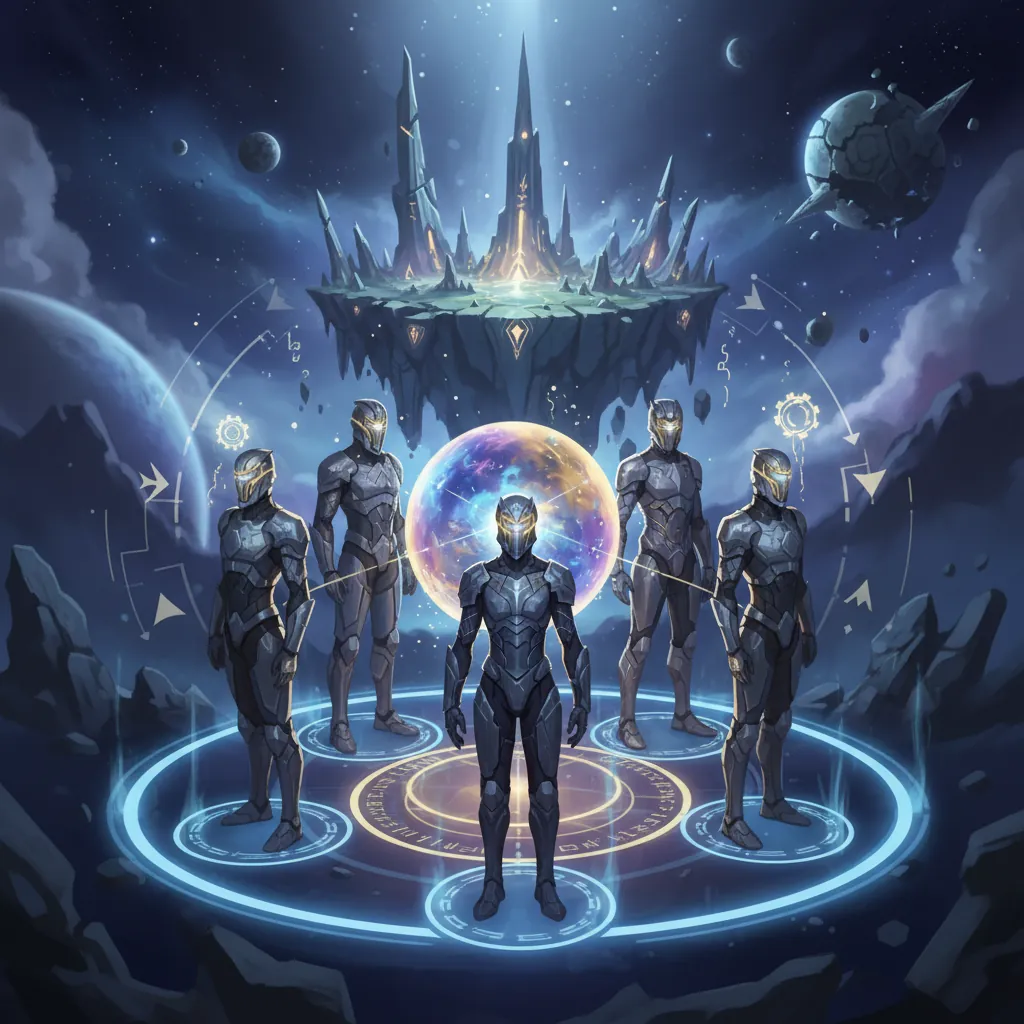
Building a team in NTE is not about picking four high-tier units, but about creating a “Reaction Lane.” The most effective teams focus on either the “Top Trio” (Lakshana, Cosmos, Anima) for AoE and energy generation or the “Bottom Trio” (Incantation, Chaos, Psyche) for single-target boss shredding.
The Discord Meta: Best Bossing Teams
The Discord Execution Squad is the current gold standard for endgame bosses. It utilizes the interaction between Scorch and Nova to trigger the Discord Trio Reaction, which melts the enemy’s Break Meter.
- Main DPS: Daffodil (Chaos) — Triggers Scorch and Nova.
- Sub-DPS: Nanally (Anima) — Provides off-field follow-up hits.
- Support/Shield: Adler (Incantation) — Sets up Scorch and provides protection.
- Support/Tank: Fadia (Psyche) — Triggers Nova and redirects team damage to herself.
AoE Farming: The Blossom Strategy
For clearing waves of enemies in the “Rabbit Hole” or open-world farming, the Blossom God Squad is unmatched. This team stacks multiple Blossom turrets to create an automated field of damage.
- Main DPS: Nanally (Anima) — Primary source of Anima procs.
- Enabler: Zero (Cosmos) — Uses his skill for instant Esper Cycle procs to start Blossom.
- Crowd Control: Sakiri (Incantation) — Groups enemies together so the turrets hit all targets.
- Flex Slot: Jiuyuan (Anima) — Stacks additional Blossom damage and reduces Anima RES.
Best F2P and Beginner-Friendly Lineups
The Starter Core is highly effective for players who have not pulled on limited banners. It focuses on high survivability and consistent reactions.
- Zero (Cosmos): High-burst DPS and easy reaction enabler.
- Edgar (Anima): Reliable healer and Anima provider for Blossom.
- Haniel (Psyche): Provides team-wide damage buffs.
- Adler (Incantation): Free shield support that enables Hexed and Scorch reactions.
Rotation

Mastering the rotation is the difference between struggling against a boss and clearing it in one Stagger Window. The goal is to cycle through your supports to set up DoTs and marks, then swap to your Main DPS to trigger the primary reaction and dump damage.
Standard Opening Sequence
- Start with your Support (e.g., Adler or Sakiri): Use their Redirect Skill to apply an initial element (Incantation) and provide a shield or buff.
- Swap to your Sub-DPS (e.g., Daffodil): Since Chaos is adjacent to Incantation, this triggers Scorch. Use her skill to begin building the Break Meter.
- Swap to your Enabler/Tank (e.g., Fadia): Swapping from Chaos to Psyche triggers Nova. With Scorch and Nova both active, the Discord Trio Reaction begins shredding the Break Meter.
- Wait for the Main DPS Esper Glow: Once the Break Meter is nearly empty, swap to your Main DPS (e.g., Nanally).
Maximizing the Stagger Window
Once the enemy’s Break Meter hits zero, they will enter the Stagger state.
- Immediate Action: Activate your Main DPS’s Ultimate.
- Follow-up: Use all available Redirect Skills. Because the enemy is immobile, multi-hit attacks like Nanally’s “Ichi-daime’s Authority” will land every hit.
- Buff Maintenance: Ensure your support buffs (like the Speedy Hedgehog ATK boost) are active before the Stagger Window begins.
Quick-Swap vs. Hyper-Carry Rotations
- Quick-Swap: Teams using Zero (MC) focus on swapping as soon as the portrait glows. Zero’s skill often has a 100% Cycle Rate, meaning he can trigger a reaction instantly.
- Hyper-Carry: Teams centered around Nanally prefer to keep her on-field during her “Authority” state. In this case, only swap to other characters to refresh DoTs (like Scorch) or to parry an incoming attack for an instant meter reset.
FAQ

How do I parry successfully? Watch for the “Double Red Circle” indicator on an enemy. You must time your attack or character swap precisely when the outer circle overlaps the inner circle. Success is rewarded with a full Esper Meter for the incoming character.
Where do I farm Cartridges? Cartridges are primarily farmed in the Rabbit Hole zones or through specific dungeons in the New Herland District. Farming requires “Character Pixels” (stamina), so prioritize districts that drop the Lost Radiance or Fireflies and the Forest sets first.
Is Chiz good? Yes, Chiz is a top-tier S-Rank Cosmos DPS. While she requires high investment in her Console and Modules to reach her full potential, her ability to trigger Blossom and Remora reactions makes her one of the strongest units for both AoE and single-target content.
What is the ‘Red Flash’? The Red Flash is the visual cue for a Perfect Dodge. Dodging during this window grants temporary invulnerability and allows you to follow up with a “Critical Riposte,” which deals massive damage and generates significant Esper energy.
Do Arc passives work off-field? Only if the description explicitly states “works off-field” or “remains active when swapped.” For example, the Ready-Ready boss damage buff only applies to the wearer, but the follow-up attacks from Nanally’s kit (which are enhanced by her Arc) will continue to trigger even if she is moved to the sub-slot.
Sources
- neverness.gg — https://vertexaisearch.cloud.google.com/grounding-api-redirect/AUZIYQH3IT1pYREqhWbz2w4zaTVbYvIrIXu7C34eSakpvY7cbtZCyxBD_0OmZy7cMdVCtYtjmKGUMIqt01RFLQ38lN67W4E8y5PSaqTkFFyS50OOSltXYaa65kTIaN4S3N24vkQVHQ==
- icy-veins.com — https://vertexaisearch.cloud.google.com/grounding-api-redirect/AUZIYQHa_gCYxmUUTPSLED1m5ymCyzxud88zTCqzKaD0kq9FADP98w8JtM6JaFnVezDcodEYdqJg87bayxcRdkHxxve4d3YcyE8UldnH6ajyUpI-CvcR9fmbhBrN3MLF5CpAIr3q5tQiPXPxulRFPkUIVPvJtdgFx2wk9wNZoDj0lzaRqzwW5I0=
- mobalytics.gg — https://vertexaisearch.cloud.google.com/grounding-api-redirect/AUZIYQFhFd_uZe6jyNs8E-Fnd95oHN7W4avL1aBdrkQH04iovhGuZSAGBVKP7nNnUgjCBmn7JCXPva0KXaoNkMQe9Z1jWnimdNvGeACvuXFETsktNEXESH-EIxOLTFClnXtsmGpwBdLsLJo5j81qojVlZ1X8c5Q2o55F-kiQOSQSrdFJhEUezVkY
- u7buy.com — https://vertexaisearch.cloud.google.com/grounding-api-redirect/AUZIYQH1l3GsgVQndEVaMeEy2kPNttbjDaFje4euycHoqKde3GPzoVGnOj-WS-wXO9A1qPaXdY5O3MV5Zmrlf8faE09pzyhGKJsX5ngVPfrwf7a1nIVkKMlQqRnWpL14cnLjxJsnNlS-eRwJDinc3u6BdT_iwNRnY8r18IkyTPzjcw==
- gamewith.net — https://vertexaisearch.cloud.google.com/grounding-api-redirect/AUZIYQGnG86egNkWlrObxeAF3d00NndyuS5b-0nNE_hWAE5xXzXhMJMgFMO4NPRaZ0r7r8h_-rpmJu-2dFa0juaDoL0jIijsiYwhy04anA3Bgq-RedWovolG_afkCQ==
- ntegame.com — https://vertexaisearch.cloud.google.com/grounding-api-redirect/AUZIYQHNMCiyLFODGYDYrHrXnsjGmfCEtuJaVJItKiZOT2UiO9Ua3RP2Mkj1A3GkWkJERHC9w7YvHvWTXeOKbSGt_jnvpJO7OUhNInOQYpTeC-orsOP-ItpiyHjkyk11FleTzpzz
- thegamer.com — https://vertexaisearch.cloud.google.com/grounding-api-redirect/AUZIYQH7v9qjP4MbMz0FvtyrM_D0sQxKlyTC8DJEvwuB1TliNBNozj_cfrytEqA2kRqgC5dU7Ce4JLb2ZRYsWmloTaRlC2qjYbd59DXCJJgzdV29hLW8IZmFyNlUNh7XB2xb3Y3Of2TPMdUcl3bDtos2O6AEsOyei1aa9I06O35XuGTVOv6GS7wjGAeIpXHw3Fwpf4SEhsaVog==
- reddit.com — https://vertexaisearch.cloud.google.com/grounding-api-redirect/AUZIYQFvTrCv8HX3PpjTNeOLeqb8LiAc1Ebd4SuBP-wBWAD8wQlCU20e96rv0H3-R9EP2NG3XRLZsSulI3MejtOieHgAemI3-ekNiOjyGuunhM4DAjPbWEsdFymDaEwR7y8eZEbthDCFfNfEfgmF_aKIyaayJKiI9y0xkPSHuS-NOt-9gZNV5W6PFDesY5zlGo58S7wOyYViU0UpUoNSakFkayzWHbQavg==
Related Guides

Best Build for Mako (Nanally) in Neverness to Everness (NTE)

Best Mimi (Mint) Build in Neverness to Everness (NTE)

Best F2P Build in Neverness to Everness: Top Teams & Arcs

Best Healer in NTE: Top Builds, Espers & Arcs (June 2026)

Best Healer Build in Neverness to Everness (NTE): Edgar Guide

Best Kuro Build in Neverness to Everness: Weapons, Disks & Teams

Best Support Build for Mimi (Haniel) in Neverness to Everness

Best Support Build in Neverness to Everness (NTE Guide)
Sources (21)
- vertexaisearch.cloud.google.comvertexaisearch.cloud.google.com
- vertexaisearch.cloud.google.comvertexaisearch.cloud.google.com
- vertexaisearch.cloud.google.comvertexaisearch.cloud.google.com
- vertexaisearch.cloud.google.comvertexaisearch.cloud.google.com
- vertexaisearch.cloud.google.comvertexaisearch.cloud.google.com
- vertexaisearch.cloud.google.comvertexaisearch.cloud.google.com
- vertexaisearch.cloud.google.comvertexaisearch.cloud.google.com
- vertexaisearch.cloud.google.comvertexaisearch.cloud.google.com
- vertexaisearch.cloud.google.comvertexaisearch.cloud.google.com
- vertexaisearch.cloud.google.comvertexaisearch.cloud.google.com
- vertexaisearch.cloud.google.comvertexaisearch.cloud.google.com
- vertexaisearch.cloud.google.comvertexaisearch.cloud.google.com
- vertexaisearch.cloud.google.comvertexaisearch.cloud.google.com
- vertexaisearch.cloud.google.comvertexaisearch.cloud.google.com
- vertexaisearch.cloud.google.comvertexaisearch.cloud.google.com
- vertexaisearch.cloud.google.comvertexaisearch.cloud.google.com
- vertexaisearch.cloud.google.comvertexaisearch.cloud.google.com
- vertexaisearch.cloud.google.comvertexaisearch.cloud.google.com
- vertexaisearch.cloud.google.comvertexaisearch.cloud.google.com
- vertexaisearch.cloud.google.comvertexaisearch.cloud.google.com
- vertexaisearch.cloud.google.comvertexaisearch.cloud.google.com
Loading comments…