Neverness to Everness Character Leveling Guide: Best Builds
Optimizing your progression in Hethereau requires a firm grasp of the dual-leveling mechanics and the synergy between Arcs and the Esper Cycle. This guide provides the most efficient path to maximizing your character’s potential in Neverness to Everness (NTE).
📝 Editorial Note: This guide is AI-assisted and game data evolves rapidly. Please cross-reference with in-game information. Updated: 2026-05-20.
Overview
Progression in Neverness to Everness is split between your account-wide standing and the individual strength of your Espers. Understanding the relationship between Hunter Level and Appraisal Level is the first step toward clearing high-level Anomaly Zones and mastering the 1.0 endgame.
Hunter Level vs. Appraisal Level
Your Hunter Level represents your overall account experience. It is increased by completing Story Quests, Anomaly Commissions, and spending Character Pixels (stamina) in daily activities. However, your Hunter Level does not directly dictate your character’s power; instead, it unlocks Appraisal Level milestones.
The Appraisal Level acts as the “World Level” and dictates the maximum level your characters and Arcs can reach. At specific Hunter Level milestones (e.g., Level 20, 30, 40), you must complete an Appraisal Quest to increase your Appraisal Level. Raising this level increases the difficulty of enemies in Hethereau but also significantly improves the quality of drops from world bosses and Anomaly Hunts.
| Appraisal Level | Hunter Level Required | Character Level Cap |
|---|---|---|
| Level 0 | 1-9 | 20 |
| Level 1 | 10-19 | 40 |
| Level 2 | 20-29 | 50 |
| Level 3 | 30-39 | 60 |
| Level 4 | 40-49 | 70 |
| Level 5 | 50+ | 80 |
Core Resources: Hunter Guides & Beetle Coins
To raise an Esper’s level, you primarily consume Hunter Guides (also known as Hunter’s Manuals) and Beetle Coins. Beetle Coins serve as the standard combat currency for leveling characters, Arcs, and skills.
While Beetle Coins are plentiful in the early game, the cost of leveling from 60 to 80 increases exponentially. To maintain a steady supply, prioritize these daily activities:
- Houdinii’s Schemes: The primary source for farming both Hunter Guides and Beetle Coins.
- Anomaly Commissions: Daily tasks found at Wertheimer Towers that reward Hunter XP and materials.
- World Exploration: Chests and small anomalies throughout Hethereau often contain minor EXP pieces.
Ascension Requirements
Once a character hits their current level cap, you must perform a Breakthrough (Ascension) to unlock the next bracket. This process requires specific materials dropped by world bosses in Anomaly Hunts. For example, Nanally requires materials from the “Nestbound Bird” anomaly, while Sakiri requires drops from “Sea Prisoners.”
Beyond combat, the City Tycoon Level plays a crucial role. High-tier character features, such as specific “Life Skills” used in business management, are unlocked as you increase your Tycoon standing using Fons (the city-specific currency). Always prioritize your Main DPS (like Nanally or Hotori) for resource allocation before investing heavily in your support roster.
Best Weapons
In Neverness to Everness, weapons are known as Arcs. These are categorized into five types based on their elemental state: Plasma, Liquid, Gas, Solid, and Synthesis. Equipping an Arc that matches a character’s type is essential for activating its unique passive effects.
Understanding Arc Types
Arcs provide a massive boost to base ATK and a secondary stat, such as CRIT Rate or Charge Efficiency. The synergy between an Arc’s passive and a character’s kit is often more important than raw stats. For instance, Gas-type Arcs often focus on energy regeneration, making them ideal for supports, while Plasma-type Arcs typically favor high-frequency basic attacks.
Top-Tier S-Rank Arcs
Signature Arcs are designed specifically for the 1.0 meta characters. Pulling these from the “Arc Research” banners (using Tri-Keys) is the fastest way to reach a character’s damage ceiling.
| Arc Name | Type | Substat | Recommended Character |
|---|---|---|---|
| Ready-Ready | Plasma | CRIT Rate | Nanally (BiS) |
| Good Boy’s Grand Adventure | Gas | Charge Efficiency | Sakiri |
| The Rain That Shook the World | Solid | CRIT Rate | Zero (Esper) |
| Camellia Society | Solid | ATK% | Baicang |
| Youthful Fantasy | Liquid | HP% | Daffodill |
Ready-Ready is the definitive choice for Nanally. It provides a 24% CRIT Rate at M1 and triggers the Commander Tiger Talisman effect, which increases damage to bosses by 10% when Nanally uses her Redirect Skill and Ultimate in succession. For Sakiri, Good Boy’s Grand Adventure is the meta choice, boosting her Charge Efficiency to ensure her Ultimate is available every rotation.
Best F2P Arcs for Early Game
If you are saving Tri-Keys, several A-rank Arcs offer excellent performance. Oraora! is the premier F2P option for Nanally, as it increases Basic Attack damage with every hit, stacking up to 10 times. For survivability and utility, the Umbrella Arc (Adler’s signature) is a solid placeholder for any support character due to its balanced defensive stats.
Best Disks (Artifacts)

The gearing system in NTE is known as the Console System, which utilizes Cartridges and Modules. Cartridges provide powerful 2-piece and 4-piece set bonuses, while Modules are smaller pieces that slot into the Console to provide flat stats and sub-stats.
The Console System: Cartridges & Modules
Unlike traditional artifact systems, NTE allows you to see all four sub-stats on a Cartridge or Module the moment you acquire it. Modules come in three types (II, III, and IV) and must be arranged within the Console—similar to a puzzle—to maximize the space and activate the Cartridge’s full potential.
Top Cartridge Sets for Version 1.0
Choosing the right set bonus is the most significant factor in your build’s success.
- Fireflies and the Forest (Anima DPS Meta): This is the best-in-slot set for Nanally. The 2-piece bonus grants +10% Anima DMG, while the 4-piece bonus increases the wearer’s CRIT DMG by 8% whenever a nearby enemy takes Anima DMG (stacking up to 7 times).
- Speedy Hedgehog (Support Meta): Essential for characters like Sakiri. It provides +12% Charge Efficiency and grants all allies a 15% ATK boost for 20 seconds after the wearer uses an Ultimate.
- Lost Radiance (Cosmos DPS): The go-to for Zero and Chiz. It provides Cosmos DMG and allows the wearer to ignore 25% of the enemy’s DEF after using an Ultimate.
- Crimson: Twin Butterflies (Incantation DPS): Best for characters like Baicang, focusing on stacking ATK when enemies take Incantation damage.
Module Stat Priorities
When slotting Modules into your Console, prioritize Orange (Legendary) rarity. For your Main DPS, focus on CRIT Rate and CRIT DMG sub-stats. Support characters should prioritize Charge Efficiency and Cycle Rate to ensure they can trigger the Esper Cycle as often as possible.
Team Comp
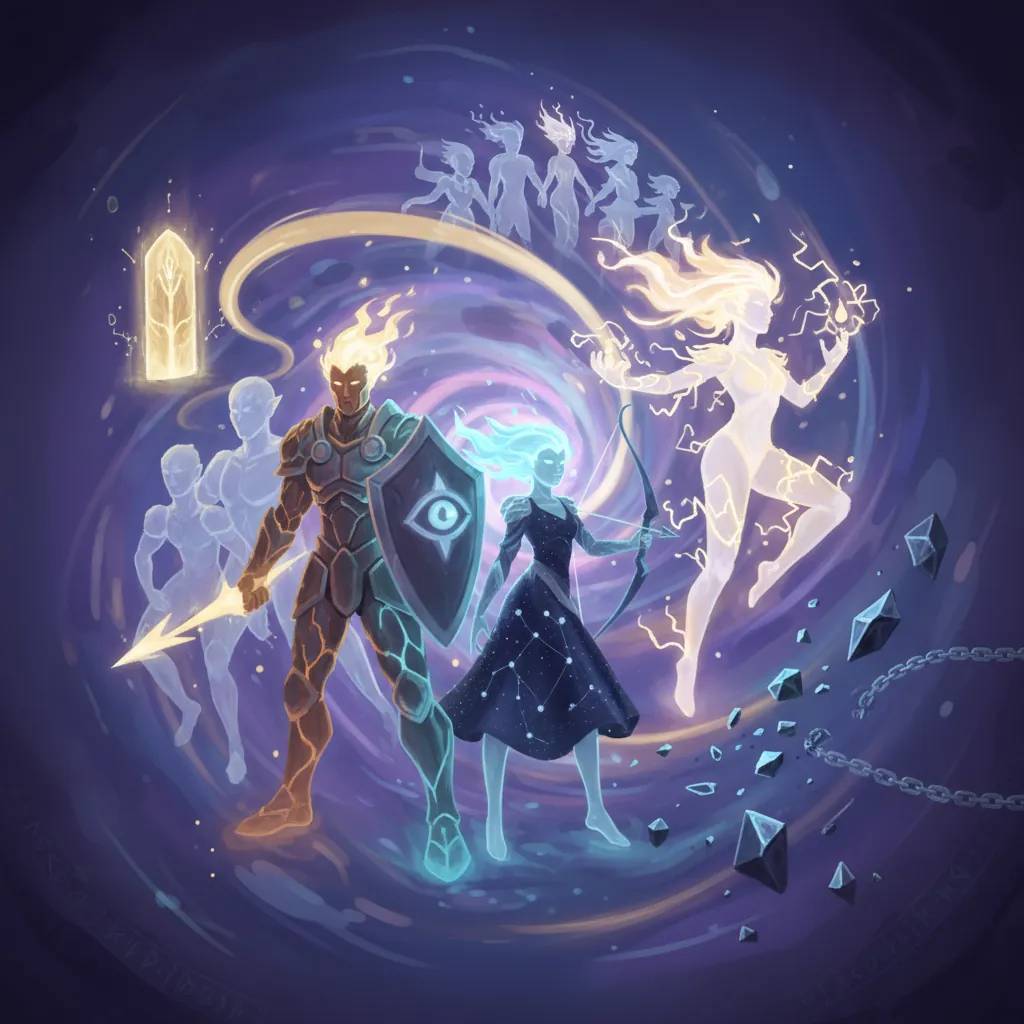
Combat in Neverness to Everness revolves around the Esper Cycle, a reaction system triggered by swapping between characters of neighboring elements on the Esper Wheel.
Understanding Esper Cycle Reactions
The six elements—Anima, Incantation, Chaos, Psyche, Lakshana, and Cosmos—react when combined.
- Blossom (Anima + Cosmos): Spawns an automated turret that deals AoE damage.
- Hexed (Anima + Incantation): Deals follow-up damage based on the damage taken by the enemy over the last 12 seconds.
- Discord (Incantation + Chaos + Psyche): A “Triple Cycle” reaction that deals massive Break damage, essential for staggering bosses.
Nanally Hypercarry Team
The most popular meta team in Version 1.0 focuses on the Blossom reaction.
| Role | Character | Element | Notes |
|---|---|---|---|
| Main DPS | Nanally | Anima | Primary damage source. |
| Sub-DPS | Jiuyuan | Anima | Provides Anima resonance and off-field DMG. |
| Enabler | Zero | Cosmos | Triggers Blossom and acts as a battery. |
| Support | Sakiri | Incantation | Groups enemies and provides ATK buffs. |
In this team, Nanally and Jiuyuan stack Anima buffs, while Zero triggers the Blossom turret. Sakiri is the “flex” slot, used primarily for her crowd control and to trigger the Hexed reaction for additional burst.
F2P Starter Team: Chiz and Zero
For players starting out, a team of Zero (Cosmos), Chiz (Cosmos), and Mint (Anima) is highly effective. Chiz is a powerful S-rank character obtained for free through the City Tycoon system. Pairing her with Zero allows for constant Cosmos resonance, while Mint provides the Anima element needed to trigger Blossom turrets early in the game.
Rotation
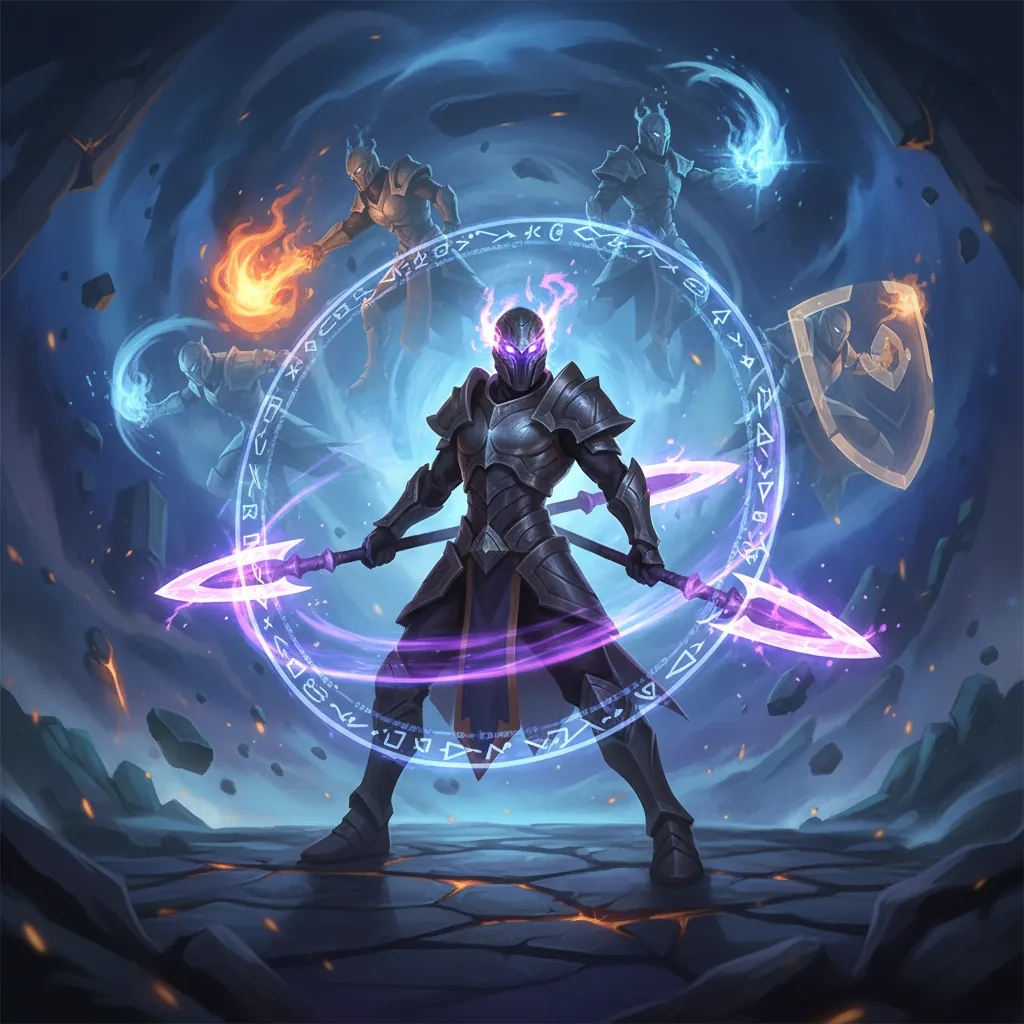
Efficient rotations in NTE are built around the “Gather and Burst” rhythm. You want to spend as little time as possible on your supports and maximum time on your DPS while the enemy is debuffed.
Standard Combat Flow
- Setup: Start with Sakiri. Use her Skill, Devour Whole, to pull enemies together.
- Buff: Activate Sakiri’s Ultimate, Feast of Gluttony. This applies a massive team-wide ATK buff and pins enemies to the ground with Gravity Slurry.
- Switch & Trigger: Immediately swap to Zero. His entrance triggers his Esper Ability, which, when combined with Sakiri’s Incantation element, can set up for the next reaction.
- Burst: Switch to Nanally. Her entrance triggers the Hexed or Blossom reaction (depending on your team’s previous element). Activate her Ultimate, Underboss, and follow up with her basic attack string.
Maximizing Buff Windows
Nanally’s Underboss summon only lasts for 6 seconds. To maximize this window, ensure Sakiri’s ATK buff is active before Nanally takes the field. If you are using the Ready-Ready Arc, remember to use Nanally’s Redirect Skill (her counter) to trigger the Tiger Talisman stacks before committing to the full basic attack combo.
Triggering QTEs Effectively
When a character’s Esper Meter is full, their portrait will glow. Swapping at this moment triggers a character-specific QTE. For Sakiri, this is “Squash!”, a massive slam that deals Incantation DMG and further groups enemies. Always wait for the glow before switching to ensure you aren’t wasting Esper energy.
FAQ
How do I increase my Appraisal Level? You must increase your Hunter Level to the required milestone (e.g., Level 20 or 30) and then complete a specific Appraisal Quest found in the Exploration Guide. This quest usually involves a combat trial against an elite anomaly.
Where can I find more Pixels (Stamina)? Character Pixels (for combat) and City Stamina (for tycoon activities) refresh over time. You can also restore them using Analith or Pixel Potions obtained from event rewards and the Hunter Exchange.
Is Chiz a good character to level? Yes. Chiz is a top-tier S-rank Cosmos character that you can obtain for free by progressing through the City Tycoon system. She excels at dealing DEF-ignoring damage and is a staple in Cosmos-focused teams.
What is the difference between Beetle Coins and Fons? Beetle Coins are used for combat-related upgrades, such as leveling characters, Arcs, and skills. Fons are the urban currency used for “Life Skills,” purchasing real estate, buying cars, and managing your business in Hethereau.
Sources
- neverness.gg
- games.gg
- kaiden.gg
- mobalytics.gg — https://mobalytics.gg/nte/guide/nanally-best-builds/
- topuplive.com
- gamewith.net — https://gamewith.net/nte/article/show/character-progression-guide/
- icy-veins.com — https://www.icy-veins.com/nte/nanally-build-guide/
Related Guides

Best Build for Mako (Nanally) in Neverness to Everness (NTE)

Best Mimi (Mint) Build in Neverness to Everness (NTE)

Best F2P Build in Neverness to Everness: Top Teams & Arcs

Best Healer in NTE: Top Builds, Espers & Arcs (June 2026)

Best Healer Build in Neverness to Everness (NTE): Edgar Guide

Best Kuro Build in Neverness to Everness: Weapons, Disks & Teams

Best Support Build for Mimi (Haniel) in Neverness to Everness

Best Support Build in Neverness to Everness (NTE Guide)
Sources (22)
- vertexaisearch.cloud.google.comvertexaisearch.cloud.google.com
- vertexaisearch.cloud.google.comvertexaisearch.cloud.google.com
- vertexaisearch.cloud.google.comvertexaisearch.cloud.google.com
- vertexaisearch.cloud.google.comvertexaisearch.cloud.google.com
- vertexaisearch.cloud.google.comvertexaisearch.cloud.google.com
- vertexaisearch.cloud.google.comvertexaisearch.cloud.google.com
- vertexaisearch.cloud.google.comvertexaisearch.cloud.google.com
- vertexaisearch.cloud.google.comvertexaisearch.cloud.google.com
- vertexaisearch.cloud.google.comvertexaisearch.cloud.google.com
- vertexaisearch.cloud.google.comvertexaisearch.cloud.google.com
- vertexaisearch.cloud.google.comvertexaisearch.cloud.google.com
- vertexaisearch.cloud.google.comvertexaisearch.cloud.google.com
- vertexaisearch.cloud.google.comvertexaisearch.cloud.google.com
- vertexaisearch.cloud.google.comvertexaisearch.cloud.google.com
- vertexaisearch.cloud.google.comvertexaisearch.cloud.google.com
- vertexaisearch.cloud.google.comvertexaisearch.cloud.google.com
- vertexaisearch.cloud.google.comvertexaisearch.cloud.google.com
- vertexaisearch.cloud.google.comvertexaisearch.cloud.google.com
- vertexaisearch.cloud.google.comvertexaisearch.cloud.google.com
- vertexaisearch.cloud.google.comvertexaisearch.cloud.google.com
- vertexaisearch.cloud.google.comvertexaisearch.cloud.google.com
- vertexaisearch.cloud.google.comvertexaisearch.cloud.google.com
Loading comments…