Neverness to Everness Character Level Up & Nanally Build Guide
Optimizing your roster in the supernatural urban landscape of Hesperia requires a firm grasp of the progression systems and elemental synergies unique to the Esper characters. This guide covers the essential Neverness to Everness character level up mechanics and provides a definitive build for Nanally, the premier Anima DPS.
📝 Editorial Note: This guide is AI-assisted and game data evolves rapidly. Please cross-reference with in-game information. Updated: 2026-05-22.
Overview
Progressing your characters, known in-game as Espers, involves a multi-layered system that balances raw experience points with rank-based gates. To increase an Esper’s level, you must utilize specific consumables called Hunter Guides. These items come in three tiers: Rising Hunter Guides (1,000 EXP), Senior Hunter Guides (5,000 EXP), and Elite Hunter Guides (20,000 EXP). Every level gained also requires a specific expenditure of Beetle Coins, the primary currency of Hesperia.
Character progression is not infinite from the start; it is strictly gated by your account-wide Hunter Rank. For instance, you cannot perform the first Ascension (also known as Breakthrough) until you reach Hunter Rank 10. This Ascension process is required to raise the level cap of an Esper once they hit their current maximum. Ascension requires specialized materials gathered from Anomaly Hunts—challenging boss encounters found throughout the city—and various regional items discovered during exploration.
Furthermore, the Awakening system allows you to enhance an Esper’s base capabilities by using Mind Shards, which are obtained through duplicate pulls on banners. There are six Awakening levels, each unlocking unique passive bonuses or enhancing the Esper’s Resonance effects.
How to Use Hunter Guides and Beetle Coins
To level up an Esper, navigate to the Character menu and select the “Level Up” tab. You can manually select the number of Hunter Guides to use or use the “Auto-Select” feature to reach the current level cap. The Beetle Coin cost scales significantly as you reach higher levels.
The most efficient way to farm both Hunter Guides and Beetle Coins is through Houdinii’s Magic Stage. This repeatable challenge requires Character Pixels (stamina) to claim rewards. It is recommended to spend your daily stamina here during the early game to ensure your main combat team stays at the maximum possible level allowed by your Hunter Rank.
| Level Range | Hunter Guide Type Recommended | Estimated Beetle Coin Cost (Total) |
|---|---|---|
| 1 - 10 | Rising Hunter Guide | 12,500 |
| 11 - 20 | Rising / Senior Hunter Guide | 35,000 |
| 21 - 30 | Senior Hunter Guide | 85,000 |
| 31 - 40 | Senior / Elite Hunter Guide | 160,000 |
| 41 - 50 | Elite Hunter Guide | — |
Hunter Rank and Appraisal Level Gates
Your Hunter Rank acts as the primary governor for your account’s power. As you complete missions and exploration milestones, your Hunter Rank increases. At specific milestones (starting at Rank 10), you will unlock an Appraisal Level test. Completing this test raises your Appraisal Level, which in turn unlocks higher level caps for your Espers and weapons, and increases the world level, providing better loot from enemies.
- Appraisal Level 1: Unlocks at Hunter Rank 10 (Increases Level Cap to 40).
- Appraisal Level 2: Unlocks at Hunter Rank 20 (Increases Level Cap to 50).
- Appraisal Level 3: Unlocks at Hunter Rank 30 (Increases Level Cap to 60).
Ascension Materials and Anomaly Hunts
Once an Esper reaches their current level cap (e.g., Level 40), you must perform an Ascension to continue leveling. This requires “Anomaly Cores” dropped by specific world bosses. For Anima characters like Nanally, you will typically need to farm the “Howling Gale Anomaly” or similar wind-aligned bosses. In addition to boss drops, you will need regional specialties like “Hesperia Bluebells” or “Rusty Cogwheels,” which are found in specific city districts.
Image Specification: A detailed infographic showing the three tiers of Hunter Guides (Rising, Senior, Elite) and their respective EXP values, alongside the Beetle Coin costs for early levels.
Best Weapons
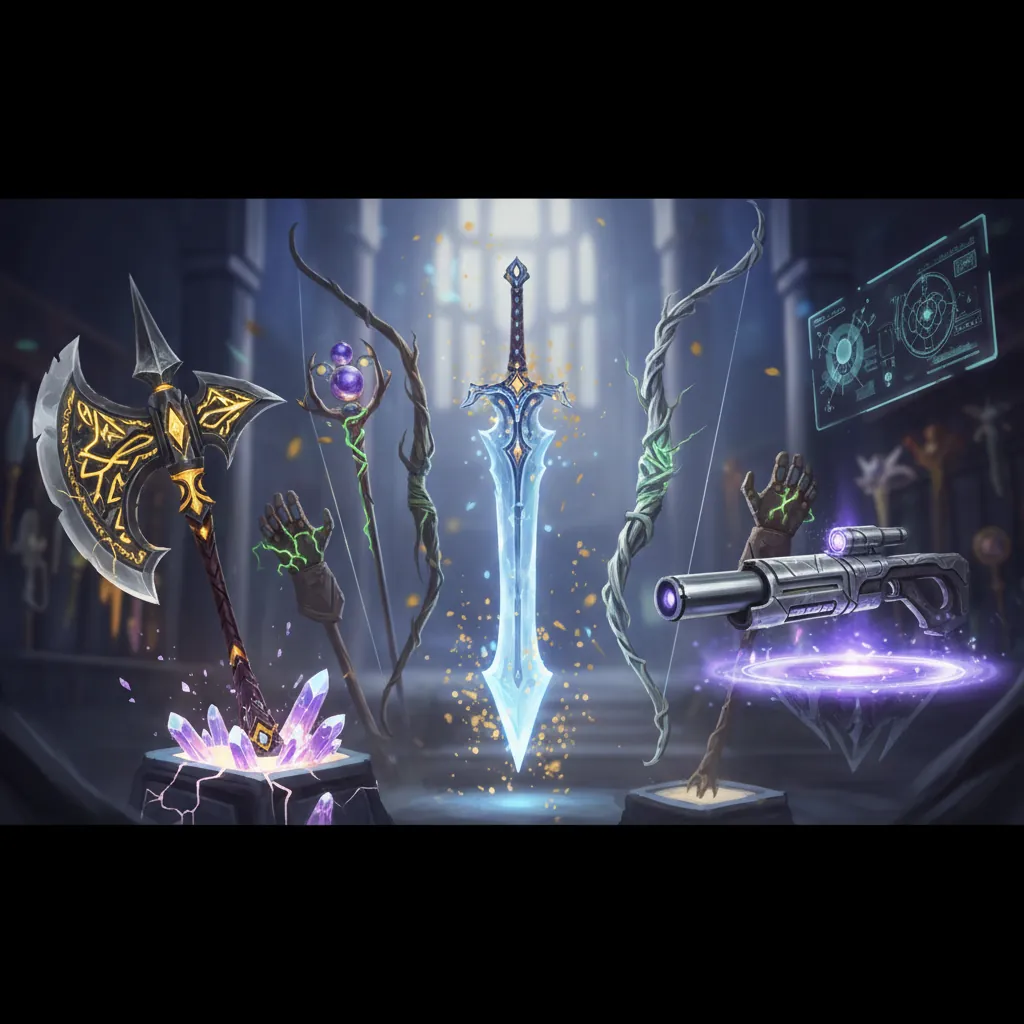
In Neverness to Everness, weapons are categorized as Arcs. These items provide base stats and a unique passive skill that can drastically alter an Esper’s performance. For Nanally, the goal is to maximize her Critical Rate and Attack power to capitalize on her high-frequency Basic Attacks.
Signature Arc: Ready-Ready
Nanally’s best-in-slot (BiS) weapon is her signature S-Rank Arc, “Ready-Ready.” This Arc is specifically designed to synergize with her kit, providing a substantial secondary stat of CRIT Rate. The unique passive for “Ready-Ready” increases Basic Attack and Critical Riposte damage by 15% for 8 seconds after the user activates a Skill or Ultimate. This effect can stack up to two times, effectively giving Nanally a 30% damage boost during her primary burst windows. Because Nanally relies on her “Ichi-daime’s Authority” state to deal damage, this Arc is unrivaled in its efficiency.
Best S-Rank Alternatives: Fluff of Fortitude and Shadow Crit
If you do not have “Ready-Ready,” the next best option is “Fluff of Fortitude.” This Arc is typically obtained via the Battle Pass and offers a very consistent 22-28% flat damage increase to all attacks, depending on the refinement level (Arc Mixing). While it lacks the specialized Riposte bonus of the signature weapon, the raw damage floor it provides makes it the most stable S-Rank alternative. Another option is “Shadow Crit,” which focuses entirely on maximizing Critical Damage, though it requires very high CRIT Rate from your Disks to be effective.
F2P Weapon Choice: Oraora!
For Free-to-Play (F2P) players, the A-Rank Arc “Oraora!” is the standout choice. This Arc boosts Basic Attack damage the longer a combo is maintained. Since Nanally’s optimal rotation involves long strings of Basic and Charged attacks, she can maintain the maximum stacks of “Oraora!” with ease. While its base stats are lower than S-Rank Arcs, a fully Mixed (Rank 5) “Oraora!” can outperform a Rank 1 S-Rank Arc that doesn’t fit her kit.
| Arc Name | Rarity | Main Stat | Key Passive Effect |
|---|---|---|---|
| Ready-Ready | S-Rank | CRIT Rate | +15% Basic/Riposte DMG (2 stacks) after Skill/Ult |
| Fluff of Fortitude | S-Rank | ATK% | Flat 22-28% DMG increase to all sources |
| Oraora! | A-Rank | ATK% | Increases Basic Attack DMG during long combos |
Best Disks (Artifacts)
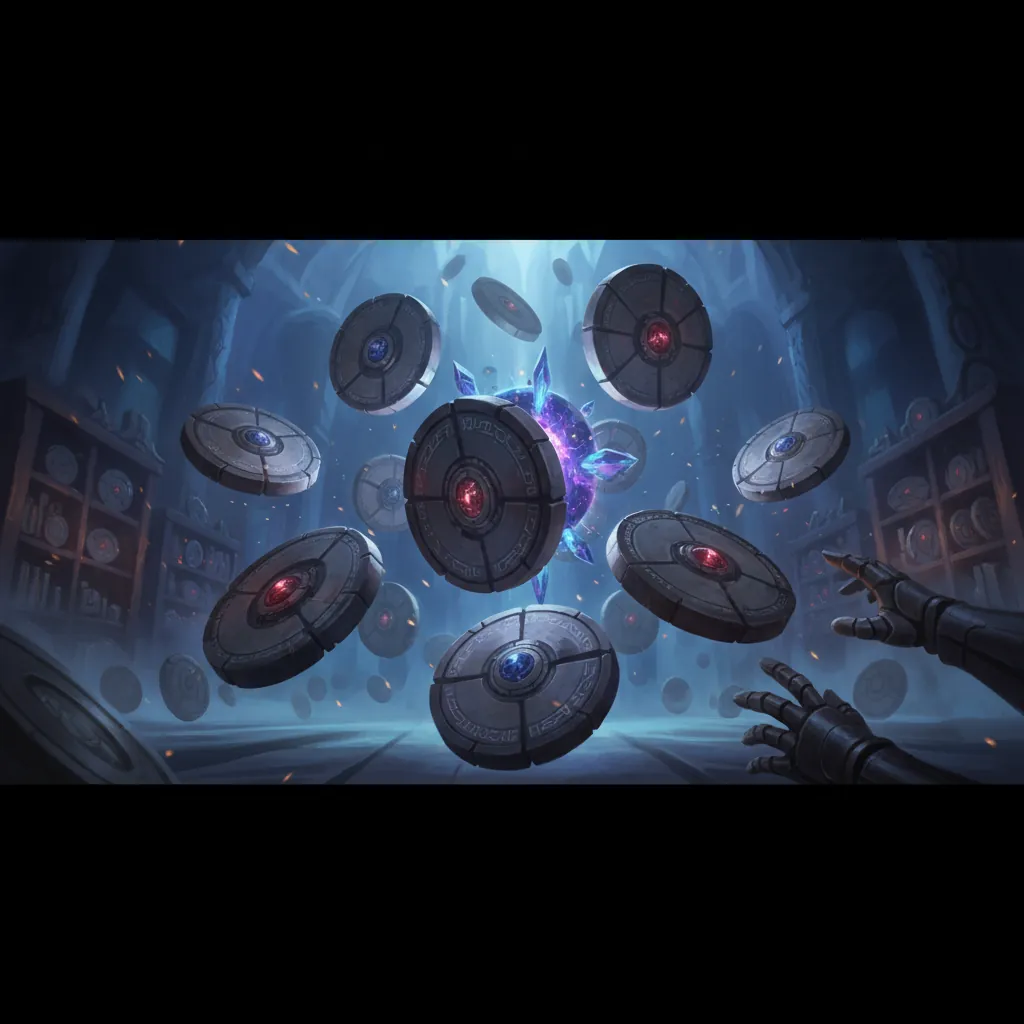
The Disk system in Neverness to Everness, managed via the “Console” menu, is the primary way to customize an Esper’s stats. This system consists of two parts: Cartridges and Modules. Cartridges provide set bonuses, while Modules are Tetris-like pieces that fit into a grid to provide specific stat boosts.
The Console System: Cartridges vs. Modules
To maximize an Esper, you must equip a Cartridge set and then fill the remaining space in the Console grid with Modules. A Console is only considered “Optimized” when every slot in the grid is filled. Leaving empty spaces not only wastes potential stat gains but can also prevent certain high-tier set bonuses from reaching their full potential.
Best Set: Fireflies and the Forest
For Nanally, the “Fireflies and the Forest” Cartridge set is the undisputed best choice.
- 2-Piece Bonus: Increases Anima DMG by 10%.
- 4-Piece Bonus: When the character deals a Critical Hit, they gain a stack of “Luminescent Focus,” which increases CRIT DMG by 8%. This can stack up to 7 times (56% total CRIT DMG).
Since Nanally is an Anima element attacker who hits multiple times per second, she can reach maximum stacks of this bonus almost instantly, providing a massive boost to her overall DPS.
Module Stat Priority and Type 2 Synergy
When placing Modules into Nanally’s Console, you should prioritize “Type 2 Modules.” Nanally has a unique hidden synergy where she gains a bonus to her base CRIT Rate for every Type 2 Module equipped, regardless of the individual stats on those modules.
The stat priority for Nanally’s Modules should be:
- Anima DMG Bonus (Primary stat on the main Cartridge)
- CRIT Rate (Until reaching ~70%)
- CRIT DMG
- ATK%
- Anima Resonance Efficiency
Image Specification: Visual guide of the Nanally Console screen, demonstrating how to fit the Fireflies and the Forest Cartridge pieces with Type 2 Modules in a Tetris-style grid.
Team Comp

Nanally is an Anima Main DPS who thrives when paired with characters who can trigger elemental reactions. The most powerful reaction for Nanally is “Genesis,” which occurs when Anima (Wind) meets Cosmos (Space/Gravity).
The Blossom Nuke Core (Nanally + Zero)
The “Blossom Nuke” team is currently the highest-performing meta team for Nanally. This team centers on the interaction between Nanally and Zero. Zero, a Cosmos Sub-DPS, uses his abilities to create “Genesis Buds” on the battlefield. When Nanally’s Anima attacks hit these buds, they explode for massive AoE damage. Nanally’s passive talent, “More Than Passionate,” specifically increases the explosion damage of Genesis Buds, making this duo the core of her best team.
Support Synergies: Sakiri and Haniel
To round out the premium team, Sakiri is used as the primary support. Sakiri provides the “Covering Pattern” buff, which increases the active character’s Attack and Critical Damage for a short duration. This should be timed to coincide with Nanally’s Ultimate. Jiuyuan is often used in the fourth slot for her Anima-based crowd control, pulling enemies into the Genesis Buds for maximum efficiency. Alternatively, Haniel can be used if the team requires more healing and defensive utility.
F2P Friendly Team Options
For players without a full roster of S-Rank characters, Nanally still performs well with accessible supports. Adler can replace Zero as a Cosmos enabler, though his Genesis Bud generation is slower. Mint is an excellent F2P support who provides consistent healing and basic ATK buffs that benefit Nanally’s sustained damage style.
| Team Type | Main DPS | Sub-DPS | Support 1 | Support 2 |
|---|---|---|---|---|
| Premium (Blossom Nuke) | Nanally | Zero | Sakiri | Jiuyuan |
| Sustained Utility | Nanally | Zero | Haniel | Sakiri |
| F2P Friendly | Nanally | Adler | Mint | — |
Rotation
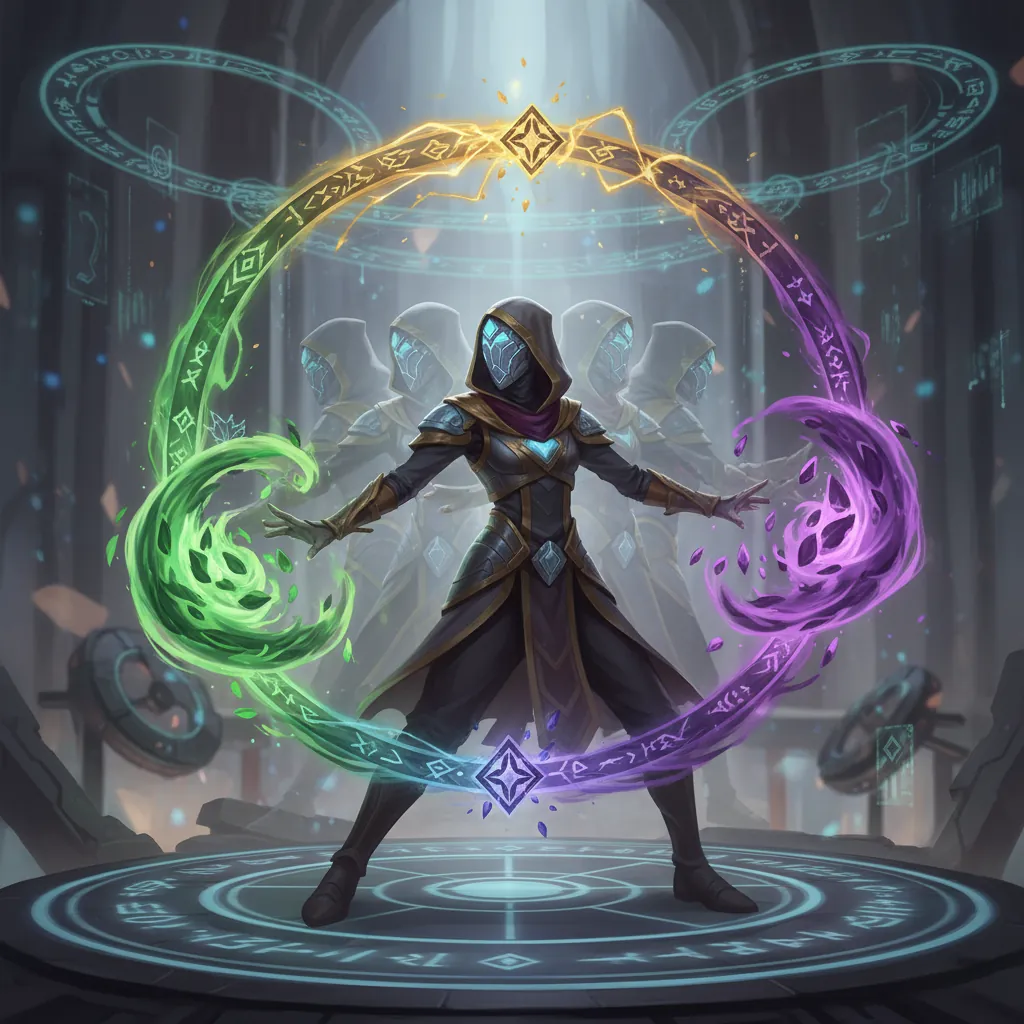
To achieve maximum damage output with Nanally, you must follow a specific sequence that sets up elemental reactions and buffs before her burst window.
Opening Sequence: Support and Sub-DPS Setup
Start the fight with your supports. If using Sakiri, cast her Skill to apply the “Covering Pattern” buff. Immediately swap to Zero and use his Skill and Ultimate. This will populate the field with Cosmos energy and Genesis Buds. It is crucial that Zero’s Ultimate is active before Nanally takes the field, as the Cosmos field provides the necessary environment for the Genesis reactions.
Nanally’s Burst Window: Ichi-daime’s Authority
Swap to Nanally and immediately activate her Skill, “Colucci Howling Technique.” This puts her into the “Ichi-daime’s Authority” state, which infuses her Basic Attacks with Anima energy and changes her attack animations. Once in this state, cast her Ultimate to summon the “Underboss.” The Underboss will perform coordinated follow-up attacks every time Nanally hits an enemy, effectively doubling her hit count and triggering Genesis Buds at a rapid pace.
Optimal Combo Strings and Underboss Coordination
While “Ichi-daime’s Authority” is active, do not simply mash the attack button. The optimal combo string is:
- Three Basic Attacks: To build momentum and trigger Underboss strikes.
- Three Charged Attacks: Hold the attack button for three successive strikes. This consumes stamina but deals significantly higher Anima DMG and has a higher chance to trigger Critical Ripostes.
- Repeat: Continue this 3-3 cycle until the Authority state ends.
Combat Flowchart:
- Step 1: Sakiri Skill (Buff)
- Step 2: Zero Skill/Ult (Cosmos Setup)
- Step 3: Nanally Skill (Enter Authority)
- Step 4: Nanally Ult (Summon Underboss)
- Step 5: 3x Basic -> 3x Charged Combo
FAQ

Progression and Leveling FAQ
How do I unlock Ascension? You must reach Hunter Rank 10 and complete the Appraisal Level test. This test is located in the Exploration Guide menu and usually involves a timed combat challenge against urban anomalies.
What is the max level in NTE? As of the current version, the level cap is 60. Reaching this cap requires achieving Appraisal Level 3 at Hunter Rank 30. Future updates may increase this cap as the story progresses.
Can I reset character levels? undisclosed
Resource Farming FAQ
Where can I farm Hunter Guides? The most reliable source is Houdinii’s Magic Stage. You can find this by opening the navigation map and looking for the stage icon in the North District. It consumes Character Pixels per run.
Do Arcs and Disks share the same upgrade materials? No. Arcs require EXP Dyes and Ascension materials found in the Bubble Can Factory. Disks (Cartridges and Modules) are upgraded by consuming other low-tier Disks or specialized “Module Data Chips” found in the Console Simulation challenges.
How do I get more Beetle Coins? Beetle Coins are rewarded for almost every activity, but the “Golden Pursuit” stage in the daily challenge menu is the most efficient way to farm large quantities of currency quickly.
Sources
- Neverness to Everness Official Site — https://nte.perfectworld.com/
- Neverness to Everness Wiki (Game8) — https://game8.co/games/Neverness-to-Everness
- IGN: Neverness to Everness Review and Guides — https://www.ign.com/games/neverness-to-everness
- Reddit: r/NTE Official Community — https://www.reddit.com/r/NTE/
- Prydwen Institute: NTE Character Database
Related Guides

Best Build for Mako (Nanally) in Neverness to Everness (NTE)

Best Mimi (Mint) Build in Neverness to Everness (NTE)

Best F2P Build in Neverness to Everness: Top Teams & Arcs

Best Healer in NTE: Top Builds, Espers & Arcs (June 2026)

Best Healer Build in Neverness to Everness (NTE): Edgar Guide

Best Kuro Build in Neverness to Everness: Weapons, Disks & Teams

Best Support Build for Mimi (Haniel) in Neverness to Everness

Loading comments…