Neverness to Everness Character Level Up Guide: Best Builds & Teams
Success in Hethereau’s supernatural streets requires more than just fast cars and flashy Esper abilities; it demands a deep understanding of the character progression systems that govern your power. Since the release of Neverness to Everness on April 29, 2026, players have discovered that the game’s dual-leveling system and the intricate “Esper Cycle” are the keys to overcoming high-level anomalies.
To dominate the endgame content in Neverness to Everness (NTE), you must master a multi-layered progression system. Unlike traditional RPGs, your character’s strength is not just a reflection of their individual level, but a combination of your account’s standing in Hethereau and the synergy of your gear. This guide provides a comprehensive breakdown of how to level up your characters, optimize their Arcs, and build meta-defining team compositions.
Overview
Character progression in Neverness to Everness is fundamentally gated by two separate but interconnected metrics: Hunter Level and Appraisal Level. Hunter Level represents your overall account experience, gained through completing Episodes (main story), Spinoffs (side quests), and daily activities. Appraisal Level, on the other hand, acts as a world level mechanic that determines the difficulty of enemies and the maximum level cap for your Espers.
Hunter Level vs. Appraisal Level
Every time you reach a specific Hunter Level milestone, you will unlock an “Appraisal Quest.” Completing this quest is mandatory to increase your Appraisal Level and raise the level cap for your characters and Arcs. If you reach the Hunter Level cap without completing the corresponding Appraisal Quest, any excess experience is converted into Beetle Coins at a ratio of 1:10.
| Hunter Level | Appraisal Level | Max Character/Arc Level | Key Unlock |
|---|---|---|---|
| 10 | 1 | 20 | City Tycoon System |
| 20 | 2 | 40 | First Appraisal Quest |
| 30 | 3 | 50 | Appraisal Adjustment Feature |
| 40 | 5 | 60 | Rabbit Hole Anomaly Zone |
| 45 | 6 | 70 | High-tier Anomaly Hunts |
| 50 | 7 | 80 | Max Ascension |
Ascension and Level Caps
Leveling up requires two primary resources: Hunter Guides (the game’s primary EXP material) and Beetle Coins. Once a character reaches their current level cap (e.g., Level 20, 40, or 60), you must perform an “Ascension” to continue. Ascension requires materials dropped from normal Anomalies found in the open world, as well as specialized drops from the Anomaly Zone: Bubble Can Factory. Claiming rewards from these zones consumes Character Pixels, the game’s version of stamina.
Upgrading Esper Abilities
Each character possesses a unique set of Esper Abilities, including their Basic Attack, Redirect Skill, and Ultimate. These skills are upgraded independently of character levels using materials found in Houdini’s Schemes. Upgrading skills is vital for increasing your “Cycle Intensity,” a stat that directly scales the damage dealt by elemental reactions during the Esper Cycle.
The Awakening & Resonance System
The Awakening system allows you to power up characters by consuming Mind Shards, which are obtained by pulling duplicate copies of a character from the Scarborough Fair gacha boards. Each character has six Awakening levels.
- A1 to A6: These unlock unique passive buffs, such as cooldown reductions or increased damage for specific skills.
- Resonance Bonuses: At specific Awakening milestones, characters unlock massive Resonance bonuses that provide team-wide stat increases, often boosting the damage of specific elemental “lanes” like Anima or Cosmos.
Best Weapons
In Neverness to Everness, weapons are referred to as Arcs. These are not just stat sticks; they provide transformative passive skills and belong to one of five categories: Plasma, Solid, Gas, Liquid, and Synthesis. A character can only equip an Arc that matches their specific type.
Understanding Arc Types
- Plasma: Focuses on offensive scaling, Crit Rate, and high-energy burst damage.
- Solid: Balanced Arcs that often provide ATK% or defensive utility.
- Gas: Typically focused on utility, support effects, and team-wide buffs.
- Liquid: Specialized in energy regeneration, skill-based play, and cooldown management.
- Synthesis: Hybrid Arcs that offer conditional effects based on HP manipulation or specific reaction triggers.
Top S-Rank Arcs for DPS and Support
S-Rank Arcs are the gold standard for endgame builds. While many are obtained through the gacha, several are farmable through high-level Anomaly Hunts and world bosses.
| Arc Name | Type | Best For | Key Effect |
|---|---|---|---|
| Ready-Ready | Plasma | Nanally / Aurelia | Increases ATK and Boss DMG; buffs Basic Attacks after Redirect Skills. |
| Camellia Society | Synthesis | Baicang / Fadia | High-risk, high-reward; stacks Crit DMG when HP is lost and triggers “Silent Garden” attacks. |
| Stellar Veil | Plasma | Aurelia | Signature Arc for Aurelia; provides massive Psyche DMG and Crit DMG stacks. |
| Raging Flames | Plasma | Hathor | Signature Arc for Hathor; increases Lakshana DMG and provides energy on hit. |
| Blow up the Crowd | Solid | Hotori / Zero | Increases ATK while off-field, making it the premier choice for quick-swap sub-DPS. |
Best F2P Arcs and How to Get Them
NTE is notably generous with farmable S-Rank Arcs. F2P players should prioritize the following:
- Day Off (Solid): A powerful ATK-focused Arc that restores Ultimate Energy on kills. It is a reward for completing early-game exploration milestones in the Bridge Crossings district.
- Hethereau’s Keeper (Solid): One of the best boss-killing Arcs, it summons “Officer Whisker” to deal coordinated strikes. This can be obtained by defeating the Justice Executioner world boss.
- Oraora! (Plasma): A solid entry-level Plasma Arc that boosts Basic Attack damage, often used as a placeholder for Nanally before acquiring Ready-Ready.
Best Disks (Artifacts)
Artifacts in Neverness to Everness are known as Cartridges. These are slotted into a character’s Console and house smaller, stat-boosting components called Modules. The system is unique because you can see all four sub-stats on a Cartridge or Module the moment you acquire it, removing the “hidden roll” frustration found in other gacha games.
Cartridges and Module Mechanics
A character’s Console has a grid where you must fit Modules of different shapes (Type II, III, and IV). To activate a Cartridge’s 4-piece set bonus, you must fill the required slots with Modules that match the Cartridge’s resonance.
- Type II Modules: 2-cell shapes, usually providing flat stats.
- Type III Modules: 3-cell shapes, often carrying percentage-based stats like Crit Rate or ATK%.
- Type IV Modules: 4-cell shapes, providing the highest stat values and elemental damage bonuses.
Best DPS Cartridge Sets
- Fireflies and the Forest: The current meta choice for Anima DPS like Nanally and Mint. It provides a flat 10% Anima DMG bonus and stacks Crit DMG up to 7 times whenever a nearby enemy takes Anima damage.
- Lost Radiance: The premier set for Cosmos characters like Chiz and Esper Zero. It grants 10% Cosmos DMG and allows the wearer to ignore 25% of the enemy’s DEF for 20 seconds after casting an Ultimate.
- Devil’s Blood: Curse: Essential for Psyche characters like Aurelia. It boosts Psyche DMG and provides a massive 36% DMG increase against enemies affected by the Nova or Stain reactions.
Support and Utility Cartridge Sets
- Speedy Hedgehog: A must-have for supports like Sakiri or Adler. It provides Charge Efficiency and grants all allies a 15% ATK boost for 20 seconds after the wearer uses their Ultimate.
- Shadow Creed: Great for sub-DPS units who rely on their Redirect Skills. It provides a 25% ATK boost for 20 seconds upon skill activation.
Team Comp
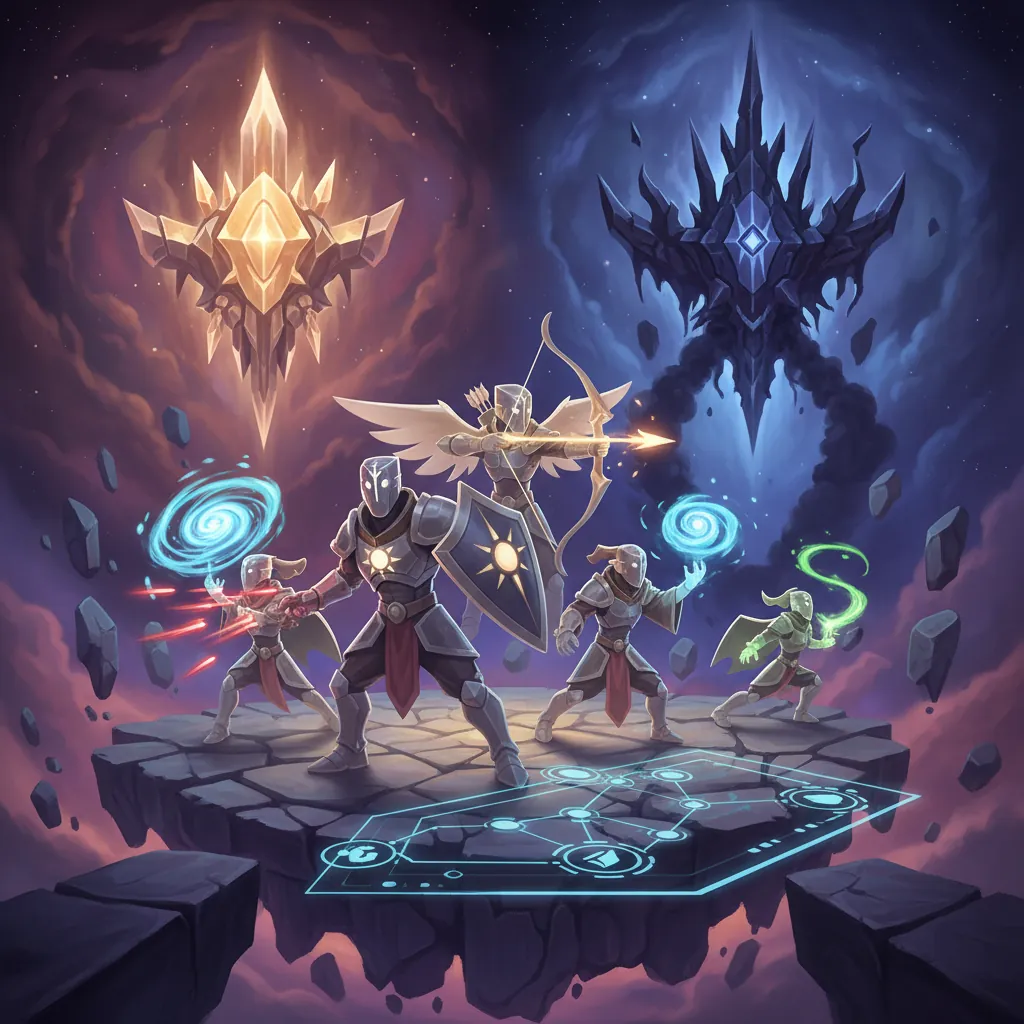
Team building in NTE revolves around the Esper Cycle, a reaction wheel where six elements interact to trigger powerful duo and trio reactions. The elements are: Anima, Cosmos, Lakshana, Incantation, Chaos, and Psyche.
The Esper Cycle and Elemental Lanes
Reactions occur when you swap between characters whose elements are adjacent on the Esper Wheel.
- Blossom (Anima + Cosmos): Generates a “Vita Bud” turret that fires projectiles at enemies.
- Scorch (Incantation + Chaos): Applies a 15-second DoT (Damage over Time) effect.
- Nova (Chaos + Psyche): Attaches a bomb to the enemy that detonates for massive Mental DMG.
- Remora (Lakshana + Cosmos): Slows enemy movement and attack speed.
Top Meta Teams: Blossom and Discord
The strongest teams currently focus on “Trio Reactions,” which occur when you layer two duo reactions onto a single target.
| Team Name | Lineup | Core Reaction | Role |
|---|---|---|---|
| Blossom Nuke | Nanally, Jiuyuan, Zero, Sakiri | Blossom + Charge | Top-tier AoE and single-target burst. |
| Discord Core | Baicang, Daffodill, Haniel, Fadia | Scorch + Nova = Discord | Shreds enemy “Break” bars instantly. |
| Hyper Chiz | Chiz, Jiuyuan, Hathor, Hotori | Blossom + Remora | F2P friendly; high Ultimate uptime. |
Best F2P Team Compositions
The Hyper Chiz team is the gold standard for F2P players because Chiz is a free S-Rank character obtained through City Tycoon progression. By pairing her with Mint (A-Rank) and Esper Zero (S-Rank Protagonist), you can maintain a constant Blossom reaction loop. Sakiri is often included in these teams even at A0 because her grouping ability (Devour Whole) is unmatched for clearing mob waves.
Rotation
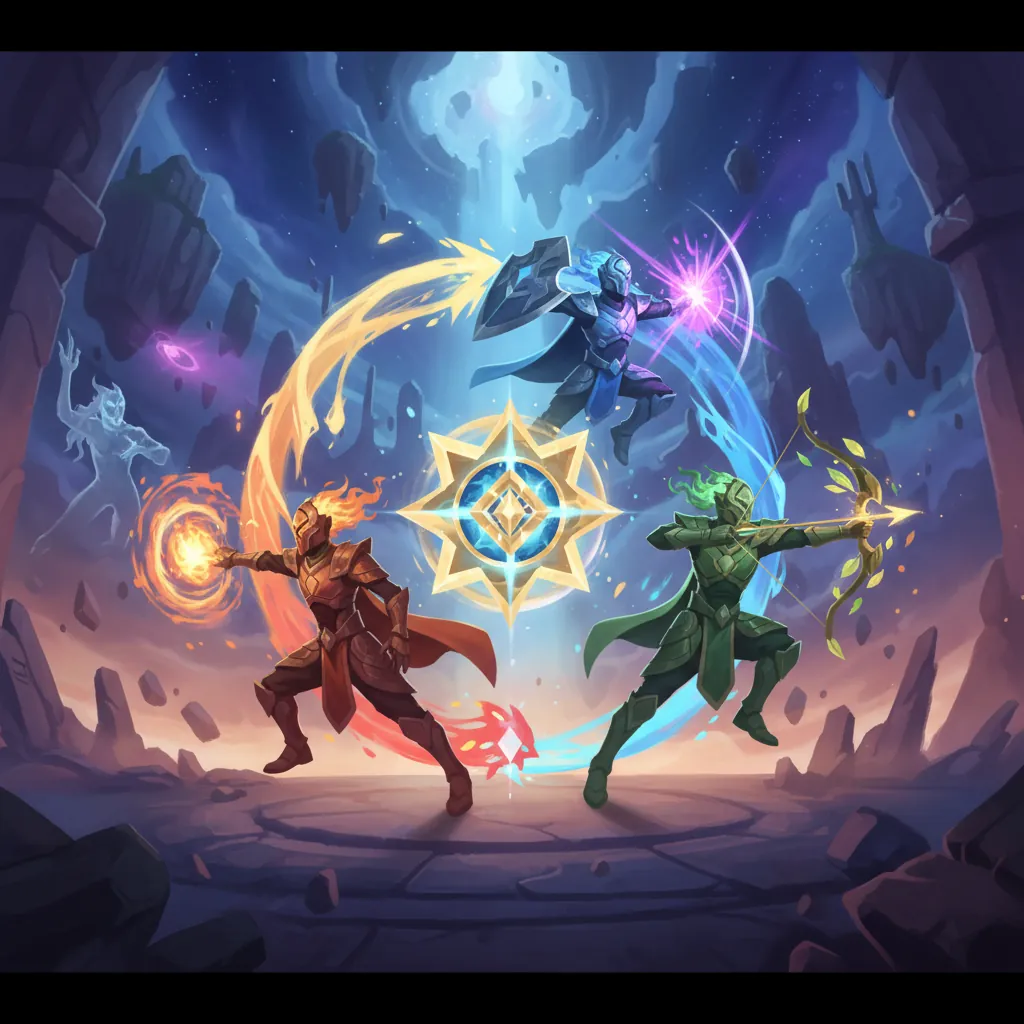
Maximizing damage in Neverness to Everness requires a strict rotation to ensure your “Cycle Gauge” is always full when your Main DPS takes the field.
The Support-to-DPS Burst Window
A standard rotation should always begin with your supports to set up the elemental “lane.”
- Start with Sakiri: Use her Redirect Skill to pull enemies together and her Ultimate to apply the 30% Team ATK buff.
- Swap to Jiuyuan: Use her skill to apply the “Lethal Rose Pact,” which marks enemies for follow-up damage.
- Trigger the Cycle: Swap to your sub-DPS (like Esper Zero) to use a skill that fills the Cycle Gauge.
- The Entry Attack: When the gauge is glowing, swap to your Main DPS (Nanally or Chiz). This triggers an Entry Attack/QTE, which deals massive damage and activates the primary reaction (e.g., Blossom).
Managing the Cycle Gauge
The Cycle Gauge is the circular meter in the center of the screen. Swapping characters while the gauge is partially full will trigger a Duo Reaction. However, waiting until the gauge is completely full before swapping to your DPS allows for a “Perfect Cycle,” which extends the duration of all active buffs and reactions.
Character-Specific Rotation Tips
- Mint: Her kit relies on “Critical Ripostes.” You should stay on-field with Mint just long enough to perform a perfect dodge, which resets her skill cooldown and allows for another Blossom trigger.
- Nanally: After her Ultimate, Nanally enters a “Tiger” state. During this window, do not swap her out; her Basic Attacks generate additional Anima hits that prolong the Blossom turret’s duration.
- Chiz: Chiz accumulates “Grain” through combat. Ensure you have at least two stacks of Grain before using her Redirect Skill to reach the maximum damage tier.
FAQ
How to get more Character Pixels?
Character Pixels (stamina) cap at 240 and regenerate at a rate of 1 per 6 minutes. You can replenish them using Fons or premium Annulith, though most players recommend saving Fons for City Tycoon investments.
Which character should I Awaken first?
If you are lucky enough to have multiple S-Ranks, prioritize Sakiri’s A1. It provides a permanent 30% ATK buff to the entire team, which is arguably the most significant power spike in the game. For DPS, Nanally’s A1 is highly recommended as it increases her follow-up attack frequency.
Is Chiz really better than S-Rank characters?
While Chiz is technically an S-Rank, she is often compared to limited banner units like Nanally. In terms of raw single-target burst, Nanally wins. However, Chiz is the best F2P character because you can obtain her Mind Shards for free through the City Tycoon system, eventually reaching A6 without spending a single Solid Die.
What is the City Tycoon level 16 milestone?
Reaching City Tycoon Level 16 is a major account milestone. At this level, you unlock a 100% stamina cost multiplier for “Hethereau Hobbies.” This allows you to spend your weekly City Stamina twice as fast while receiving double the rewards, significantly reducing the daily grind for Fons.
How do I unlock the Rabbit Hole?
The Rabbit Hole is the endgame Anomaly Zone where you farm S-Rank Cartridges. It unlocks once you reach Hunter Level 40 and complete the associated Appraisal Quest. It is highly recommended to save your “Manhole Coins” until you can clear the Hard difficulty, as this is the only way to consistently obtain Orange-rarity Modules.
Sources
- Neverness to Everness Official Site — https://nte.perfectworld.com/
- PowerPyx NTE Trophy & Progression Guide
- Mobalytics NTE Character & Team Tier List — https://mobalytics.gg/neverness-to-everness/tier-list
- Icy Veins NTE Arcs and Cartridges Database — https://www.icy-veins.com/neverness-to-everness/
- GameWith NTE Beginner’s Guide
- Prydwen.gg NTE Character Database
- Enjoygm NTE Banner & Gacha Guide — https://www.enjoygm.com/news/neverness-to-everness-banner-schedule-guide
Related Guides

Best Build for Mako (Nanally) in Neverness to Everness (NTE)

Best Mimi (Mint) Build in Neverness to Everness (NTE)

Best F2P Build in Neverness to Everness: Top Teams & Arcs

Best Healer in NTE: Top Builds, Espers & Arcs (June 2026)

Best Healer Build in Neverness to Everness (NTE): Edgar Guide

Best Kuro Build in Neverness to Everness: Weapons, Disks & Teams

Best Support Build for Mimi (Haniel) in Neverness to Everness

Best Support Build in Neverness to Everness (NTE Guide)
Sources (15)
- vertexaisearch.cloud.google.comvertexaisearch.cloud.google.com
- vertexaisearch.cloud.google.comvertexaisearch.cloud.google.com
- vertexaisearch.cloud.google.comvertexaisearch.cloud.google.com
- vertexaisearch.cloud.google.comvertexaisearch.cloud.google.com
- vertexaisearch.cloud.google.comvertexaisearch.cloud.google.com
- vertexaisearch.cloud.google.comvertexaisearch.cloud.google.com
- vertexaisearch.cloud.google.comvertexaisearch.cloud.google.com
- vertexaisearch.cloud.google.comvertexaisearch.cloud.google.com
- vertexaisearch.cloud.google.comvertexaisearch.cloud.google.com
- vertexaisearch.cloud.google.comvertexaisearch.cloud.google.com
- vertexaisearch.cloud.google.comvertexaisearch.cloud.google.com
- vertexaisearch.cloud.google.comvertexaisearch.cloud.google.com
- vertexaisearch.cloud.google.comvertexaisearch.cloud.google.com
- vertexaisearch.cloud.google.comvertexaisearch.cloud.google.com
- vertexaisearch.cloud.google.comvertexaisearch.cloud.google.com
Loading comments…