ZZZ Stun vs Anomaly Build Guide: Which Team Comp is Better?
Determining whether to prioritize Daze-heavy Stun compositions or status-driven Anomaly builds is the most critical decision you will make when optimizing your Hollow Zero and Shiyu Defense teams. While traditional Attack-based teams rely on opening windows of vulnerability, Anomaly teams rewrite the rules of combat by turning elemental status effects into your primary source of damage.
TL;DR Verdict
Choosing between a Stun build and an Anomaly build depends entirely on your roster’s “engine.” Stun builds are the reliable backbone of traditional burst damage, while Anomaly builds offer a high-investment, high-reward alternative that scales exceptionally well against late-game bosses with massive HP pools.
- Stun builds focus on the ‘Daze’ bar to create high-damage windows for Attack Agents via Chain Attacks.
- Anomaly builds focus on ‘Attribute Buildup’ to trigger status effects and ‘Disorder’ for massive sustained damage.
- Stun is the gold standard for traditional burst teams (Attack + Stun + Support).
- Anomaly is superior for endgame scaling and ‘Disorder’ comps that bypass the need for traditional stun windows.
- Verdict: Use Stun for bosses with high mobility to pin them down; use Anomaly for high-HP sponges and speed-clearing Shiyu Defense where constant damage uptime is required.
The Case for Stun
Stun builds are built around the Impact stat. By filling the yellow Daze bar under an enemy’s health, you trigger a “Stunned” state. During this window, the enemy is immobilized, and your team gains access to Chain Attacks. More importantly, stunned enemies take significantly more damage—usually starting at a 150% multiplier. If you are running a Hypercarry like Ellen Joe, Zhu Yuan, or Miyabi, a Stunner like Lycaon or Qingyi is non-negotiable to maximize their burst windows.
The Case for Anomaly
Anomaly builds ignore the traditional “Stun then Burst” cycle. Instead, they focus on stacking Attribute Buildup to trigger effects like Shock, Burn, or Assault. When you trigger a second, different Anomaly while the first is still active, you cause “Disorder.” Disorder deals a massive chunk of burst damage based on the remaining damage of the previous status effect. This allows Anomaly teams to maintain a relentless offensive that doesn’t rely on the enemy being immobile to deal top-tier DPS.
Side-by-Side Table
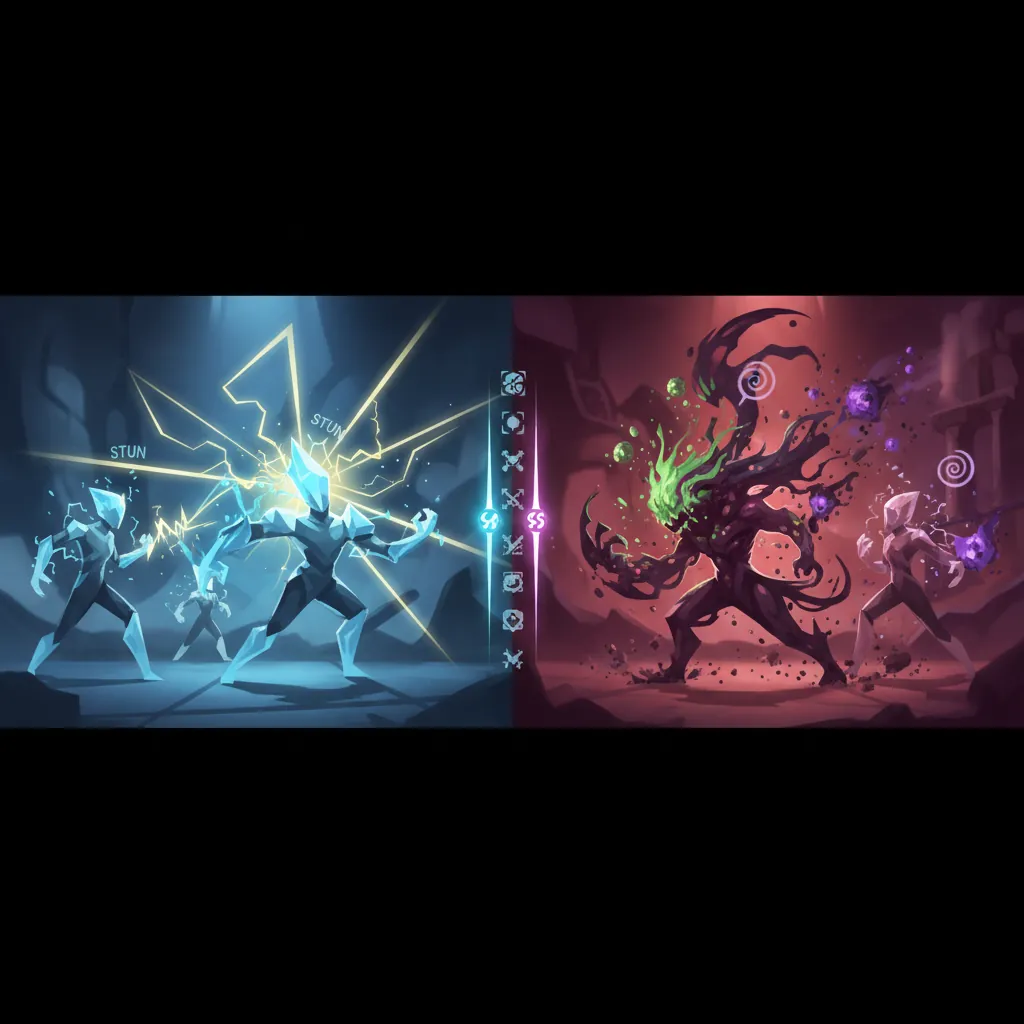
The following table breaks down the fundamental differences between these two playstyles.
| Mechanic | Primary Stat | Core Goal | Best Drive Discs | Example Agents |
|---|---|---|---|---|
| Stun | Impact | Maximize Daze to trigger Chain Attacks | Shockstar Disco (4-pc) | Qingyi, Lycaon, Anby, Koleda |
| Anomaly | Proficiency / Mastery | Trigger Attribute Effects & Disorder | Freedom Blues, Chaos Jazz | Jane Doe, Burnice, Grace, Piper |
| Attack (Burst) | ATK / Crit | High damage during Stun windows | Woodpecker Electro, Polar Metal | Ellen Joe, Zhu Yuan, Anton |
| Support | Energy Regen | Buffing the team / Applying Daze | Swing Jazz | Nicole, Rina, Lucy, Caesar |
| Defense | Impact / HP / DEF | Survival and Interruption | — | Ben, Seth, Caesar |
Detailed Comparison
To understand which build is right for your current account progress, we must look at the math behind the mechanics.
Understanding the Mechanics: Daze vs. Attribute Buildup
Stun mechanics revolve around the Daze bar. Every hit an Agent lands contributes a certain amount of Daze, which is modified by the Agent’s Impact stat. Once the bar hits 100%, the enemy enters the Stunned state. During this time, the enemy takes increased damage based on the Stun DMG Multiplier. Base Stun DMG is 150%, but specific Agents can buff this. For instance, Von Lycaon can increase the Stun DMG Multiplier by an additional 35% through his Passive Core Skill, meaning enemies take 185% damage while downed.
Anomaly mechanics, conversely, revolve around Attribute Buildup. Every elemental hit contributes to a hidden gauge. When this gauge fills, an Attribute Anomaly occurs. The damage of these anomalies is determined by Anomaly Proficiency, while the speed at which the gauge fills is determined by Anomaly Mastery.
Stat Priorities: Impact vs. Anomaly Proficiency & Mastery
For a Stunner, Impact is the only stat that matters for their primary role. It is found exclusively as a main stat on Disk Slot 6. A high Impact stat ensures the enemy spends more time stunned and less time attacking you.
For Anomaly Agents, the stat priority is more complex:
- Anomaly Mastery (Slot 6): Increases the rate of buildup. This is essentially your “Attack Speed” for status effects.
- Anomaly Proficiency (Slot 4 or Substats): This acts as the “Crit Damage” of the Anomaly world. The formula for Anomaly DMG is roughly calculated as
Base Damage * (Anomaly Proficiency / 100). - ATK%: Anomaly damage still scales off the Agent’s base Attack, so do not ignore this stat entirely.
Gear and Drive Discs: Optimizing for Stun or Status
The choice of Drive Discs defines your build’s ceiling.
- For Stunners: The Shockstar Disco 4-piece set is the universal gold standard. It increases Impact by 6% and significantly boosts Daze from Basic Attacks, Dash Attacks, and Dodge Counters.
- For Anomaly: The meta is split. Freedom Blues is excellent for reducing the enemy’s Anomaly Resistance, making it easier to proc effects. However, for Fire-based Anomaly Agents like Burnice, Chaos Jazz has become a premier choice for its boost to Fire DMG and off-field Anomaly buildup.
Team Synergy: Traditional Burst vs. Disorder Meta
Traditional teams follow the Stun -> Support -> Attack rotation. You use your Stunner to build Daze, swap to your Support to apply buffs (like Nicole’s DEF shred or Rina’s PEN ratio), and then unleash your Attacker’s Ultimate and EX Special Moves during the Stun window.
The Disorder Meta functions differently. A typical Disorder team might feature two different Anomaly attributes (e.g., Jane Doe for Physical/Assault and Burnice for Fire/Burn). You apply Burn first, then quickly swap to Jane Doe to trigger Assault. The moment Assault triggers, it consumes the remaining Burn duration to deal Disorder damage, which is a massive instantaneous burst. This cycle can be repeated much faster than a Stun bar can be refilled.
Recommendation
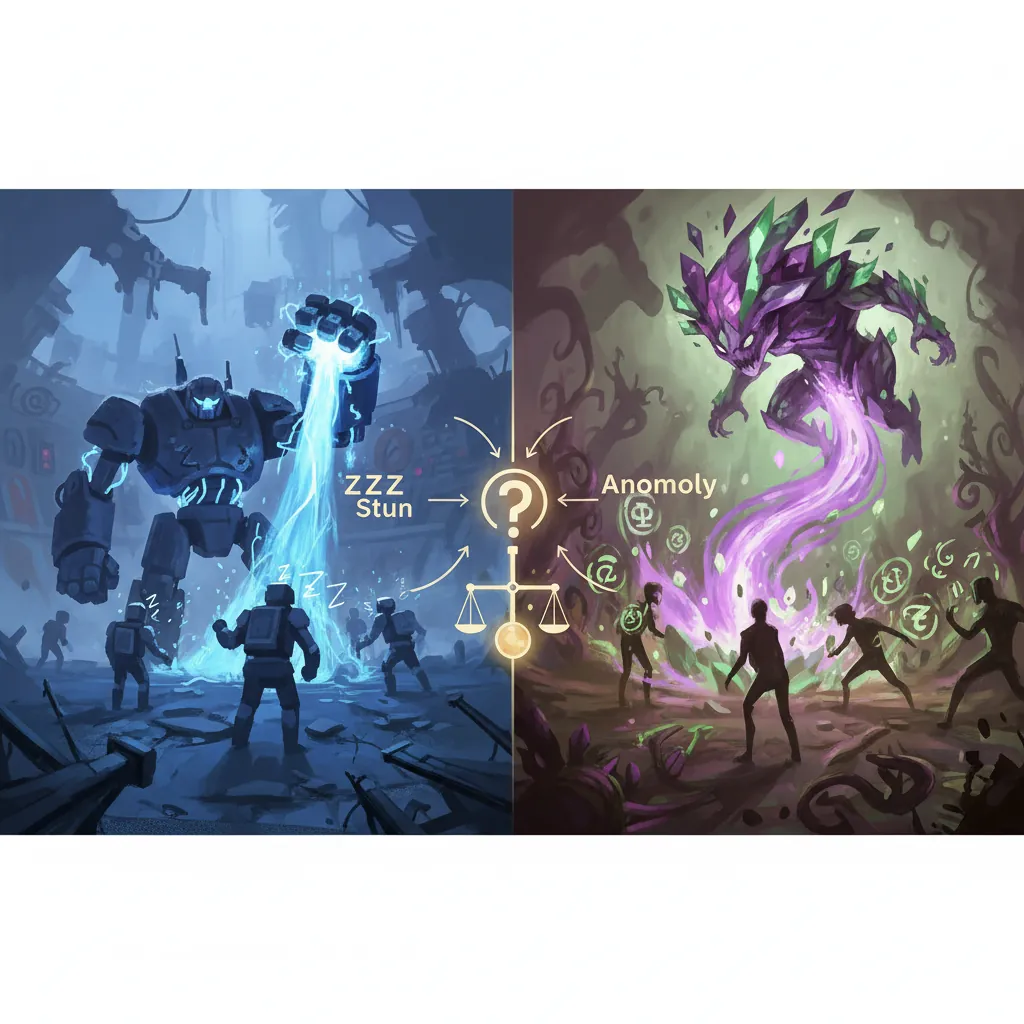
Choosing between these builds often comes down to which S-Rank Agents you have pulled from the Signal Search.
When to Choose a Stun Build
You should prioritize a Stun build if:
- You own a top-tier Attacker: If you have Ellen Joe or Zhu Yuan, their damage is heavily weighted toward their burst windows. They need a Stunner to function at 100% efficiency.
- You are struggling with boss mechanics: Stunning a boss cancels their current animation and provides a long breather. This is vital for surviving aggressive bosses in the higher floors of Shiyu Defense.
- Beginner/Mid-game focus: Building Anby with Shockstar Disco is the most cost-effective way to progress through the early game.
When to Choose an Anomaly Build
You should prioritize an Anomaly build if:
- You own Jane Doe or Burnice: These characters are designed to carry teams without a traditional Attacker. Jane Doe, in particular, can “Crit” with her Assault procs, bridging the gap between Anomaly and Attack styles.
- You are tackling high-level endgame content: As enemy HP pools grow to millions, the percentage-based nature of certain anomalies and the massive scaling of Disorder often outperform traditional Crit-based builds.
- You prefer a fast-paced, swap-heavy playstyle: Anomaly teams require constant switching to manage multiple elemental gauges.
The Hybrid Approach: Can You Run Both?
While you can run a Stunner and an Anomaly Agent together, it is often sub-optimal. Anomaly Agents want more “field time” to build up their gauges, which competes with the Stunner’s need to stay on field and build Daze. However, some newer characters like Caesar King act as “Defensive/Support” hybrids that provide enough Impact to help with Daze while also boosting the team’s overall Anomaly application, suggesting a shift toward more flexible team compositions in the future.
Tier-Based Recommendations
- Beginner: Anby (Stun) + Nicole (Support) + Billy/Corin (Attack). Focus on learning the Daze timing.
- Mid-game: Koleda/Lycaon (Stun) + Support + S-Rank Attacker. Optimize your Impact stats on Slot 6.
- Endgame: Jane Doe + Burnice/Grace (Anomaly Disorder). Focus on high Anomaly Proficiency and Mastery to bypass Stun requirements entirely.
Sources
- Zenless Zone Zero Official Site — https://zenless.hoyoverse.com/
- Prydwen Institute ZZZ Guides
- Game8 ZZZ Database — https://game8.co/games/Zenless-Zone-Zero
- ZZZ Fandom Wiki — https://zenless-zone-zero.fandom.com/wiki/Zenless_Zone_Zero_Wiki
- Reddit r/ZZZ_Official — https://www.reddit.com/r/ZZZ_Official/
Related Guides
Best Adjustable Standing Desks for WFH Gacha Grinders
Arlecchino vs Hu Tao: Who is the Best Pyro DPS in Genshin Impact?
Aurelia Nova vs Lacrimosa NTE: Best Gaming Gear for Neverness to Everness Players

Ayaka vs Ganyu: Who is the Best Cryo DPS in Genshin Impact?
Best 4-Star Weapons for NTE DPS: Top A-Rank Arcs Ranked

Best 4K OLED Gaming Monitors for Competitive Gacha Grinders and Daily Farmers
Best 4K OLED Gaming Monitors for Immersive RPG Worlds and Long MMO Sessions
Loading comments…